THE FIELD GUIDE
Uninvited Walkthrough: The Blood Cellar
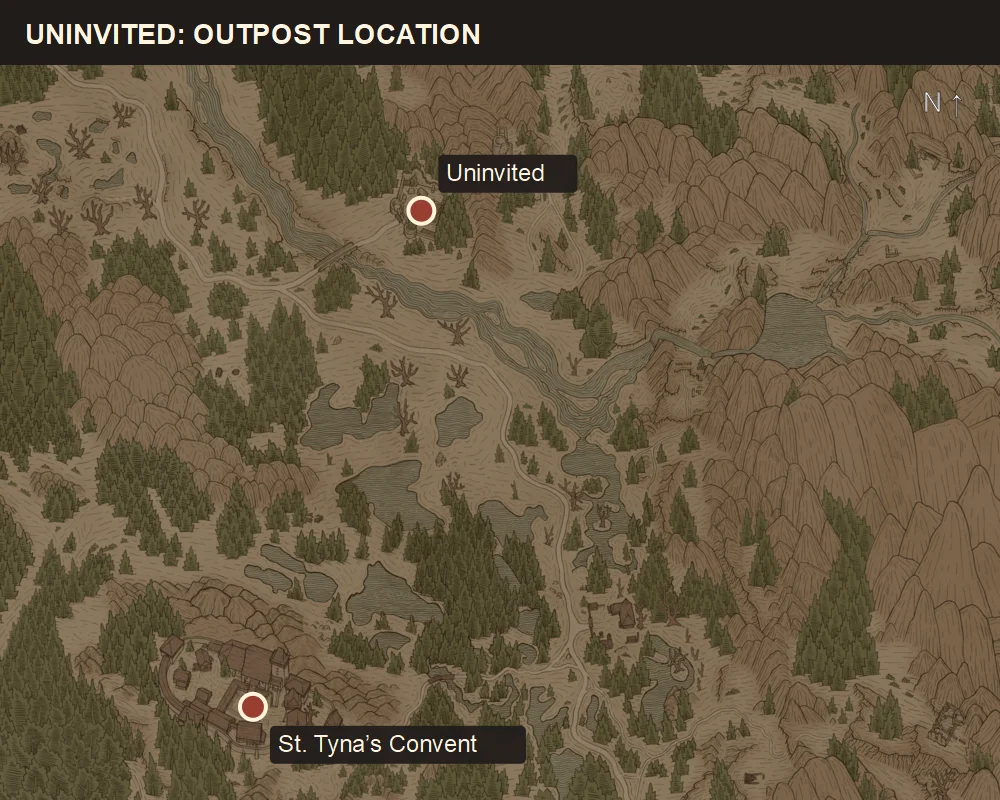
Uninvited takes place at a ruined outpost northeast of St. Tyna’s Convent. Investigate the bodies, descend into the cellar and defeat Murohn, then interact with the blood stock. Collecting the blood is a working completion route; be ready for soldiers when you leave.
Find the ruined outpost northeast of the convent
Select Ambrus’s Cellars: Uninvited in Journal if the quest is already listed. The map below marks its search area in St. Tyna’s Grove, northeast of the convent.
Look for broken stone walls, an open yard and the surviving structure that contains the way down. This is a ruined compound rather than one of the wooden prisoner camps used by Ambrus’s Dungeons. A marker here locates the outpost, so use the visible doorway and steps for the final approach.
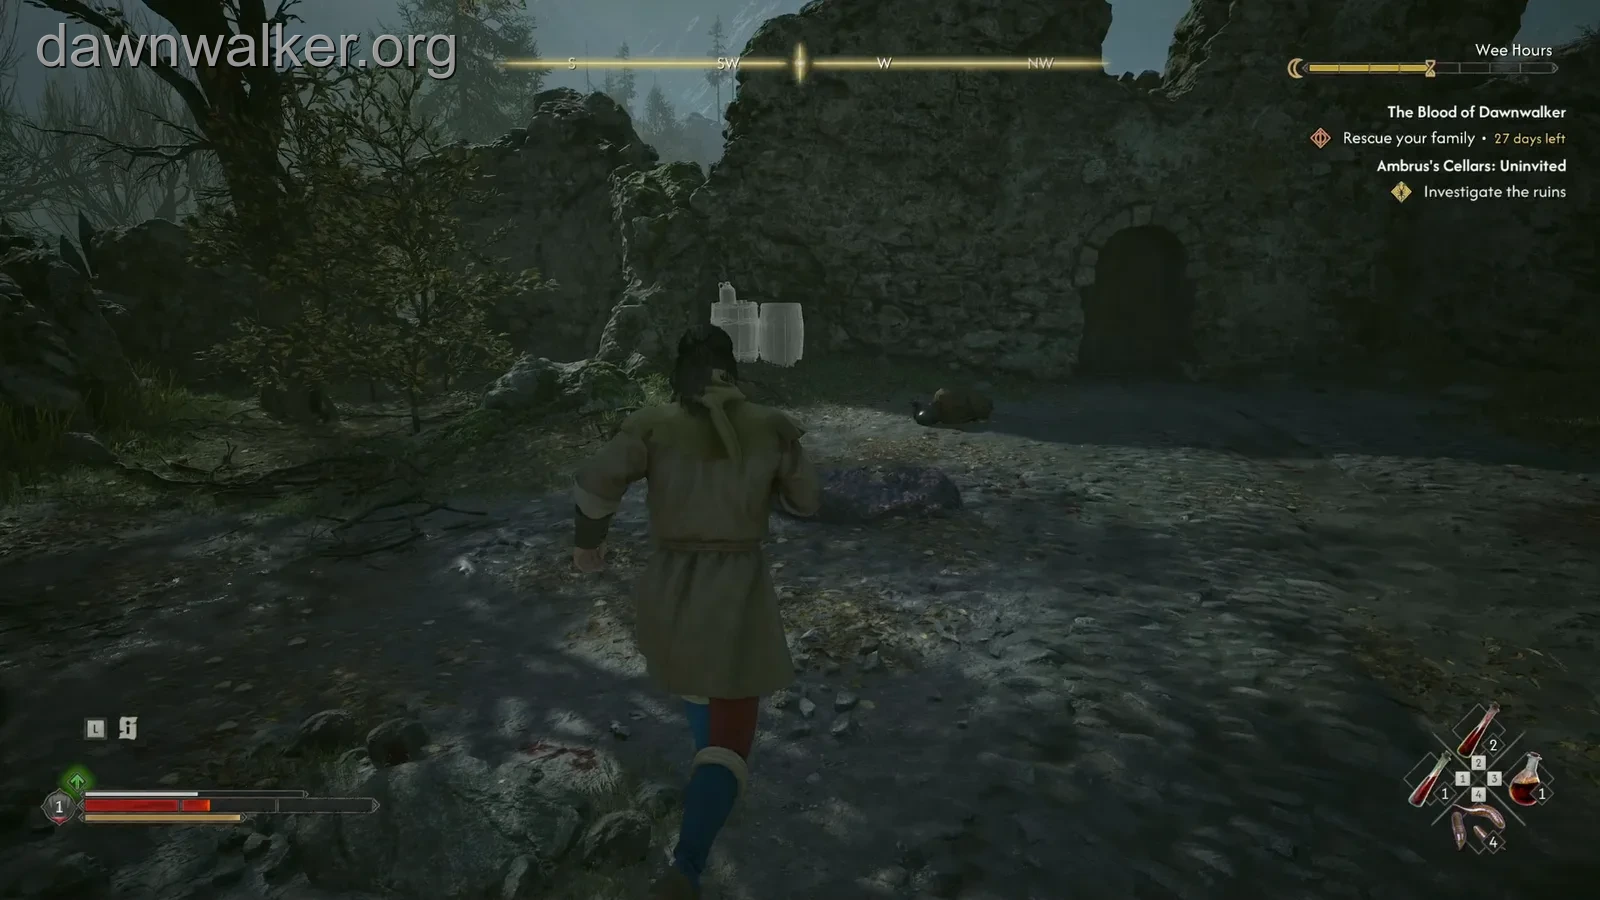
The yard can contain hellhounds. Clear the immediate approach before spending time reading documents or turning toward the stairs. This keeps your attention on the investigation when you enter the ruined rooms and avoids carrying an outside fight into the confined descent.
Investigate the bodies before going downstairs
Search around the bloodied bodies among the ruins. Orders from Ambrus is one of the documents associated with this stop, and Request for Assistance points toward the wider cellar operation. The latter is a separate document, so read the item title rather than treating every order as the same letter.
These discoveries can add other cellar quests while Uninvited is still running. A “New Quest” notification for Seeing Red or Trouble Brewing is another lead, not the completion of the place you are standing in. Keep Uninvited selected while you finish the investigation here.
Follow the steps inside and check the remains encountered on the descent. The dark, arched stone interior and the further mutilated soldier distinguish this passage from the open yard. If the objective still says “Investigate the ruins,” inspect the nearby marked body or document and continue into the cellar.
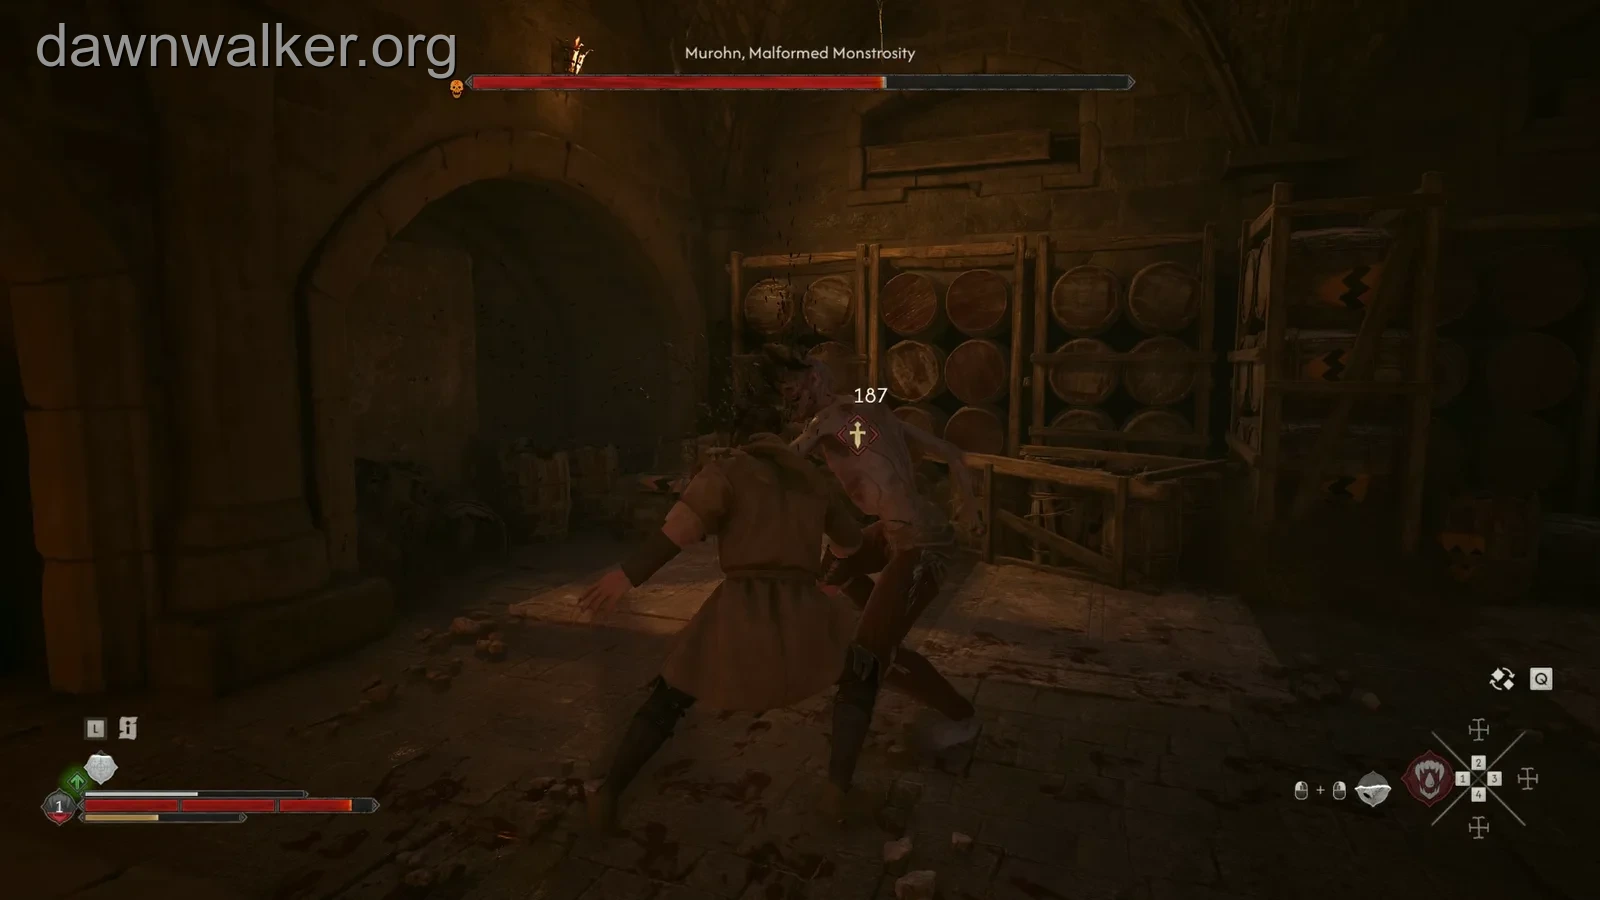
Prepare for a fight in a confined room
Finish arranging your equipment and recovery before engaging the creature below. In nighttime form, carry a usable Blood Reserve refill in a quickslot; ordinary human healing does not serve the same purpose. On difficulties that restrict inventory use during combat, setting the slot now prevents an avoidable scramble once the fight starts.
The cellar contains barrel racks, stone arches and narrow edges around the fighting space. Turn your camera so you can see the enemy and your retreat direction. Backing continuously into the racks can leave little room for the next response; reposition toward the usable floor after an attack passes.
Defeat Murohn, then search the body
The enemy’s health bar identifies Murohn, Malformed Monstrosity. Leave enough time between your attacks to respond to its fast claws. Its leaping slash can be dodged or parried; for the overhead claw attack, move sideways or back instead of trying to absorb it with a block.
A practical rhythm is to answer the incoming attack, take the available opening and reset your position. Avoid starting another long sequence while it is already preparing its next swing.
Search the defeated creature before walking to the blood stock. The loot shown here includes Murohn Blood, Small Vial of Vrakhiri Blood and Survivor’s Ring. Inspect the actual quantities in your loot window. The separate Murohn Blood guide explains how to use that restorative after you have collected it.
Interact with the blood stock and choose its fate
Defeating Murohn opens the supply decision. Approach the blood stock and use its interaction. Although the objective names destroying the stock, the dialogue offers a collection option as well.
Choose destruction to dispose of the stored supply, or collection to receive Kobold’s Blood. Both responses complete the activity. The clip follows collection through the item notification and the supply scene.
Kobold’s Blood and the Murohn Blood looted moments earlier are different items from different interactions. Kobold’s Blood is a portable vampire restorative whose use increases Corruption. Decide whether that kind of consumable fits your progression plans, and use the item entry for its effect rather than inferring an amount from the quest’s reward icons.
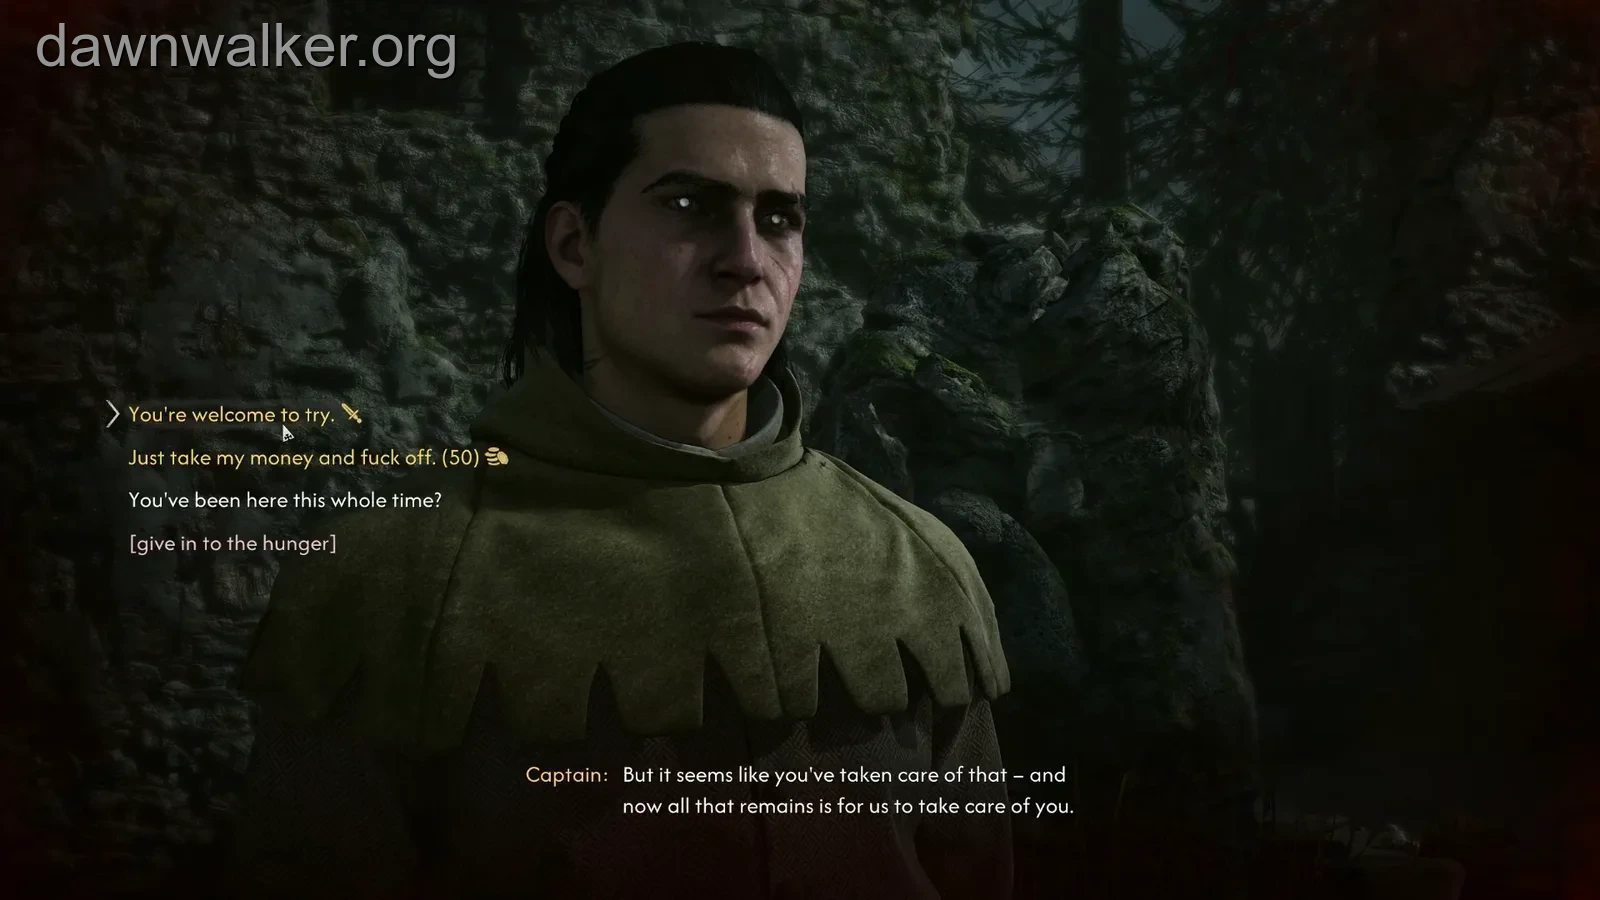
Prepare for the Captain outside
After the blood scene, Uninvited awards 250 XP and one skill point. The exit is still worth treating as part of your immediate route: soldiers confront Coen outside the cellar. Use a recovery item and settle your equipment before going back through the passage if the Murohn fight left you vulnerable.
The Captain acknowledges that the creature has been dealt with, then threatens Coen. The dialogue includes a challenge, a 50-denarii payment and a question about the soldiers waiting there. Payment does not provide a peaceful escape, so it is a poor choice if your goal is simply to avoid another fight.
Defeat the hostile soldiers and search their bodies before leaving the ruins. The nearby stone walls and doorway can help keep their approach in front of you. Avoid backing into the cellar without checking where the remaining soldiers are, since the confined entrance gives you less room to turn.
Check what this activity changed
Completing the blood-stock stage angers a boyar and increases Infamy. Those notifications describe progress, but they do not promise a particular Court rank. If you came here to satisfy Where Loyalty Lies, check the current rank against its Notorious requirement before planning the next destination.
Seeing Red and Trouble Brewing remain separate Journal entries if they were revealed by the papers here. Follow one of those locations when you want to continue disrupting Ambrus’s supply network. If you are already investigating with Anca, the convent southwest of these ruins gives you a nearby main-quest destination instead.