THE FIELD GUIDE
Echoes of Silenced Bells Walkthrough
Read Campana Loquitur, collect the Monastery Keys and ring the church signal to clear Anca’s passage. Return to her, uncover the library’s hidden entrance and explore the catacombs. The route ends with Leonica and a decision about the ritual notes.
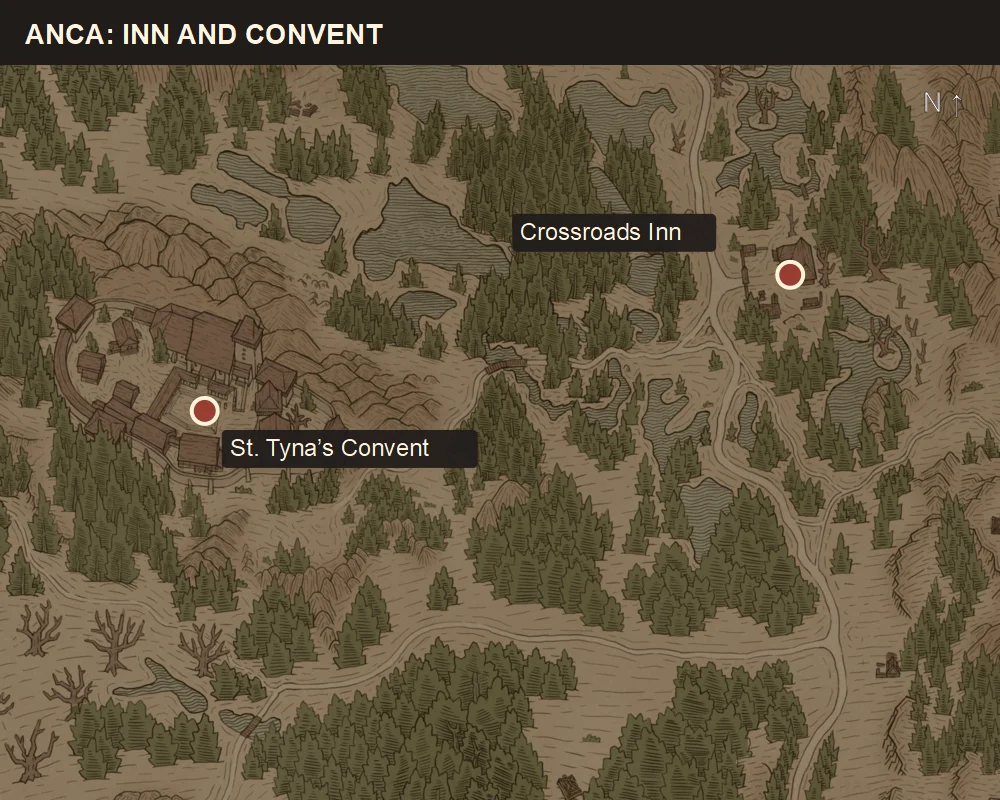
Meet Anca at the Crossroads Inn
After Smoke and Ashes, the surviving Anca moves to the old inn in St. Tyna’s Grove. The location is Crossroads Inn, east of the convent. Speak to her outside and agree to investigate her former home. The nearby damaged shrine is a separate landmark: reaching the inn does not mean its fast-travel service has been restored.
Prepare recovery items before setting off, because the convent leads into several underground fights. Carry supplies appropriate to your current form; human healing and vampire Blood Reserve are different resources. Equip the recovery you intend to use before entering the catacombs, especially on difficulties that restrict inventory access in combat.
Stay with Anca through the mist and investigate the body when the objective asks you to. Continue to the convent gates and examine the first fallen nun. Follow Anca’s reaction and the conversation before moving into the refectory; the investigation proceeds through these encounters on the way to the courtyard.
Leave the upper wooden platform for the courtyard
Follow Anca through the refectory building and upstairs. The Chapterhouse shrine helps identify this indoor section. At the overlook, inspect the visible buildings and finish the conversation until the objective becomes “Secure a safe passage to the library for Anca.” She stays behind while you investigate.
To get outside, use the open outer edge of the wooden platform overlooking the yard and the lower roof or shelter beneath it. The video shows the drop and courtyard relationship. A locked door inside this building is not the exit used by this route. Once you are on the ground, orient yourself by the church and the passage crossing the yard.
The courtyard nuns rise again after defeat. If one blocks a narrow passage, deal with that immediate threat and continue to your destination. Repeatedly fighting the same group spends recovery supplies without solving the condition that keeps Anca waiting.
Find the bell instructions and Monastery Keys
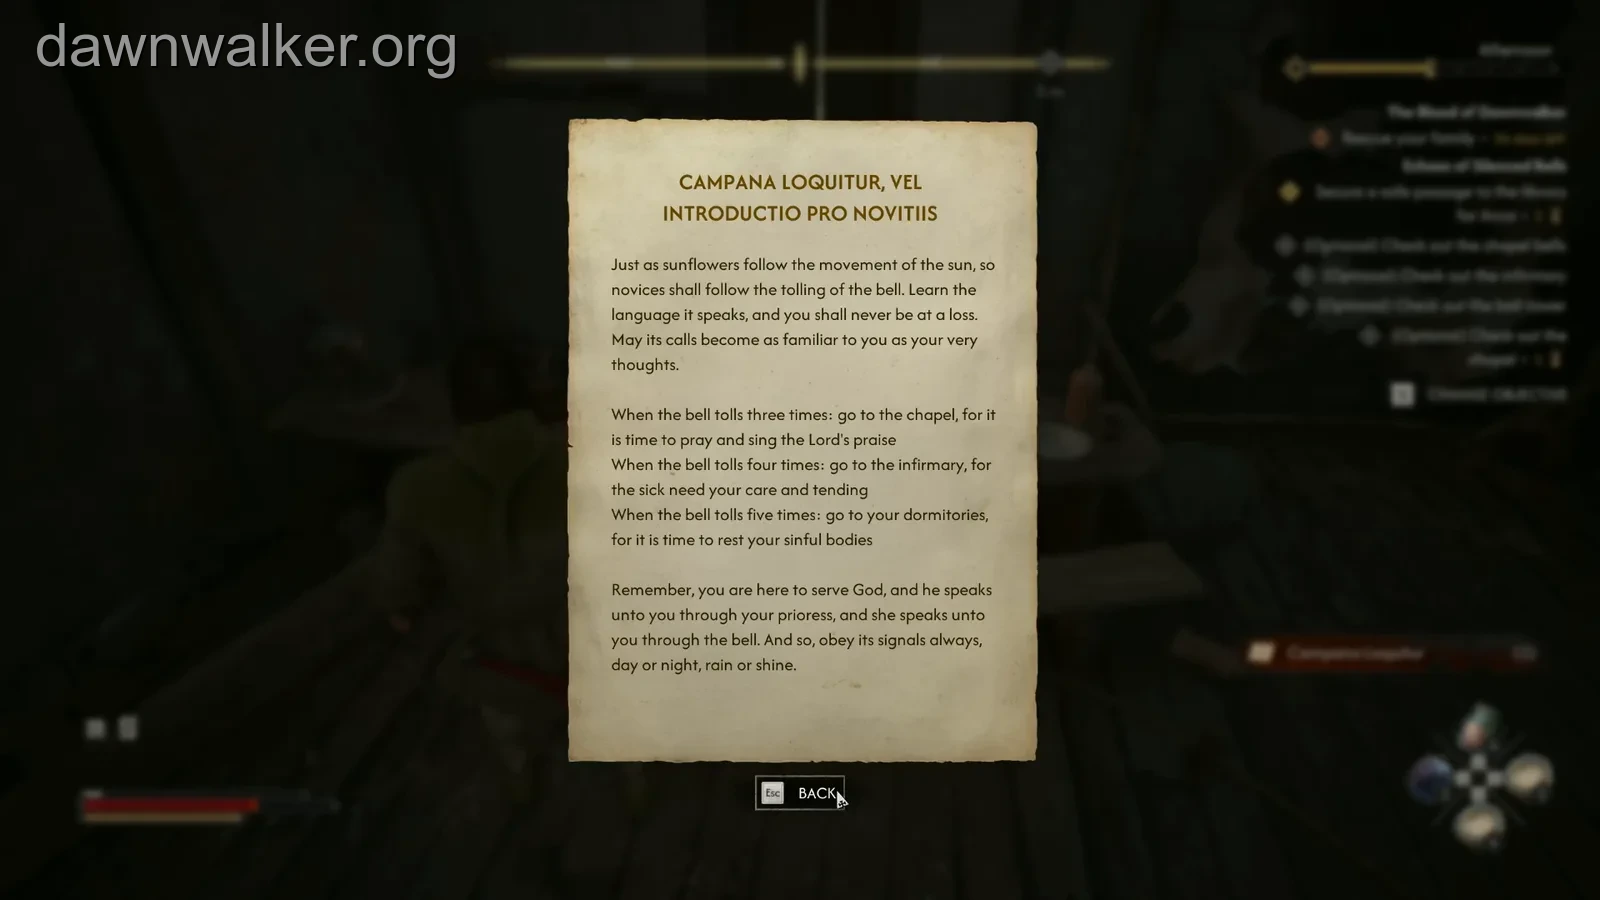
Go to the dormitory on the far side of the courtyard. Campana Loquitur lies on the floor beside a bench; read the title when you interact with it. Mother Bernice’s Journal is another readable document in this area, but it does not replace the bell instructions.
For the key, locate Anghel’s small shack beside the sacristy, west of the church. Check the back wall inside for Monastery Keys. This compact building is easy to overlook when searching the larger rooms. The keys open the sacristy and bell tower; the infirmary uses its own key.
Collecting the book and keys together lets you make one purposeful trip to the tower. If you already have the keys, keep going with the missing book or signal step instead of returning to the shack. Read the name on any locked-door prompt before assuming that a different convent key has disappeared.
Ring the church signal to clear Anca’s route
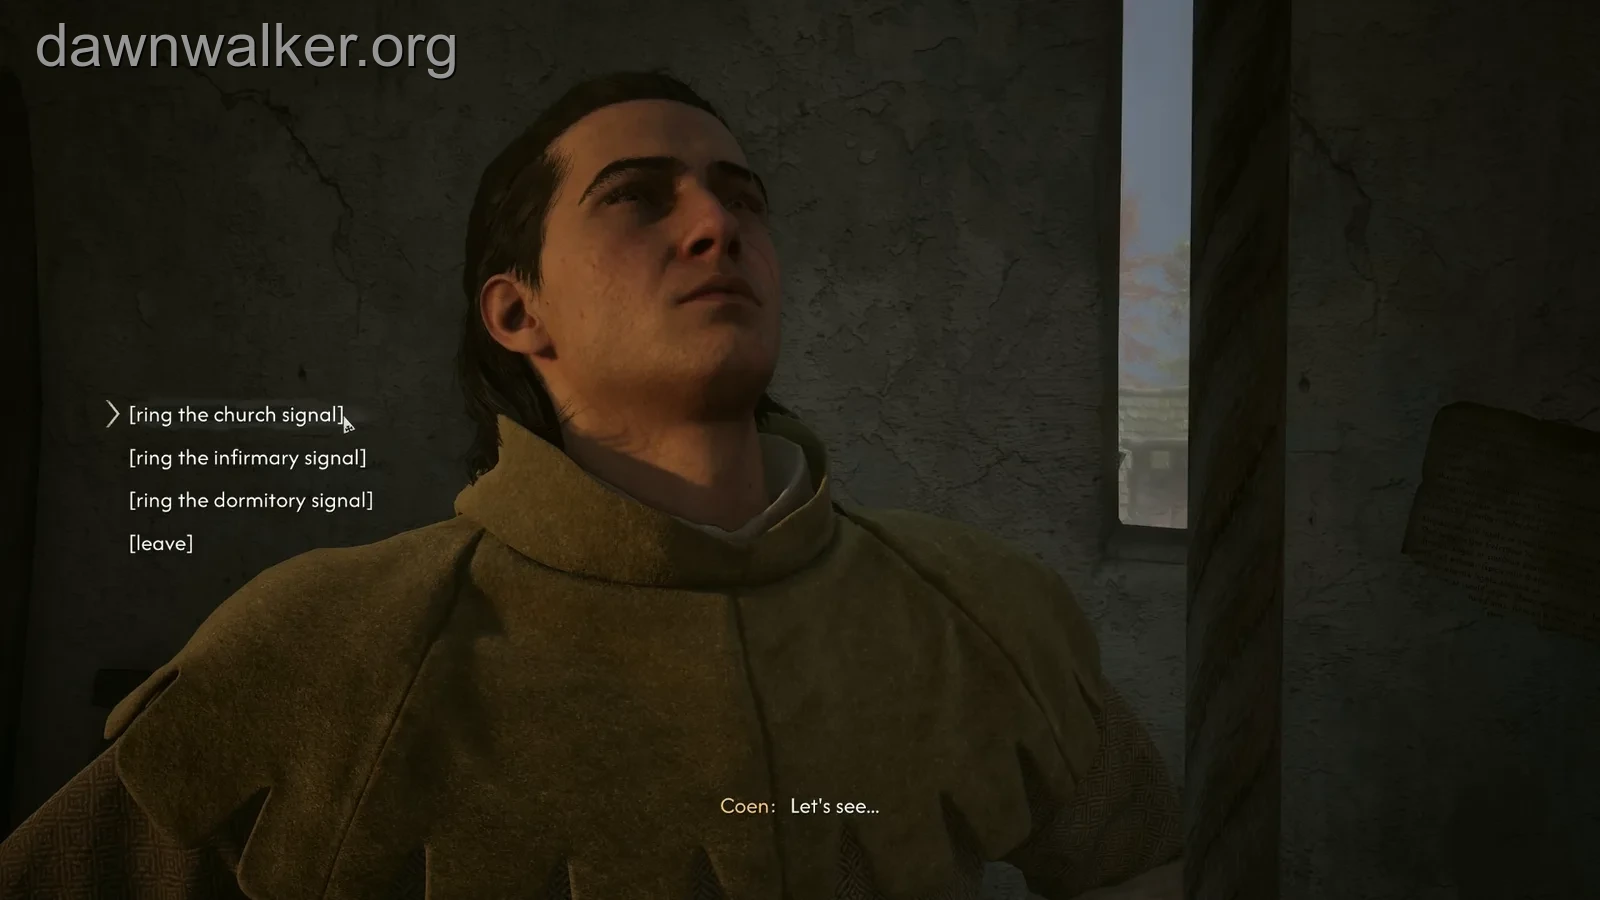
Use the Monastery Keys at the bell tower door and climb the wooden stairs to the rope. Interact with it and select “ring the church signal.” This is the three-toll chapel signal described by Campana Loquitur. Using it changes the objective to “Return to Anca.”
The destination matters more than merely making the bell ring. The dormitory signal moves the nuns but can leave the library route obstructed. The infirmary signal sends them toward the soldiers and changes that encounter. Choose the church when your immediate goal is to continue the library investigation.
The infirmary and chapel investigations can remain optional in Journal after this succeeds. Return to Anca and report that the passage is safe. If the objective still asks for safe passage, check which signal you selected before trying more courtyard combat.
Decide whether to investigate the infirmary
The soldiers offer another route and the Most Precious Thing side quest. Go around the infirmary and interact with the window to speak to them. Their request concerns St. Tyna’s relic, found by examining the corpse in the sacristy after opening it with the monastery keys.
Giving them the relic trades away that accessory for access. Returning with it and refusing the handover leads to a fight, after which the soldiers can be searched for the Infirmary Key. Keeping the relic preserves its Witchcraft equipment value, but involves the confrontation. Follow this branch if you want its encounter and reward; the successful church-signal route above already provides the main quest’s passage.
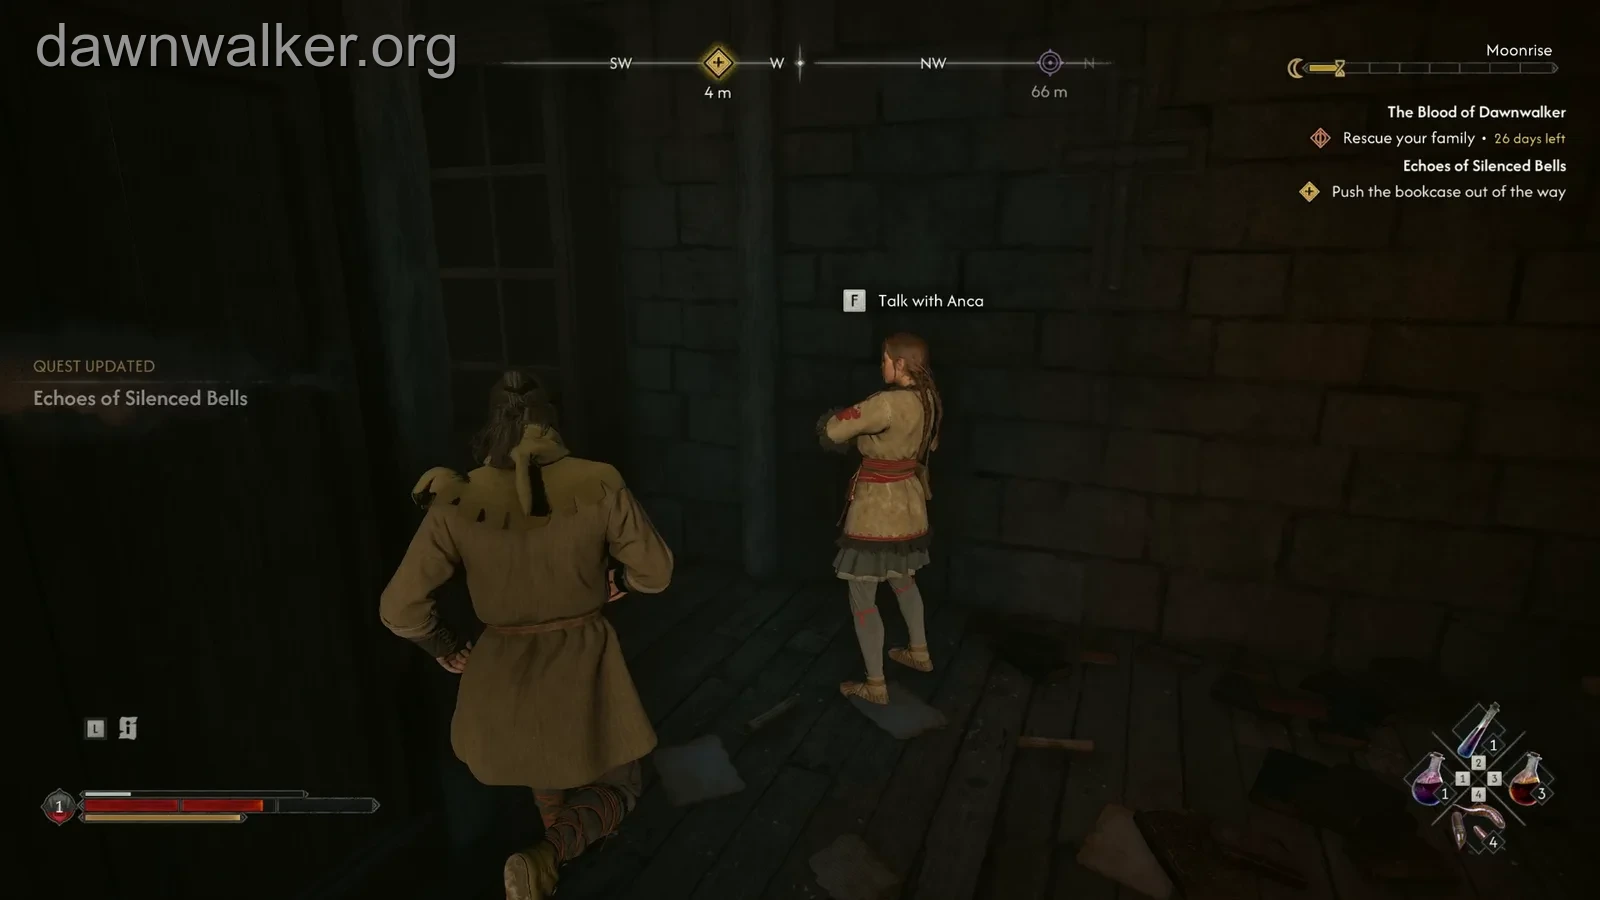
Push the bookcase beside Anca
After reporting back, choose to go to the library with Anca. Follow the conversations through the rooms and look for “Push the bookcase out of the way.” In the pictured position, the tall shelf is beside Anca, on her left as you face her. Approach that shelf for the interaction rather than checking every decorative book stack.
Moving it reveals the hidden room. Inspect the disturbed material and continue the conversation; the missing books lead the investigation down into the catacombs. Nearby bookshelves can be searched separately, but ordinary library loot is not the trigger that replaces the bookcase interaction.
Follow the investigation through the catacombs
Descend the stone stairs. The first locked door on the right needs a later key, so continue down to the lit room instead of returning upstairs to search the convent again. A torch improves visibility; Anca’s light also helps you keep the passage in view.
Defeat the first nun and finish the conversation. The underground enemies can be cleared, unlike the recurring courtyard obstacle. Continue northwest into the next room, then northeast toward the investigation room. Use the narrow doorway to prevent several enemies reaching your sides at once, and move through after the immediate group is down.
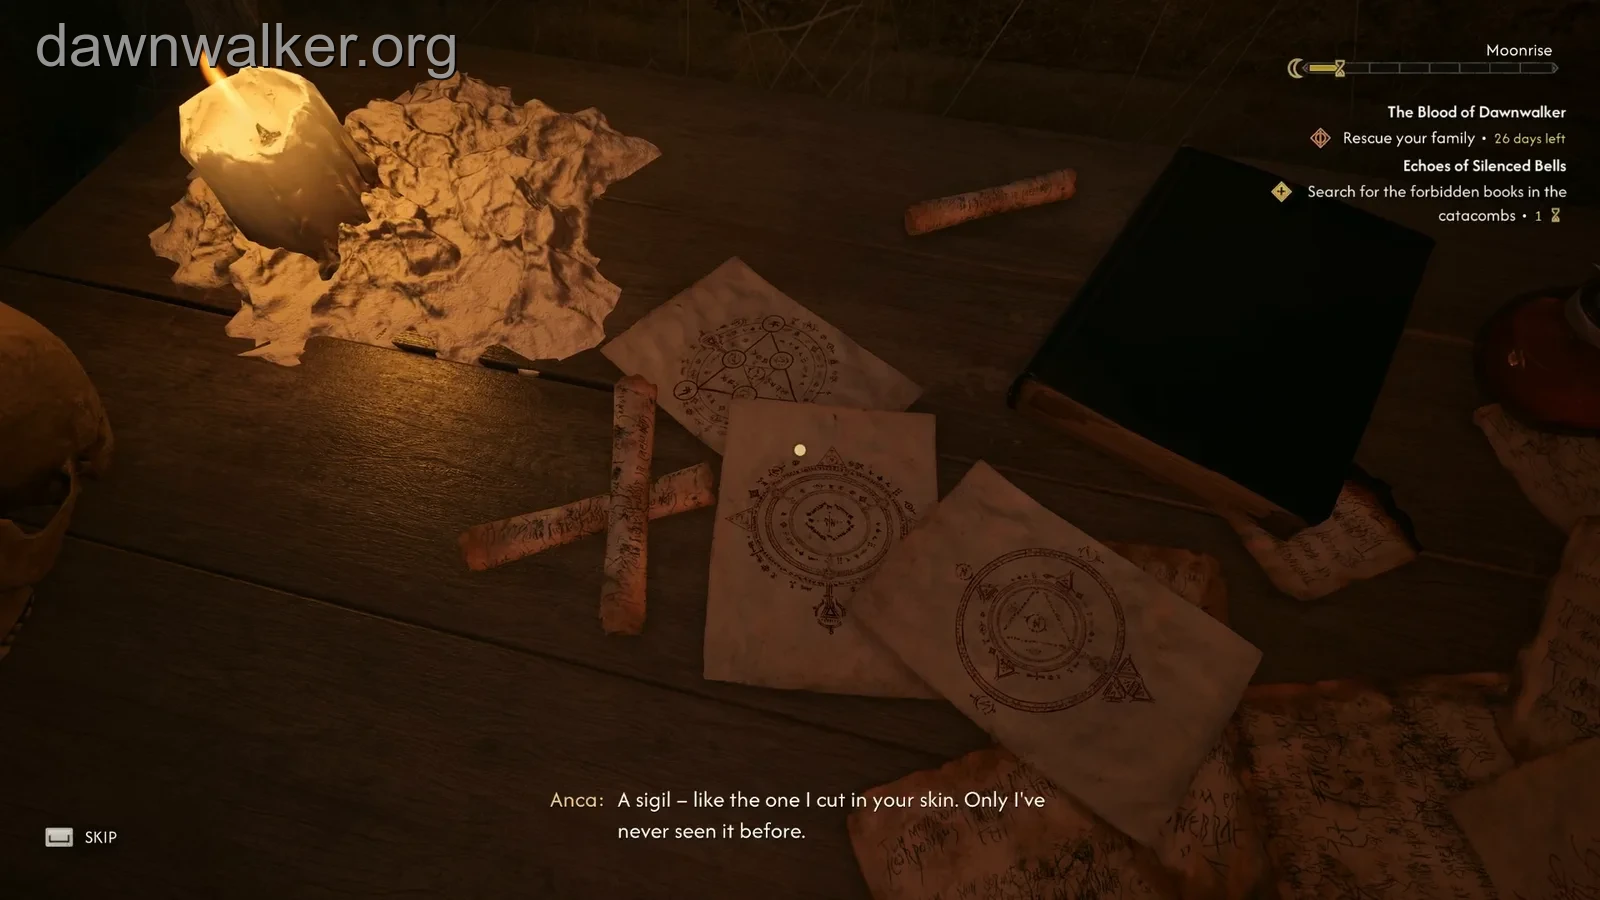
Inspect the writing, books and candlelit table with papers and a ritual symbol. The investigation is about the material on the table and shelves, not every container along the route. Once the conversation is complete, continue through the southeast exits, handle the next group and go up the stairs toward the final door.
Defeat Leonica and clear her summoned nuns
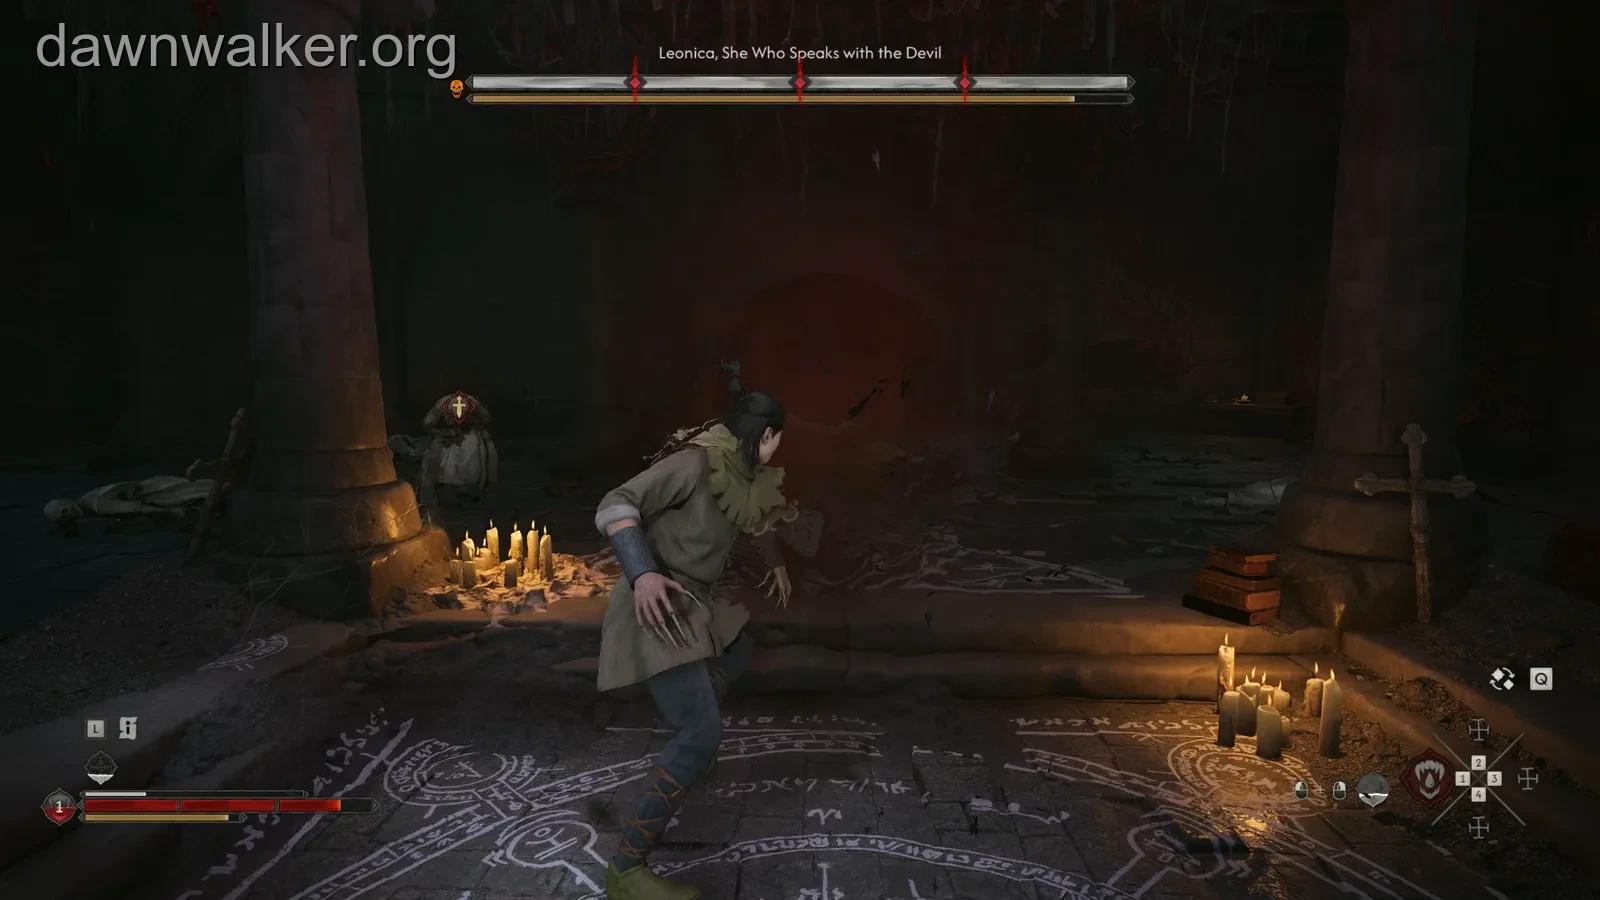
Leonica, She Who Speaks with the Devil, fights in the final chamber. Keep track of her new position after each teleport instead of committing to a long attack sequence at the spot she left. Take short openings, then leave enough stamina to respond to the next attack.
Move sideways from the approaching birds and away from the burst of bones around her. Close-range pressure has a cost here: staying beside her after an opening exposes you to the surrounding burst. When she disappears and summons nuns, deal with those enemies to bring her back; chasing the empty centre of the room does not advance that phase.
Search her body after victory. Look for Catacombs Key, Leonica’s Ring and Unholy Vitality Manual. The key belongs to the locked door passed near the beginning of the descent, giving you a reason to revisit it after the fight. A chest on the chamber’s eastern wall is a separate manual pickup.
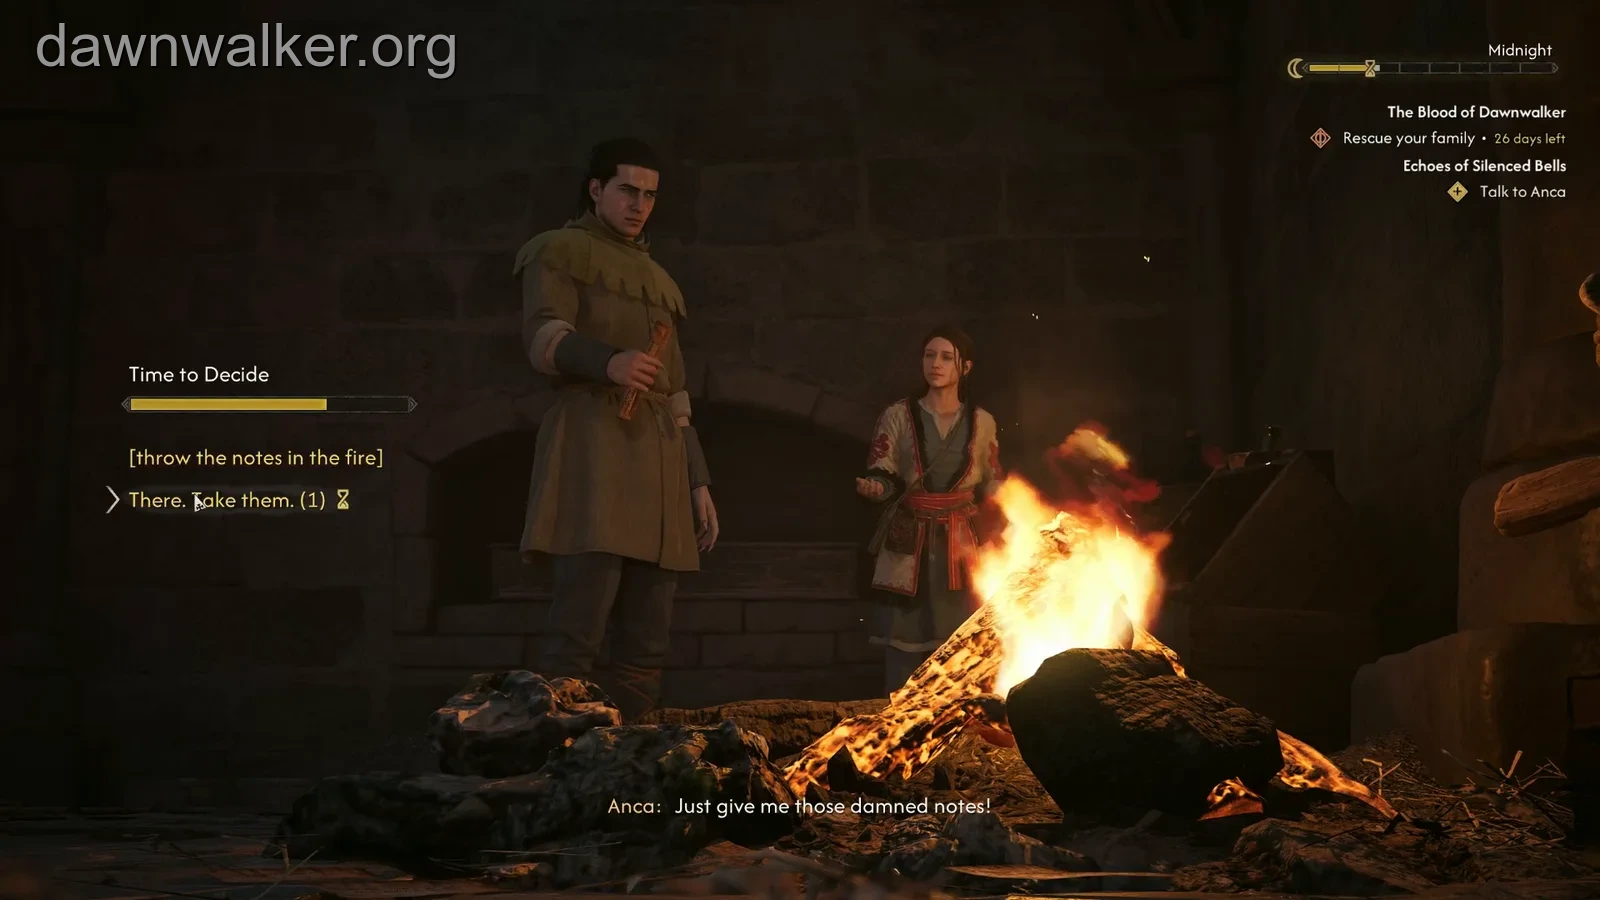
Give Anca the notes or burn them
Speak to Anca after the fight. Giving her the notes lets her perform the ritual and lift the convent’s curse. Burning them leaves the curse in place. Choose according to that outcome; the ritual decision is separate from her later Font of Life reward.
Select “There. Take them.” to hand over the notes. The fire response is the destructive alternative, so check the selected line before confirming. Both continue Anca’s questline.
Finish the departure conversation and return to the inn with her, or arrange to meet later. Echoes ends with 150 XP and hands over to Between the Words, whose objective is to browse the recovered books with Anca. That new reading task belongs to the next quest; it does not mean the catacomb investigation remains unfinished.