THE FIELD GUIDE
Isbrand in The Blood of Dawnwalker
Isbrand is the ancient vrakhir who turned Brencis into a vampire. Coen finds him through Lacra’s investigation, which leads from a prisoner in a mountain cave to the Broken Shade in Anachora. The expedition ends with a choice about sheltering his consciousness inside Coen.
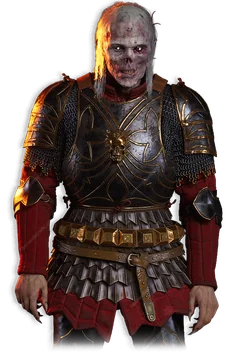
Isbrand and Brencis: sire, pupil and enemy
A sire is the vrakhir responsible for another person’s transformation. Isbrand therefore belongs to Brencis’s history before the court Coen confronts in Vale Sangora. Calling him Brencis’s sire describes a vampire lineage, rather than a human father-and-son relationship.
The two lived alongside one another for many years before their relationship collapsed. Brencis eventually defeated his former sire, but chose a punishment that continued long after the fight. That history gives Lacra a reason to look beyond Brencis’s current allies: someone who knew him before he ruled the valley might know something his enemies can use.
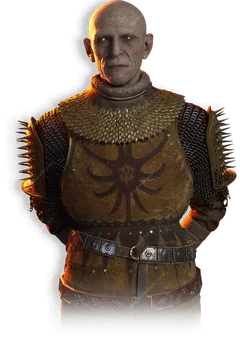 Brencis and his court
The warning in Isbrand’s Letter
Isbrand’s Letter preserves the tone of their relationship before Coen finds him. Addressing Brencis directly, Isbrand objects to hearing that he has settled in Vale Sangora. He says that his business overseas is finished and that he is returning. The letter ends by warning that Brencis will receive no third chance.
The wording suggests an authority Isbrand still expects Brencis to recognise. It also shows that the choice of Vale Sangora has particular significance to him: he explicitly questions whether Brencis arrived there by coincidence. The letter itself does not explain that concern, identify the overseas destination or describe the previous chances.
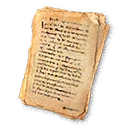 Identify Isbrand’s Letter
Why the kobolds keep Isbrand alive
After defeating Isbrand, Brencis abandoned him in a mountain cave. The kobolds who found him exploited his ability to regenerate: they fed on his flesh, waited for it to return, and fed again. Survival became part of the punishment. He was valuable to them precisely because an ordinary victim would eventually be consumed.
Hive and Seek brings Coen and Lacra to the consequences of that arrangement. The prisoner they discover has endured two years of captivity. His condition explains why finding Brencis’s sire does not immediately produce a capable ally who can march against the knyaz.
The encounter also connects the kobolds’ appetite to the Hive negotiation. Reaching Isbrand involves a dispute over consuming vrakhir flesh, not simply opening a cell. If you need the peaceful dialogue sequence, follow the Hive section of Lacra’s questline guide; it lists the arguments in the required order.
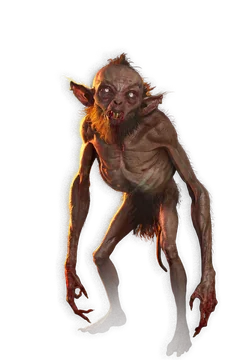 Recognise the cave’s kobolds
Why Lacra takes the search into Anachora
Lacra seeks a weakness that could help bring down Brencis. Finding Isbrand’s body completes one part of the investigation, but his memories offer a different way to pursue that aim. Our Rotten Roots follows Hive and Seek and takes Coen with her into Anachora, the hostile realm associated with vrakhiri souls.
Keep the two meetings separate when following the story. The mountain prisoner belongs to Hive and Seek; the journey through memories and the later confrontation belong to Our Rotten Roots. If you have found the cave but have not fought the Broken Shade, you have not missed a boss hidden beside the prisoner.
For the next appointment, use the questline’s meeting and waiting instructions. This transition has a full-day wait and a nighttime meeting, so returning immediately after the cave conversation is not the same as starting the memory journey.
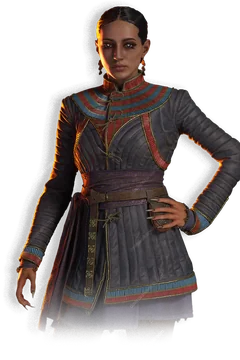 Lacra’s role in the investigation
Following Isbrand’s memories
Anachora presents the investigation through separated memories reached across broken architecture and floating terrain. Shadowstep and Planeshift carry Coen between these spaces; the maelstroms mark transitions into the remembered scenes.
One fork also offers a choice about how much of Lacra’s past to uncover. After the second memory, she directs Coen to the right. Going left reveals more about Lacra and Brencis, although she does not accompany Coen down that branch. The routes ultimately reunite. Take the left detour if you want that additional relationship context.
The final remembered scene leads into a confrontation with Isbrand’s Shade, named “Isbrand, The Broken Shade” in the combat profile.
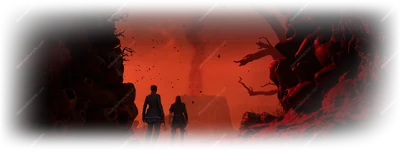 Understand Anachora’s role
Recognising the Broken Shade’s attacks
The Shade fights as a vrakhir, mixing attacks you can block with attacks that demand a dodge. Watch the attack cue and distance together. A red-skull warning at close range calls for a backward dodge away from his claw attack; at range, be ready to step sideways out of the shriek instead. The shriek stuns Coen, leaving him exposed to the next attack if it connects.
His teleporting approach provides a clearer counterattack opportunity. Track where he reappears, read the incoming direction and time your block for the strike. A successful perfect block creates an opening to answer with your Weapon Art. Chasing every disappearance can leave you reacting late to the actual attack.
Lacra contributes damage during this fight. The Bosses profile lists the encounter’s health and damage at each enemy level, letting you compare the Shade with other bosses under the same conditions.
Should you invite Isbrand into Coen?
The decision comes after defeating the Shade. Open the outcome details when you are ready to decide his fate.
Reveal invitation consequences and the shared reward
Inviting Isbrand gives his consciousness shelter within Coen. He can occasionally speak from inside Coen’s mind, making him a continuing voice rather than a restored physical companion. Choose this response if you want to spare him an eternity in Anachora or hear his later remarks.
Refusing leaves him in Anachora. This choice does not give Brencis access to Isbrand’s abilities in the final battle. The decision therefore works differently from the strategic concerns attached to certain boyar invitations: accepting Isbrand is not required to remove one of the final boss’s powers.
Lacra accepts either response, and both outcomes award the Piercing Shriek ability rank from this encounter. You do not need to invite him to obtain that reward. If you already learned a rank through Brencis’s blood, use the ability guide to account for the combined progression.
Isbrand’s armour and the separate pickups
Two wearable pieces carry Isbrand’s name. His Plate is the chest piece associated with the chamber reached during Hive and Seek. His Greaves come from a different kobold nest in central Rockfalls. Finding one does not mean the other has been collected, and neither is the reward for the invitation decision.
For the Plate, check the chest against the right-hand wall before the conversation advances the quest. Use the individual Armour entries for the equipment properties and the separate greaves location.
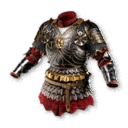 Isbrand’s Plate: chest piece
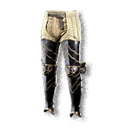 Isbrand’s Greaves: leg armour