THE FIELD GUIDE
Where Old Devils Lie: Enolf’s riddle and the ruins
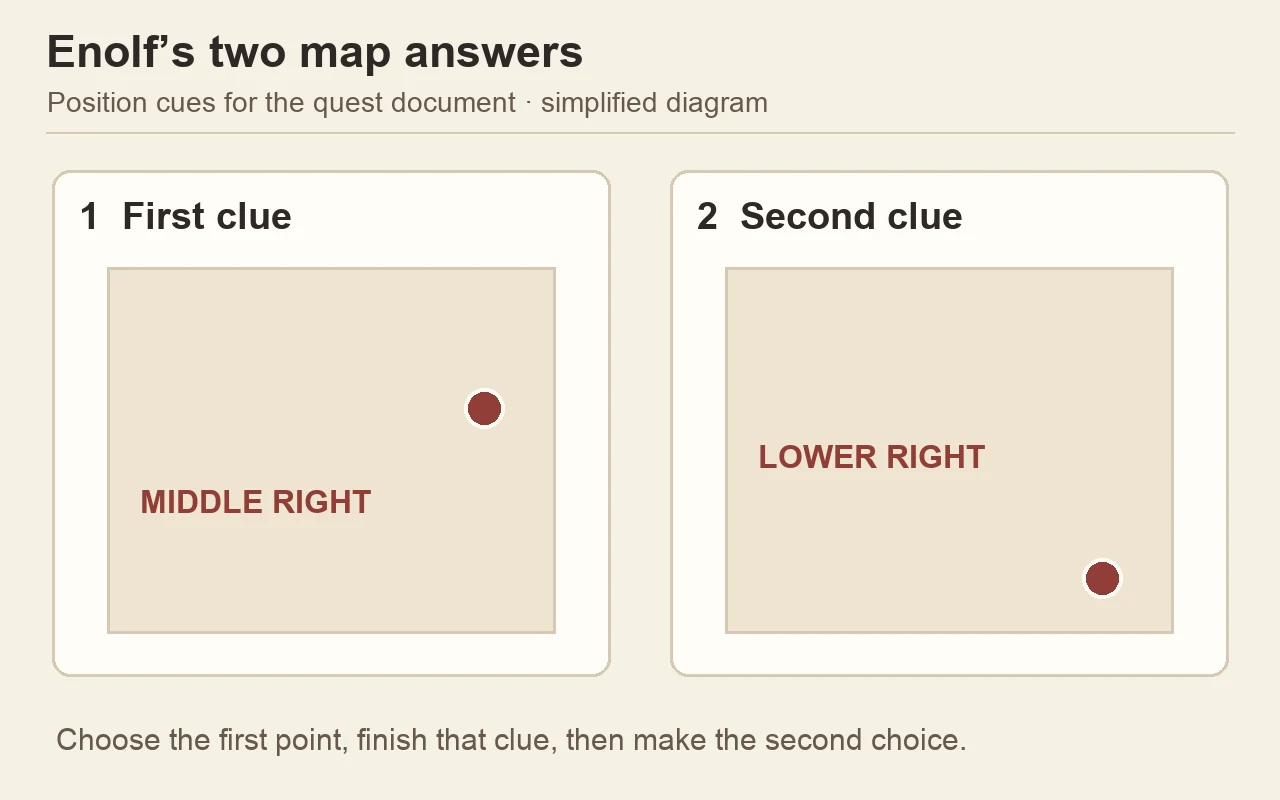
For Enolf’s riddle, choose the middle-right point for the first clue and the lower-right point near the river for the second. Return to Anca before noon to leave, then follow the water upstream to the ruins. Completing the chamber investigation opens Stronger Than Achilles.
Return to Anca after her research
Where Old Devils Lie follows Between the Words, after Anca has studied the books recovered from St. Tyna’s Convent. Her research requires an in-game day. Use the quest’s Return to Anca objective to tell when she is ready, then visit the Crossroads Inn in St. Tyna’s Grove, also called the Old Inn in this part of her story.
Speak with her about the books and the Font of Life. She introduces Enolf’s writings and the map used to interpret them. If she mentions a letter left for Coen, that is a separate lead toward A Bulwark Against Darkness; it does not replace the research conversation.
Finish the map discussion even if it is too late to set out immediately. Solving the clues and leaving the inn are separate stages, so an evening visit can advance the investigation without starting the walk.
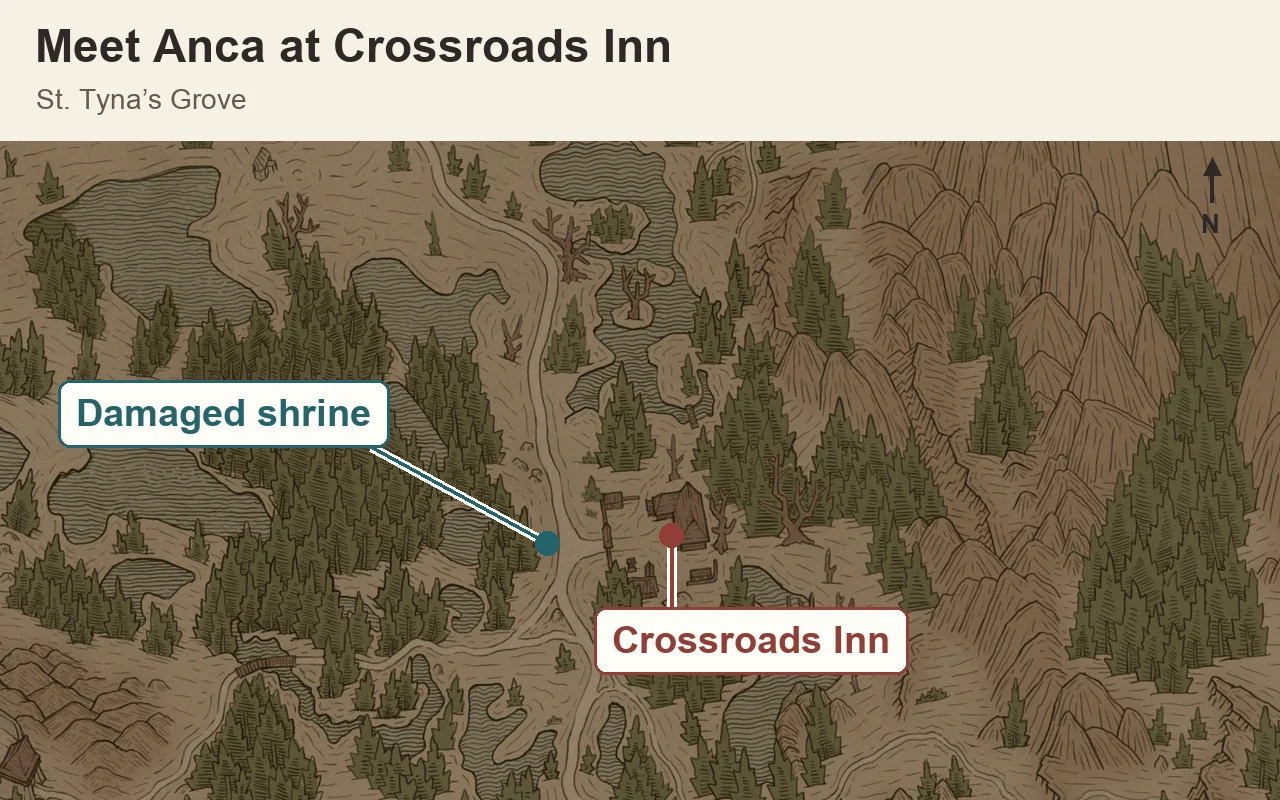
Match the two clues to the quest map
The first clue refers to “Lord’s symbol close to old devils, no souls to comfort me.” Inspect the point halfway down the right side of the map. After the discussion moves to the “tormented visage etched onto clouds,” choose the lower-right point beside the river.
Use the map presented during Anca’s investigation for these selections. The directions describe positions on that document, rather than two destinations you must visit on the valley map. Finish each clue in sequence and allow the conversation to move on before looking for the next point.
The two selections narrow the search to a lake and the landscape beyond it. They are clues to the approach, rather than a direct interaction with the Font itself; you still need to travel there with Anca and investigate the ruins.
Leave before noon and follow Anca to the lake
After the riddle, the objective can become Return to Anca before noon. Come back in the morning and choose the departure dialogue, “Let’s go search for the Font of Life.” At night she refuses because it is too late to start. Do not redo the map puzzle when the journal is already asking for this return visit.
The departure brings you outdoors near the search area. Follow Anca along the uphill route and defeat the wolves blocking the way. Let her lead until she stops at the lake overlook for another conversation. Follow the current objective through this pause rather than leaving her behind to search distant markers.
For an Anca romance playthrough, use the dedicated dialogue guide when you reach these personal conversations. The travel and investigation directions here remain useful regardless of which relationship responses you choose.
Follow the river into the ruins area
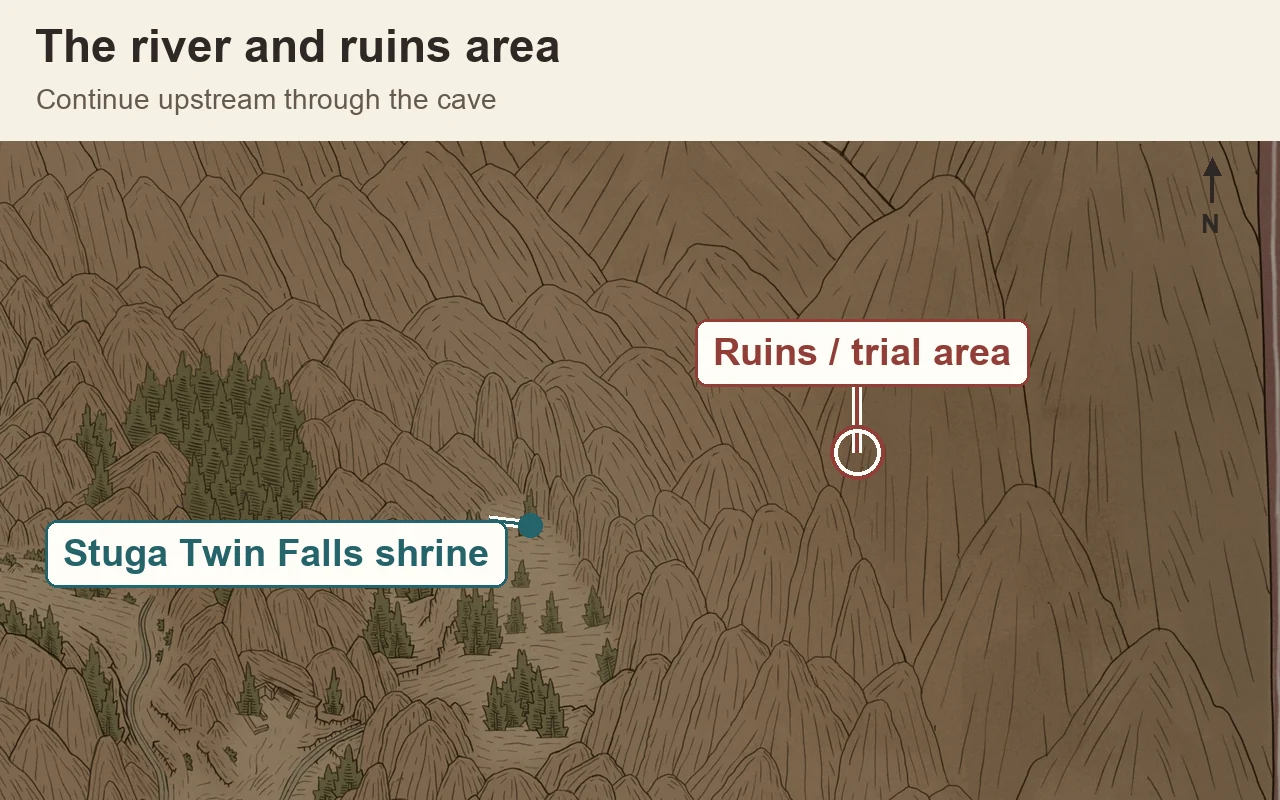
From the lake, head upstream toward the northeast and the mountains. The route passes through a large cave connecting two sections of the river. Enter that passage and continue through it to the other side, then follow the water toward the ruined complex.
Undead dogs guard the approach. Clear them, climb the rocks beyond, and let the conversation outside the ruins finish. If Coen has previously explored this area, he may already recognise the destination and receive a marker; that recognition does not complete the investigation with Anca.
At the building, the obvious front entrance is blocked. Search around its right side for a fallen column and a narrow crack in the wall. Use this side opening to enter. The exterior waypoint gets you to the complex, while the column and wall gap identify the usable entrance.
Finish the entrance painting before going downstairs
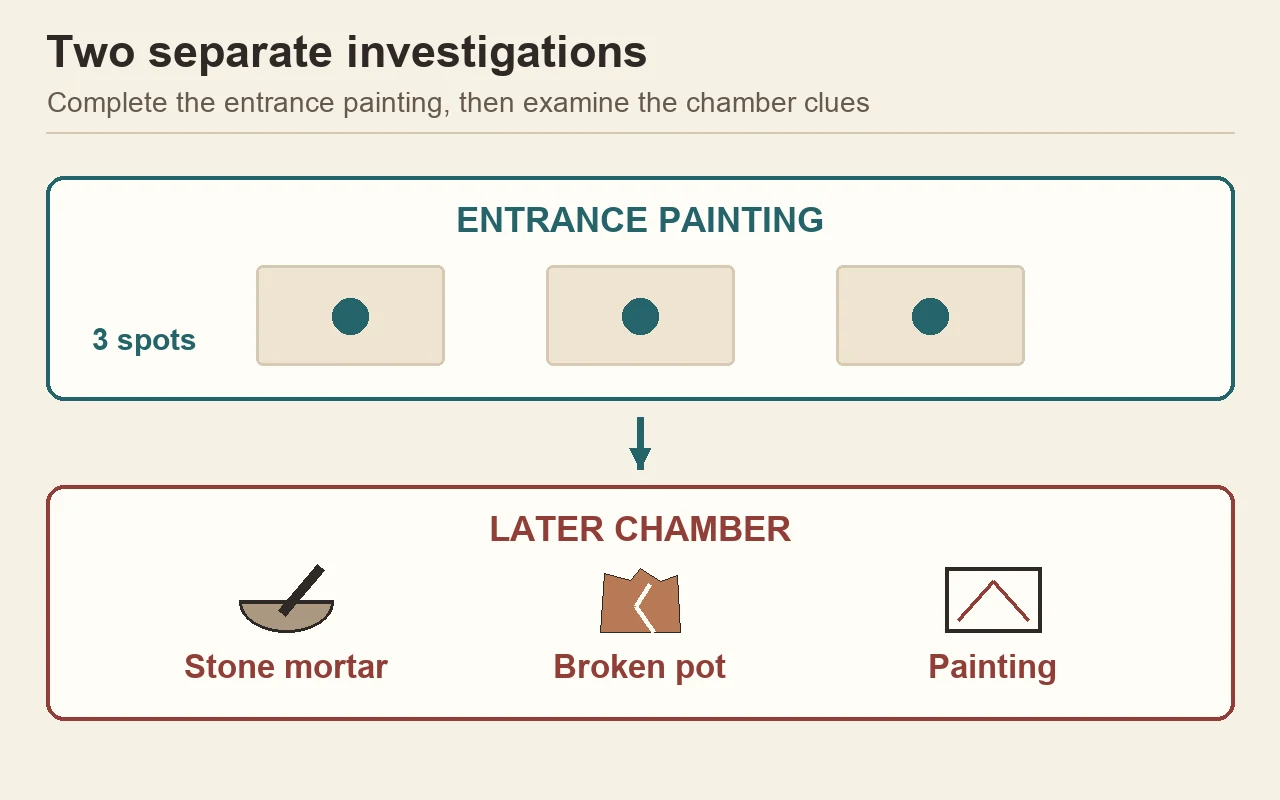
Once inside, Anca stops beside a painting. Inspect all three interaction spots on it to advance. A single examination is only part of this first investigation, so work across the available spots before continuing deeper into the building.
There are side rooms to search for optional items, but the onward route goes down the stairs and through the large metal doors. In the next chamber, defeat the two undead dogs and the undead warrior before proceeding. Leave room to defend while the dogs close in; chasing the warrior first can leave the smaller attackers behind you.
You can inspect additional paintings and statues in this room. Keep clear of the red vines, which damage Coen on contact. Their colour is a hazard cue here, not an invitation to push through the growth as a hidden entrance.
Find the mortar, broken pot and second painting
Continue to the next chamber and activate Focus Mode. On the left, examine the stone mortar beside the bowl, then the broken pot to its right. The remaining clue is the painting beside Anca on the opposite side of the room.
These are three separate investigation targets. If Anca has not started the concluding discussion, check the table objects as well as the wall: the painting alone cannot supply the full answer. The nearby bowl helps locate the mortar, but the named target is the mortar itself.
After the clues are inspected, discuss the ritual with Anca and confirm when you are ready to continue. She paints the necessary markings on Coen, allowing the sealed doorway to open. This completes Where Old Devils Lie for 150 XP and starts Stronger Than Achilles.
Prepare for the trial before accepting the ritual
The doorway begins the next quest’s trials, rather than ending the whole search for the Font. Check the displayed time cost before confirming the ritual and leave enough time for the continuation. The earlier research wait and the journey are distinct from this commitment.
If you plan to interrupt the chain, use the Anca safety guidance below before leaving her in the ruins. Hostile enemies left behind can endanger her. The Font’s eventual user choice and the later inn conversation belong to the next stage; neither is decided by your two answers on Enolf’s map.