THE FIELD GUIDE
What Moves the Dead Walkthrough
Find Silas’s workshop in Altenmarkt, open the hidden passage beneath the house and follow the crypt trail to Crake. The route includes an optional library and Crake’s dropped sword; it ends with the conversation after his rescue.
Follow Crake and Mevasser, then inspect the woodcut
What Moves the Dead begins after What Hunts the Night, when Crake brings the gargoyle’s inscription to Mevasser in Svartrau’s Neustadt district.
Resolve the confrontation outside Mevasser’s home, then follow him inside. When he displays the woodcut, inspect all four marked points on the picture.
The print identifies the workshop you need to find. Finish the discussion with Crake and either travel with him or meet him in Altenmarkt. When you split up to ask the townsfolk, continue along the street beyond the first people Crake approaches.
Ask the Old Lady with the dog about Silas
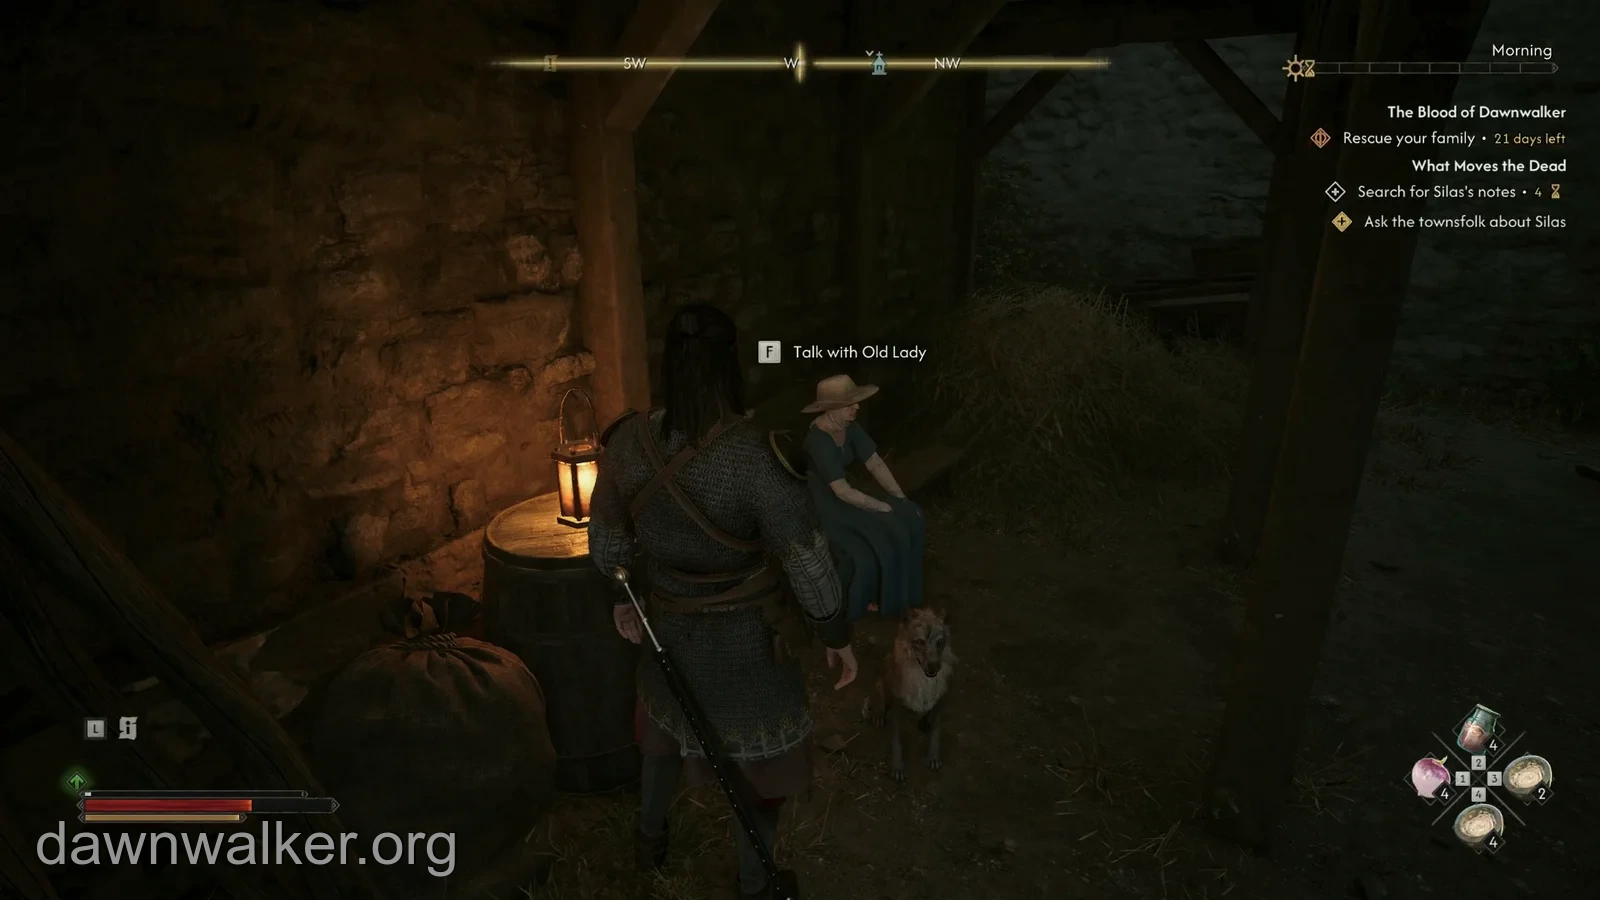
Find the seated Old Lady near a doorway, with a dog beside her and a lantern on a barrel at the porch. Approach her until “Talk with Old Lady” appears.
Ask about the old cobbler’s shop and Silas. When she asks why, choose “In short – the evil from before is back.” to get the address. “It’s a long story…” gives the longer account and costs one time segment.
Her directions update the objective to “Find the house by the stone arch.” Follow the street toward the archway.
Let Crake open the house, then check the chimney and floor
The house is on the left just before the stone arch. Bring Crake to the locked wooden door and wait for his dialogue and lockpicking. The Aged Key is used later underground.
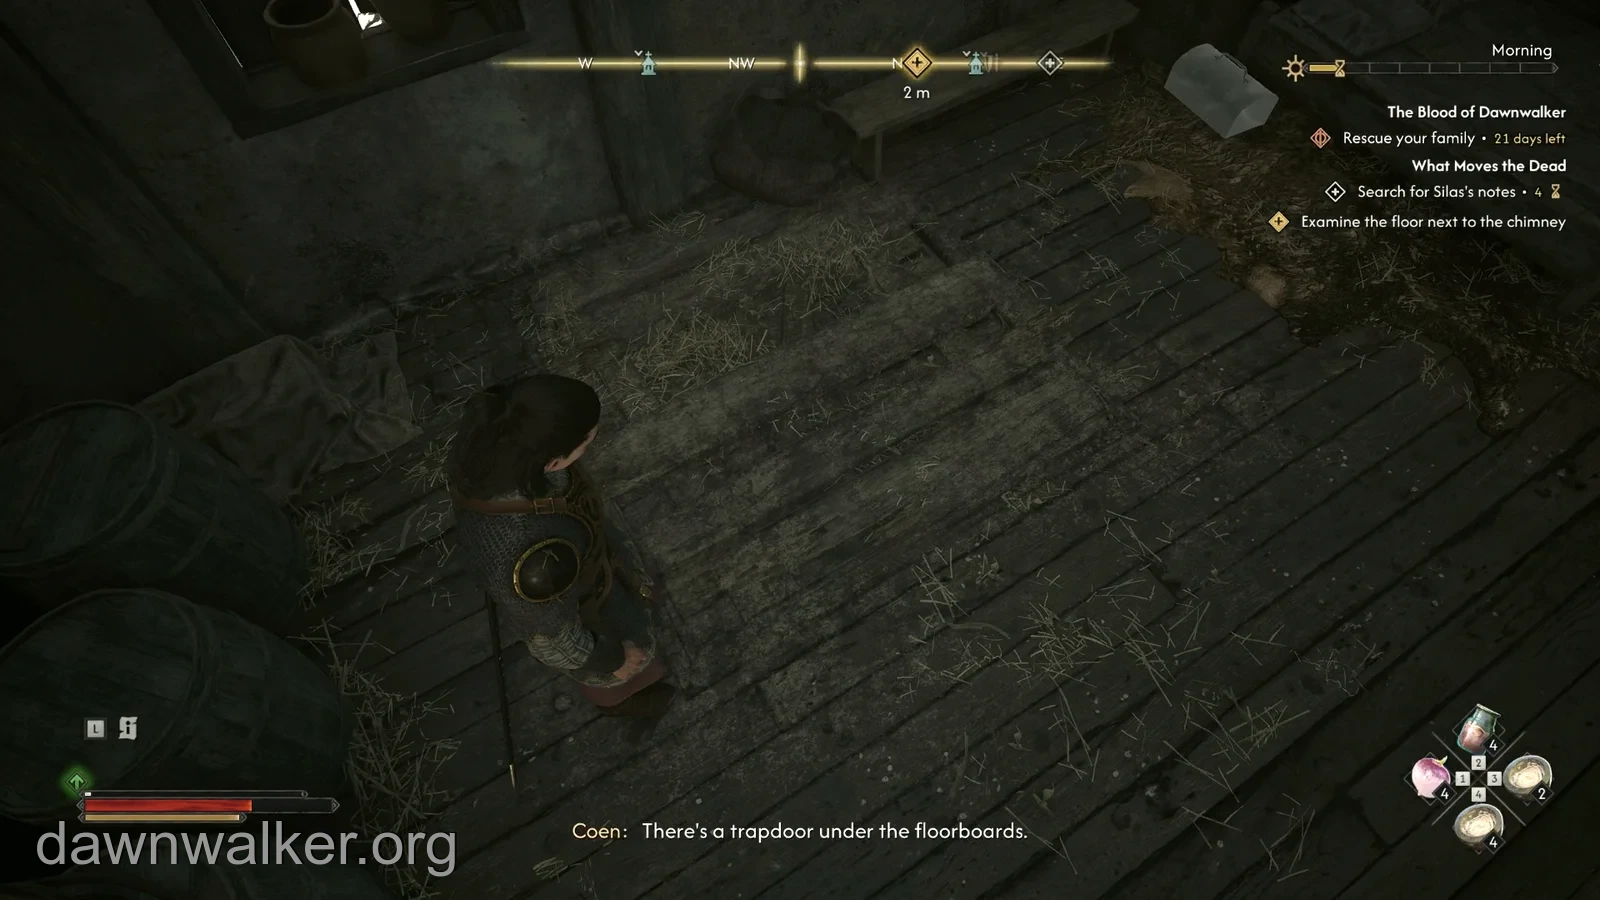
Inside, inspect the square patch on the back wall of the first room. Move into the adjoining room and examine the chimney. Coen notices that it continues beneath the floor, and the objective changes to examining the floor next to it. Look down at the distinct patch of boards on the chimney’s right and inspect it to discover the trapdoor.
The homeowner interrupts. Threaten him with “Put the axe down or else…” or pay 50 Denarii with “Take this and sod off.” Both let you continue into the basement. In our recorded route, the threat was followed by an Infamy increase.
Inspect the back-wall bookshelf to enter the ruins
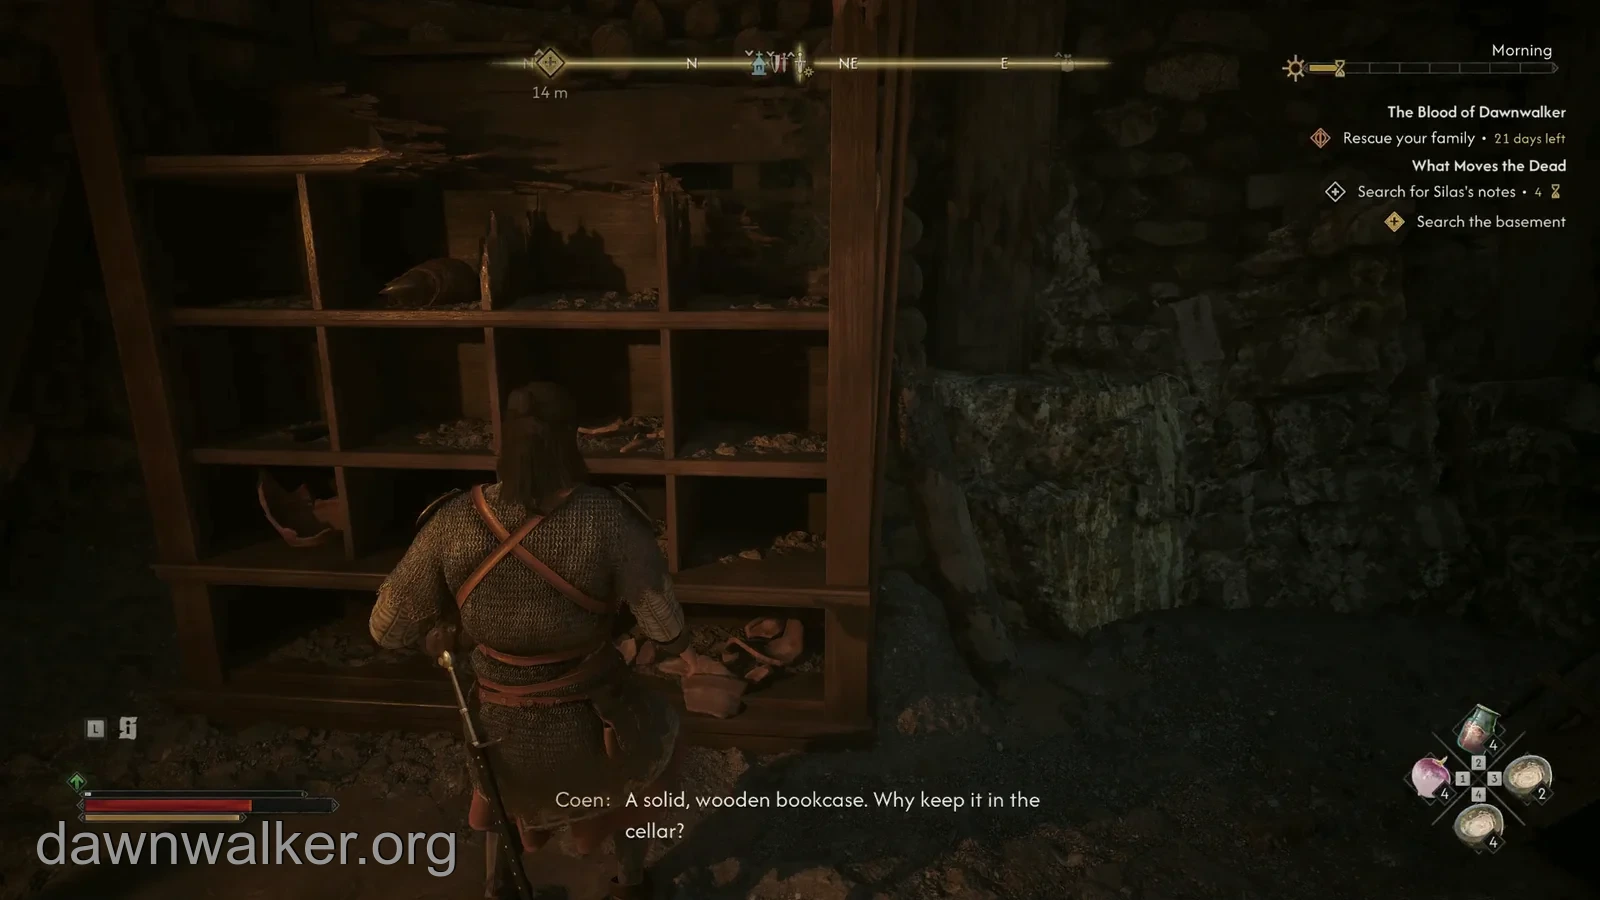
Inspect the large wooden bookshelf against the back wall of the basement. It moves aside to reveal the hidden passage.
Use Focus to find the inspection points. The note Regarding the Laboratory explains the concealed entrance. Once the shelf moves, follow the passage into the ancient ruins and onward to the laboratory with Crake.
Read the laboratory page and use the Aged Key before moving on
Read the page on the laboratory table to receive A Page from Silas’s Book. It is separate from the complete Silas’s Book recovered in the later tower quest; the Life Lock reward belongs to that book.
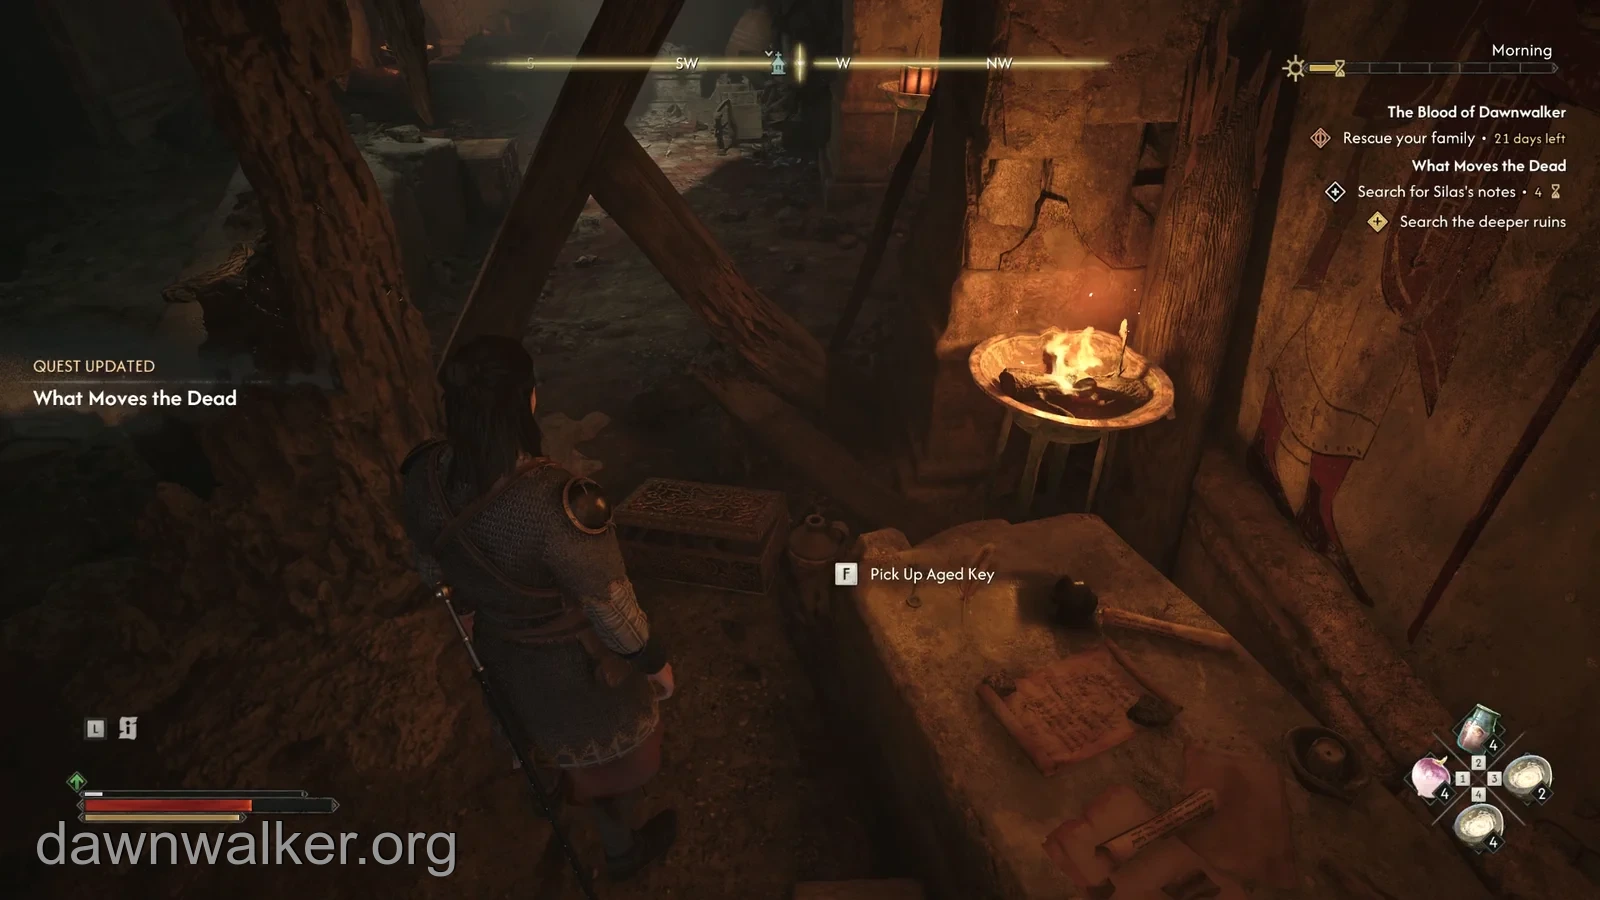
Before following the footprints out, collect the Aged Key from the other table beside the brazier. Use it on the nearby locked door to enter the optional library and search the shelves for a Witchcraft manual.
Return from the library to the footprints and follow them deeper into the ruins, descending toward the crypts.
Inspect the body, then follow the blood and collect Crake’s Sword
Continue through the crypts, inspecting the remains you pass, until you reach the larger room filled with coffins. Examine the body beside a lantern and take the paper next to it. This triggers Crake’s abduction and the objective “Rescue Crake.”
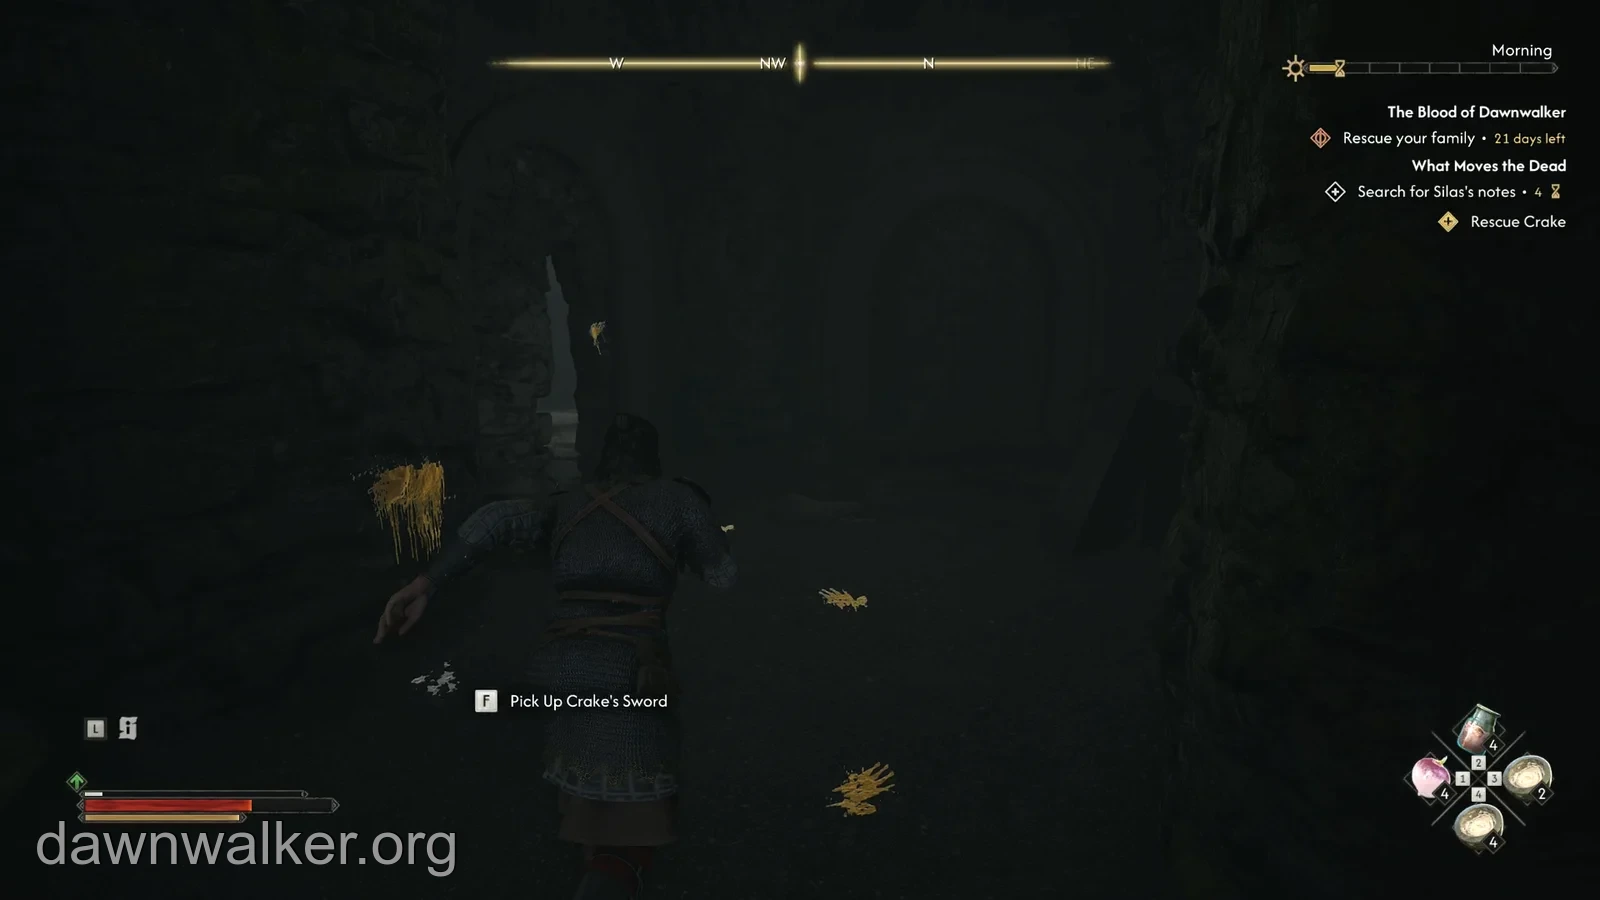
Turn back toward the route you entered and use Focus to follow the fresh blood. Inspect the trail when prompted. Pick up Crake’s Sword from the ground immediately before squeezing through the narrow opening in the wall.
Clear the hellhounds and defeat the Crypt Dweller
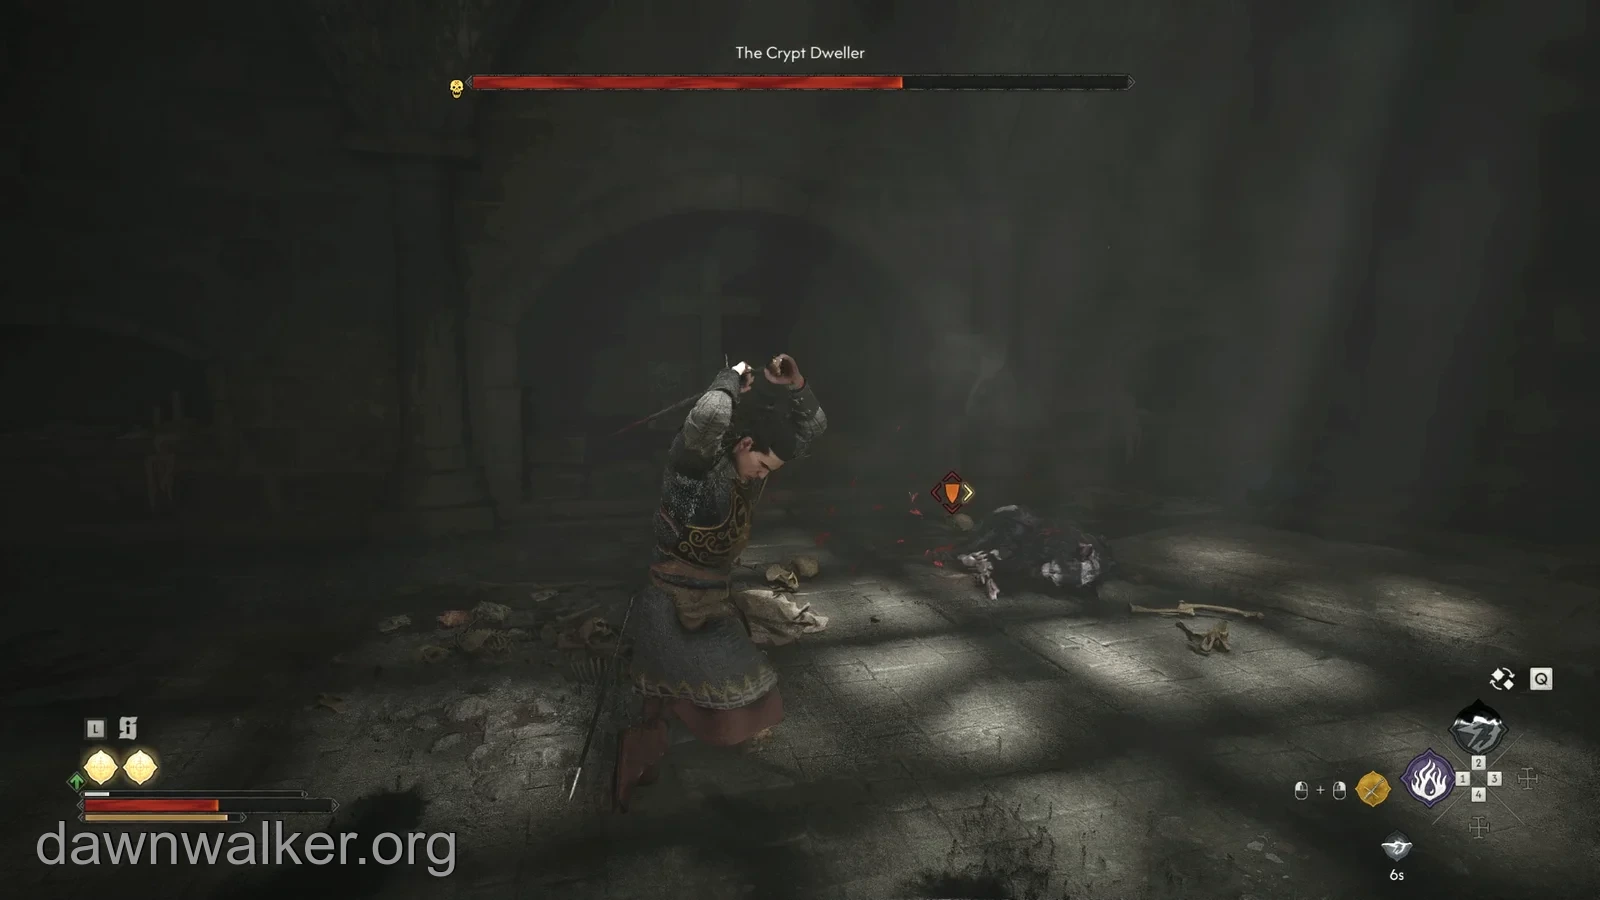
The rescue route has a hellhound encounter before the final chamber, where more hellhounds accompany a murohn named The Crypt Dweller. Keep recovery available between the two fights.
In the final room, try removing the dogs while keeping the larger enemy in view. This reduces the directions you need to defend. Avoid chasing a dog into a corner with the murohn behind you, and leave room to dodge when it relocates.
Watch for the murohn moving away and launching back toward you, as well as its shrieking attack. Dodge sideways from the shriek and use the following opening for a short counterattack. Watch the attack warning to judge whether to block or evade a leap.
After the battle, search the murohn’s body and the chest at the back of the chamber for Ring of Fortitude and Yellow Padded Tunic.
Use the nearby door and stairs to lead Crake outside
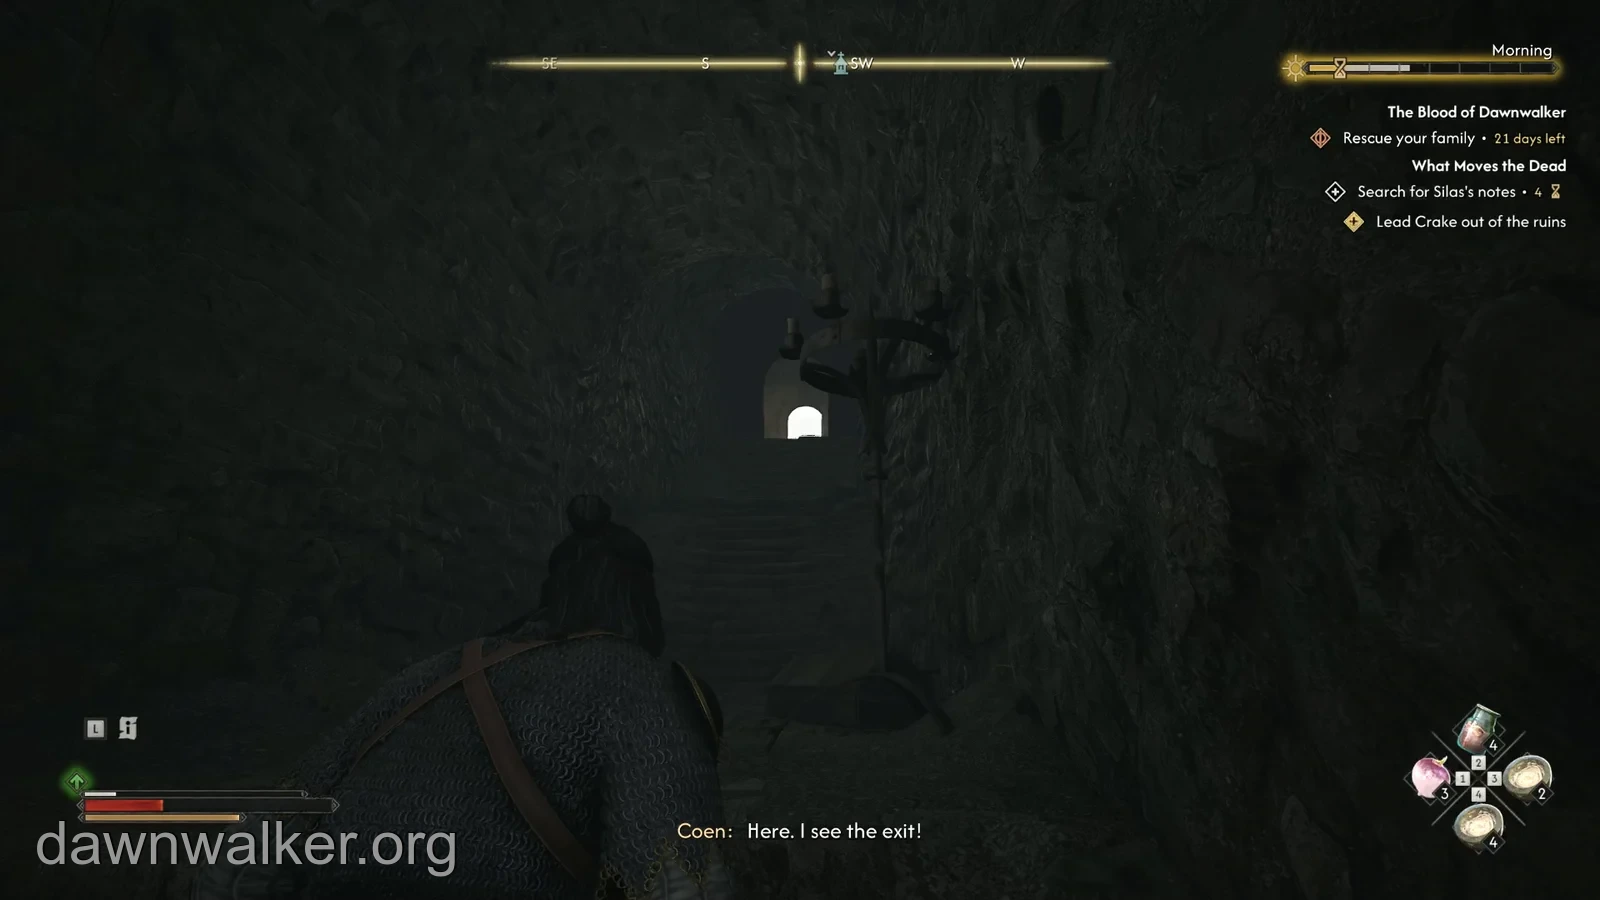
When the objective becomes “Lead Crake out of the ruins,” use the nearby marked doorway and climb the successive flights of stairs to the cemetery exit. This avoids retracing the crypt and workshop route.
Outside, finish Crake’s conversation about Aurelius. Choose “First, I’ll walk you back to the hideout.” to continue his personal story and help with his injuries. Check the time cost beside that travel option before confirming.
Help Crake at the hideout and finish the handover
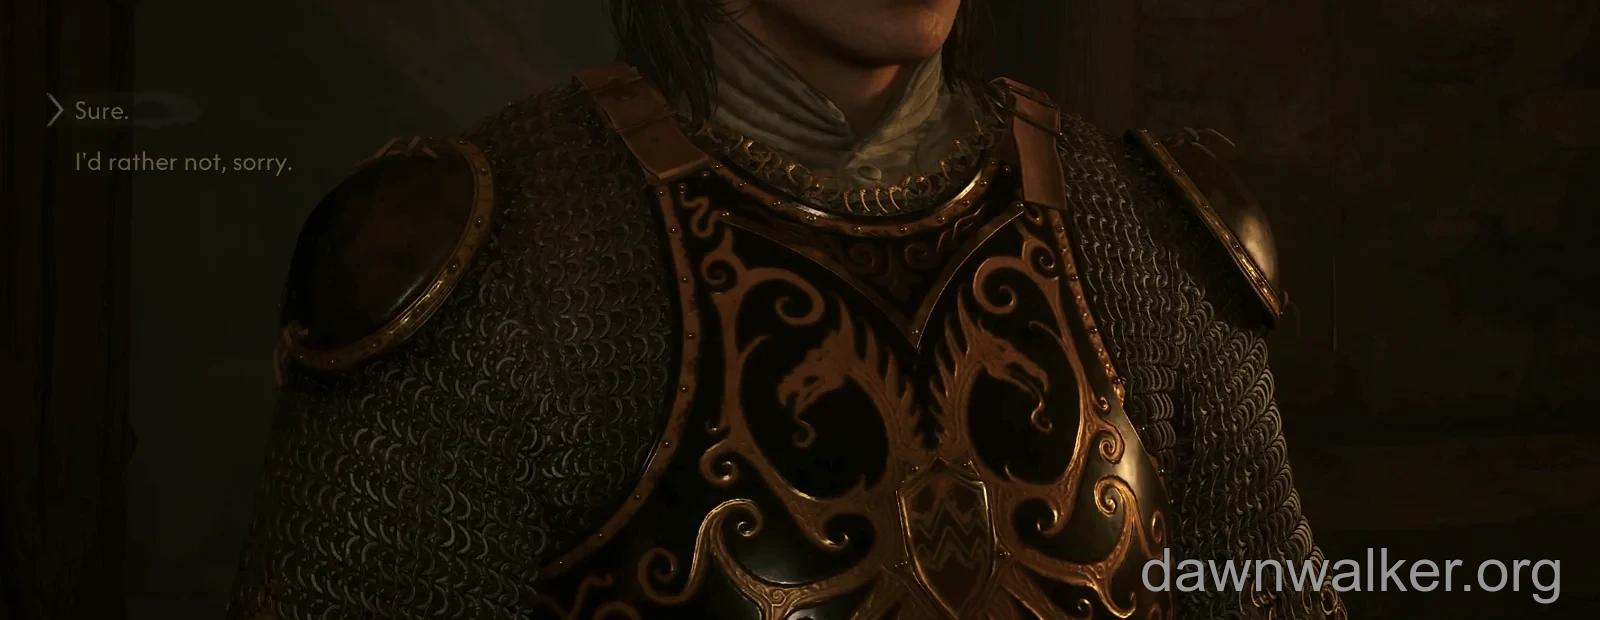
At the hideout, offer “Let me help.” when Crake struggles with his armour. Continue through the wound conversation. The supportive sequence used in our route was “Quite bad.” followed by “Sure.” when he asks you to patch him up.
After treatment, Crake asks you to observe Ascar, setting up the optional Distant Shadows quest in his personal story.
Finish the conversation to complete What Moves the Dead. Who Pulls the Strings then directs you to Aurelius’s Tower; use the tower walkthrough for that next main-story objective.