THE FIELD GUIDE
What Hunts The Night Walkthrough
Investigate St. Teotim’s Church with Crake, defeat its gargoyle and escape through the Middens. The meeting requires night; opening the belltower doors starts the boss fight.
Report the missing scouts’ fate at the hideout
What Hunts the Night follows Where Loyalty Lies. Return to the manumits’ hideout and tell Crake what happened to the scouts.
The discussion includes Layos and the clues recovered in the Middens. If you searched the courtyard soldiers, read their orders before choosing your response. They describe how Layos could be followed without realizing that his movements exposed the rebels. Crake identifies Teotim as the church to investigate.
Crake offers to travel together immediately or meet after sundown. Going with him advances the time to the meeting; arranging to meet later leaves you free to finish another activity first. Check the time cost shown beside the travel option before accepting.
Find Crake and Sara at the church after nightfall
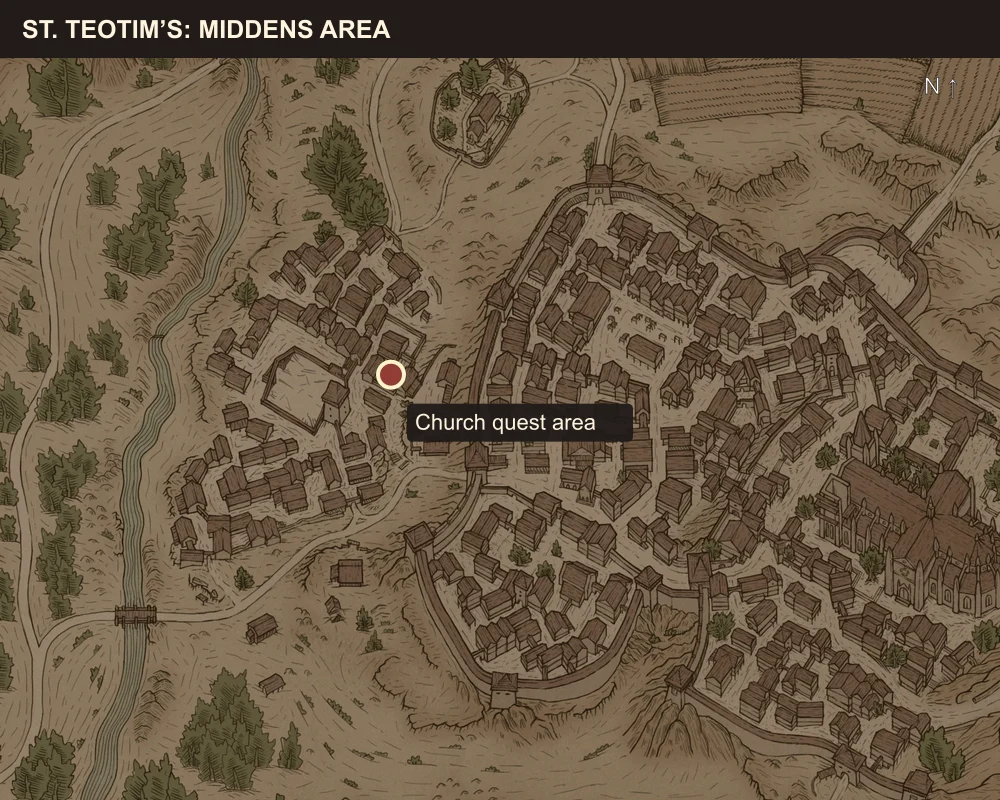
The meeting is in the central Middens, west of Svartrau. Travel to the church area on the map below and look for Crake and Sara at ground level in front of St. Teotim’s.
Evening still counts as daytime. Arrive during a night phase such as Moonrise, after Coen transforms. Ordinary walking does not advance the story-time segments needed to reach night.
Speak to Crake and Sara to change the objective to “Follow Crake and Sara,” then follow them into the churchyard.
Inspect the remains and the belltower entrance
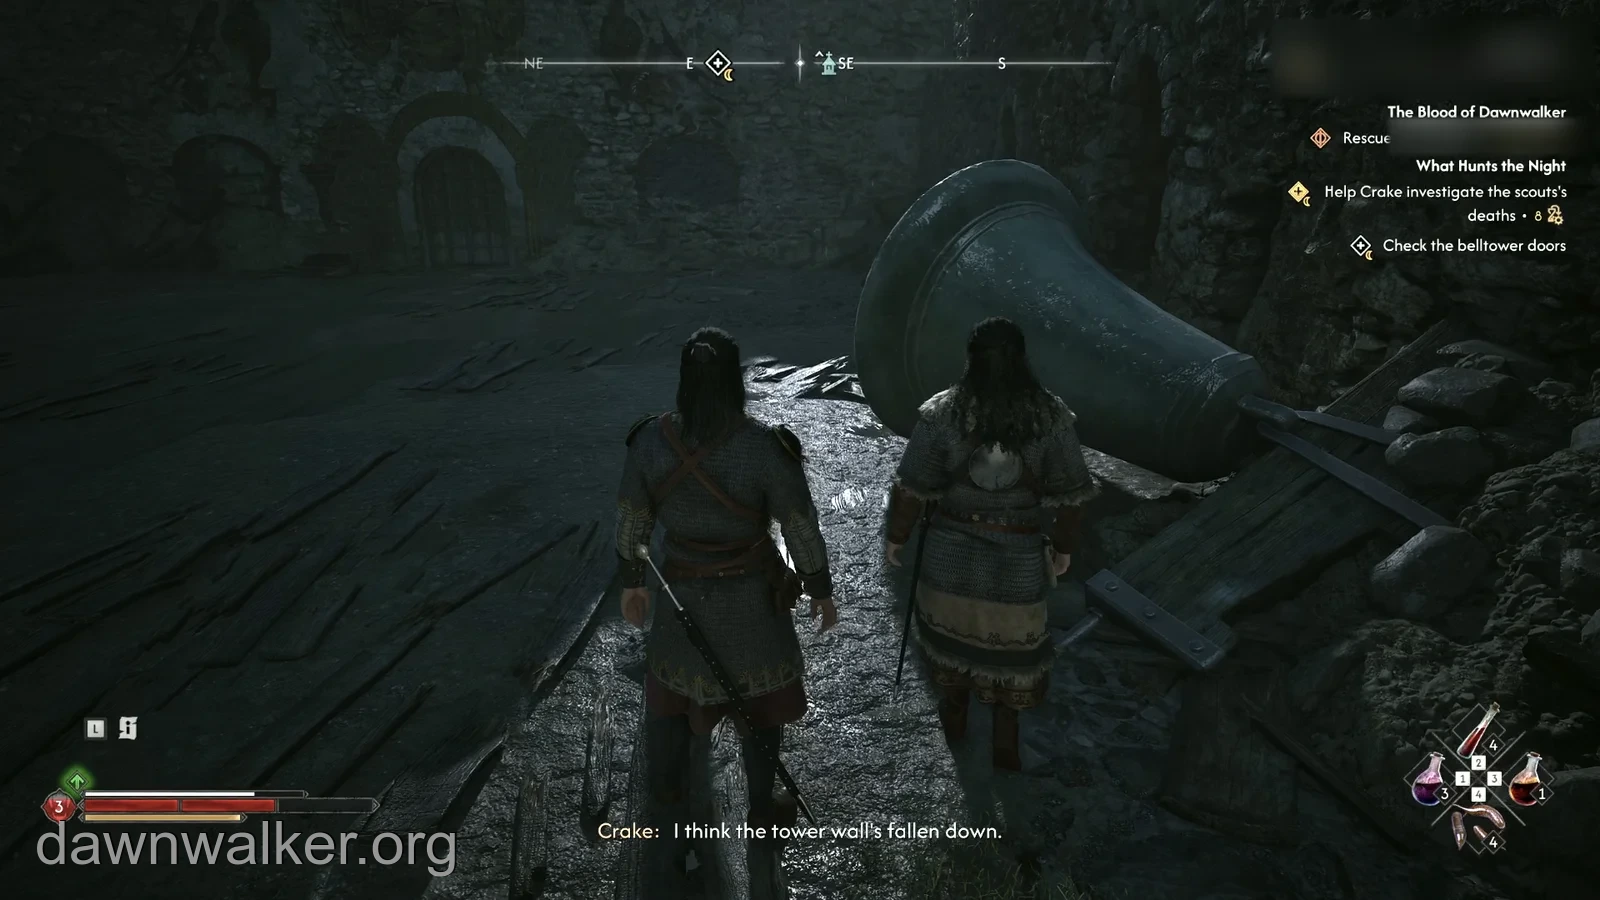
Use Focus in the churchyard to examine the stains on the ground and the large detached wing in the middle of the space.
Follow the stains toward the belltower and inspect the marks at the entrance. When the objective says “Check the belltower doors,” approach the large doors and interact.
Opening the doors begins the encounter scene. First restore your night-form health and put a recovery item on the active consumable bar; the boss fight is followed by another combat sequence.
Fight the Beast of St. Teotim’s in the open yard
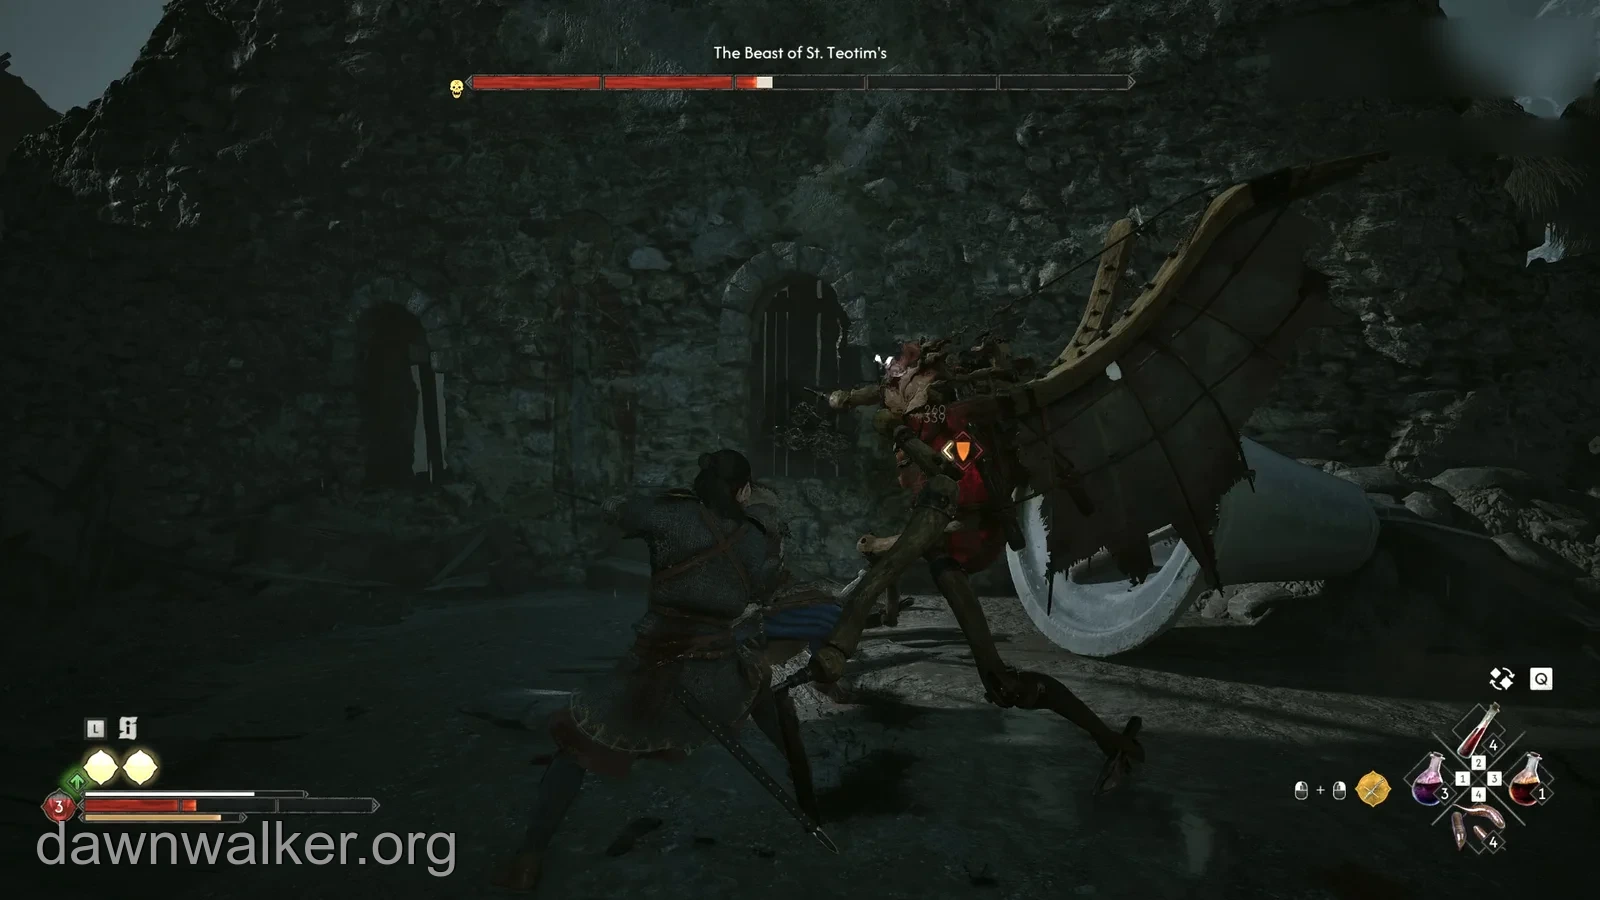
The boss is The Beast of St. Teotim’s, a gargoyle with bladed arms and a damaged wing. Its injury keeps this encounter on the ground.
Fight in the wider part of the yard. Crowding against the broken masonry or bell can restrict your movement and obscure the start of an arm swing. Watch that movement before committing to a long attack sequence.
Use ordinary defence against attacks that permit it and evade when the red unblockable warning appears. Take a short opening after a swing, then prepare for the next attack. Use recovery items during a gap or after creating distance.
On the default PC setup, Q switches between the ability and consumable bars. Select the consumable bar before pressing the slot for your night-healing item.
Collect the loot before inspecting the body
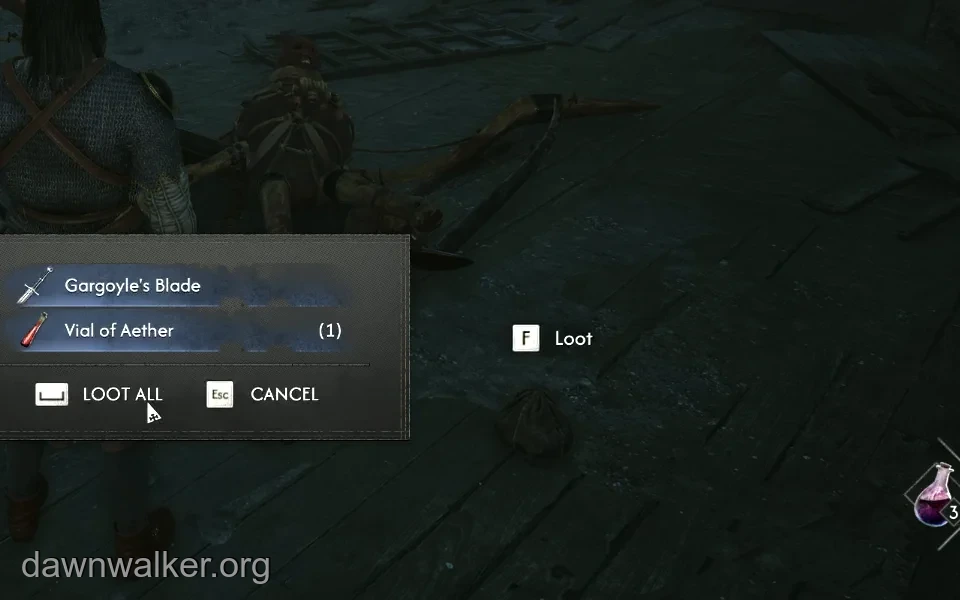
After defeating the beast, collect Gargoyle’s Blade and Vial of Aether from the loot beside its body. Do this before the detailed body examination, which leads into the next story scene and escape.
During the examination, Coen finds An Inscription from the Gargoyle’s Mouth concealed in its stitched mouth. This supplies the next lead in Crake’s investigation.
After the scene with Sara, an ambush begins and the objective changes to helping Crake escape. There is no healing-item hand-in for Sara at this stage.
Cross the wall above the blocked gate
Follow Crake through the Middens, defeating the soldiers who block his route.
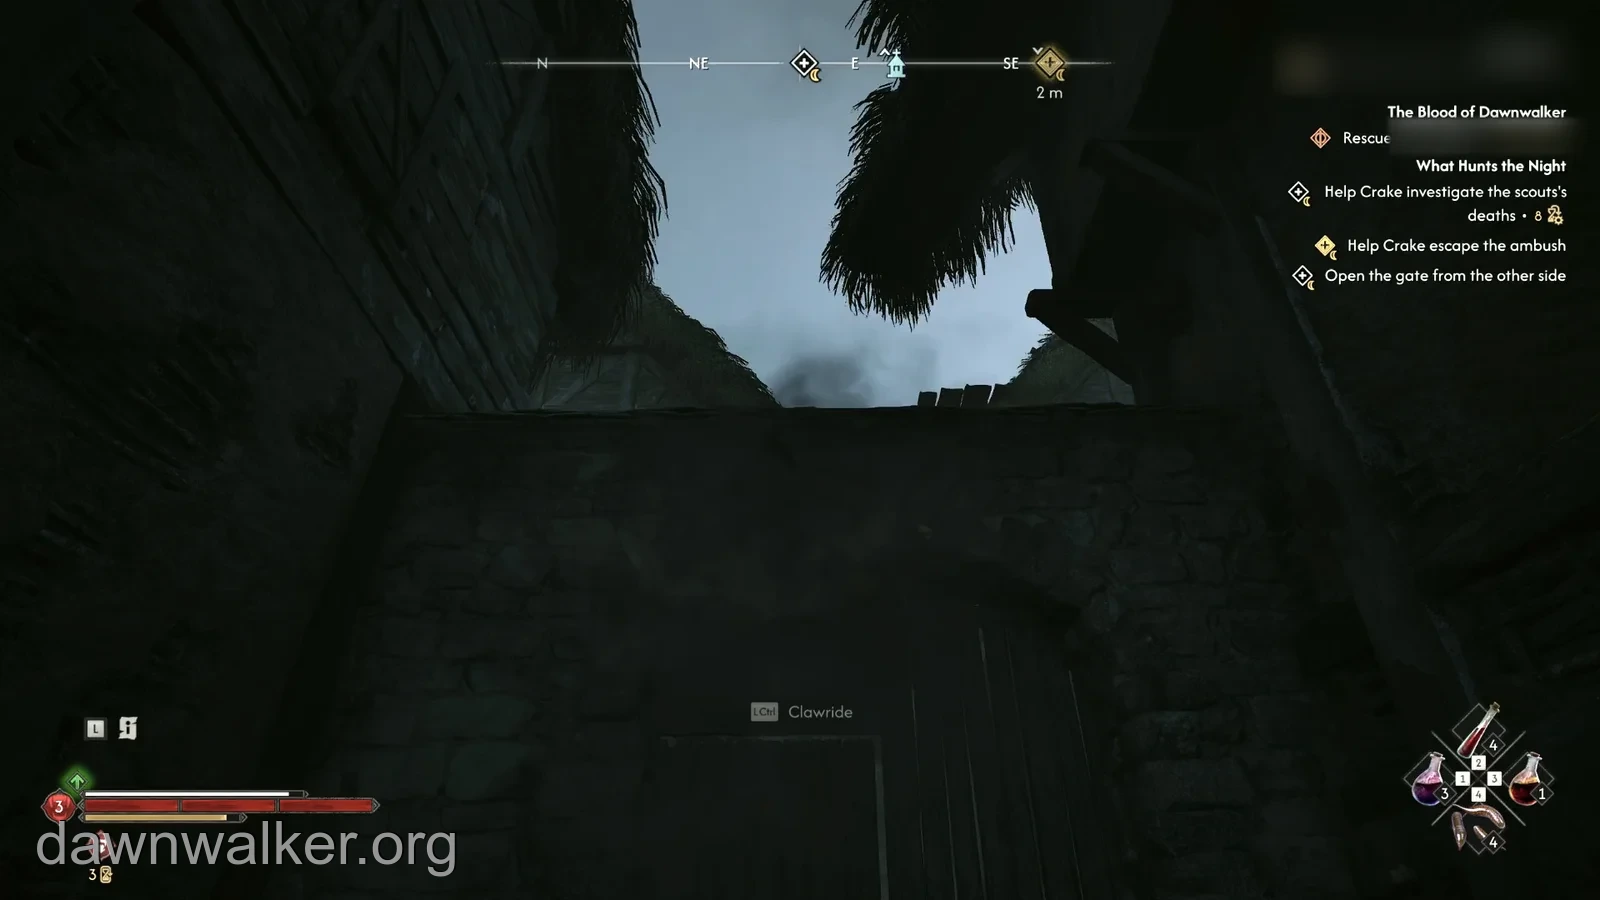
Crake eventually stops beside an arched wooden gate, and the objective changes to “Open the gate from the other side.” Climb the stone steps toward it and look up at the wall above the arch.
Use Shadowstep to reach a valid point on the upper wall. On default PC controls, hold E to aim and release when the target is valid. If you arrive attached to the wall, use the climbing or corner-turn prompt to reach the top, then drop down on the far side.
Defeat the soldiers there so the escape can continue and Crake can get through. The sequence takes you to a small shack for the aftermath conversation.
Hear Crake out and continue to Mevasser
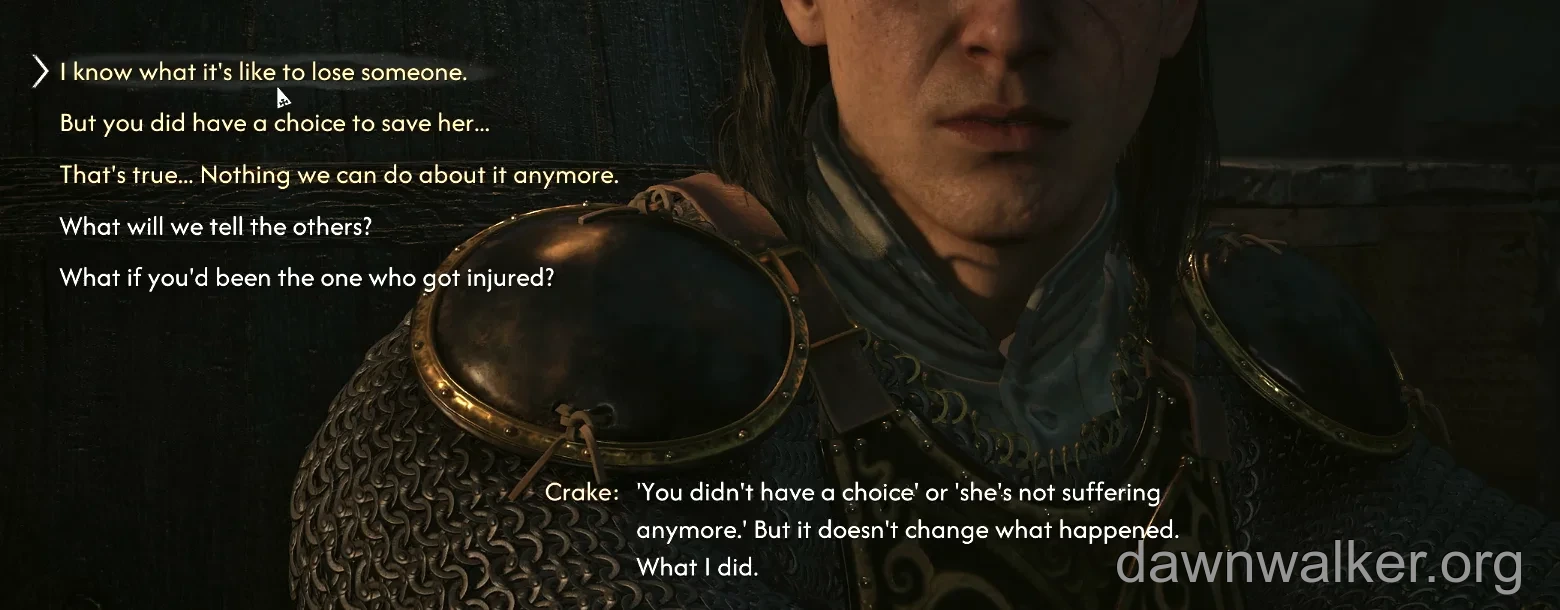
The shack conversation moves between the inscription, Sara and Crake’s grief. To explore his personal dialogue, ask “Don’t you want to talk about Sara?” and follow up with “You sure? You look upset.” Supportive responses include “I know what it’s like to lose someone” and “Maybe we could talk about them, instead.”
Show Crake the inscription when the option appears, then finish the conversation and rest sequence. He proposes asking Mevasser to interpret it. The next morning’s meeting ends What Hunts the Night and leads into What Moves the Dead, with the objective “Follow Crake and Mevasser.”