THE FIELD GUIDE
Evil and Convenience Walkthrough
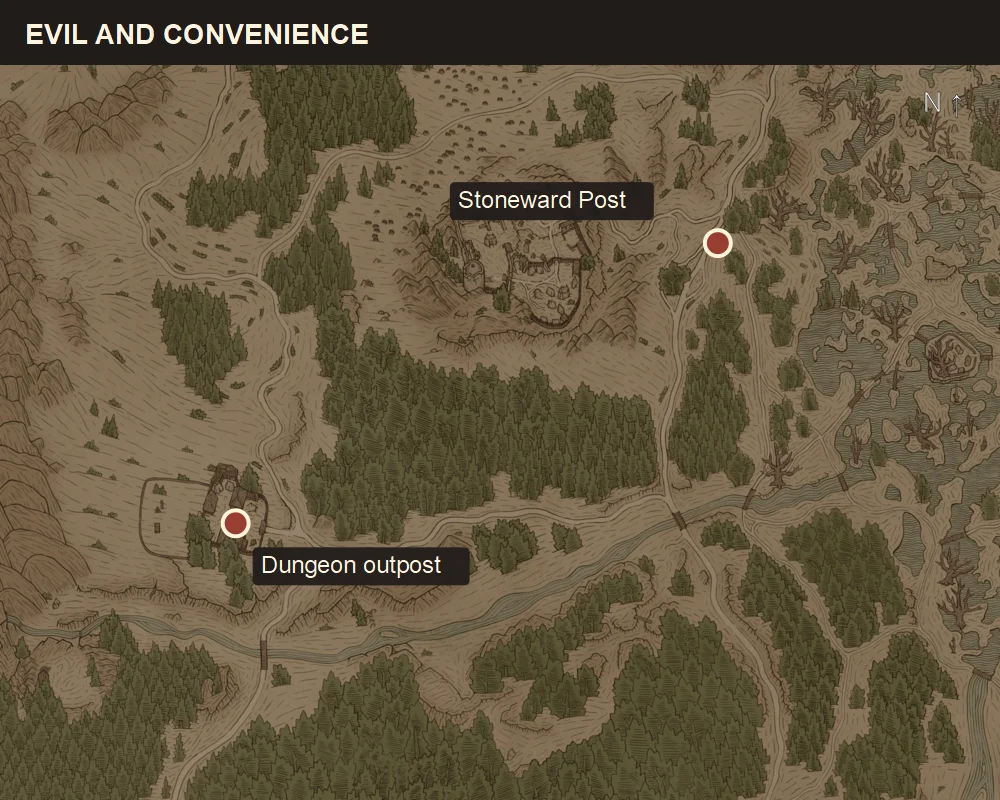
Investigate the outpost southwest of Stoneward Post, find the Brass Key in the southern barn and return to the locked house. The chief jailer can reveal a stash near a fallen tree. Follow that lead if you accept it; killing every guard alone does not finish the investigation.
Enter the outpost southwest of Stoneward Post
This Ambrus’s Dungeons activity takes place at a palisaded outpost on the western side of his territory, north of Boar’s Back. Use the map marker to find the compound, then enter through the wooden gate. Some older listings call it Evil and Conscience; the recorded Journal title is Evil and Convenience.
Deal with the hostile soldiers in the yard before concentrating on the investigation. The entrance gives you a narrower approach than the open space among the buildings. If several enemies are closing from different directions, moving back toward that opening can make their approach easier to read.
Search the bodies and pay attention to the orders associated with the camp. Other dungeon quests can appear as leads, but keep this activity selected while you investigate the buildings.
Inspect the locked house and follow the footprints
The yard contains wagons, hay, a pit with bodies and buildings used by the soldiers. Focus helps distinguish investigation points from scenery. Examine the clues on your way toward the houses.
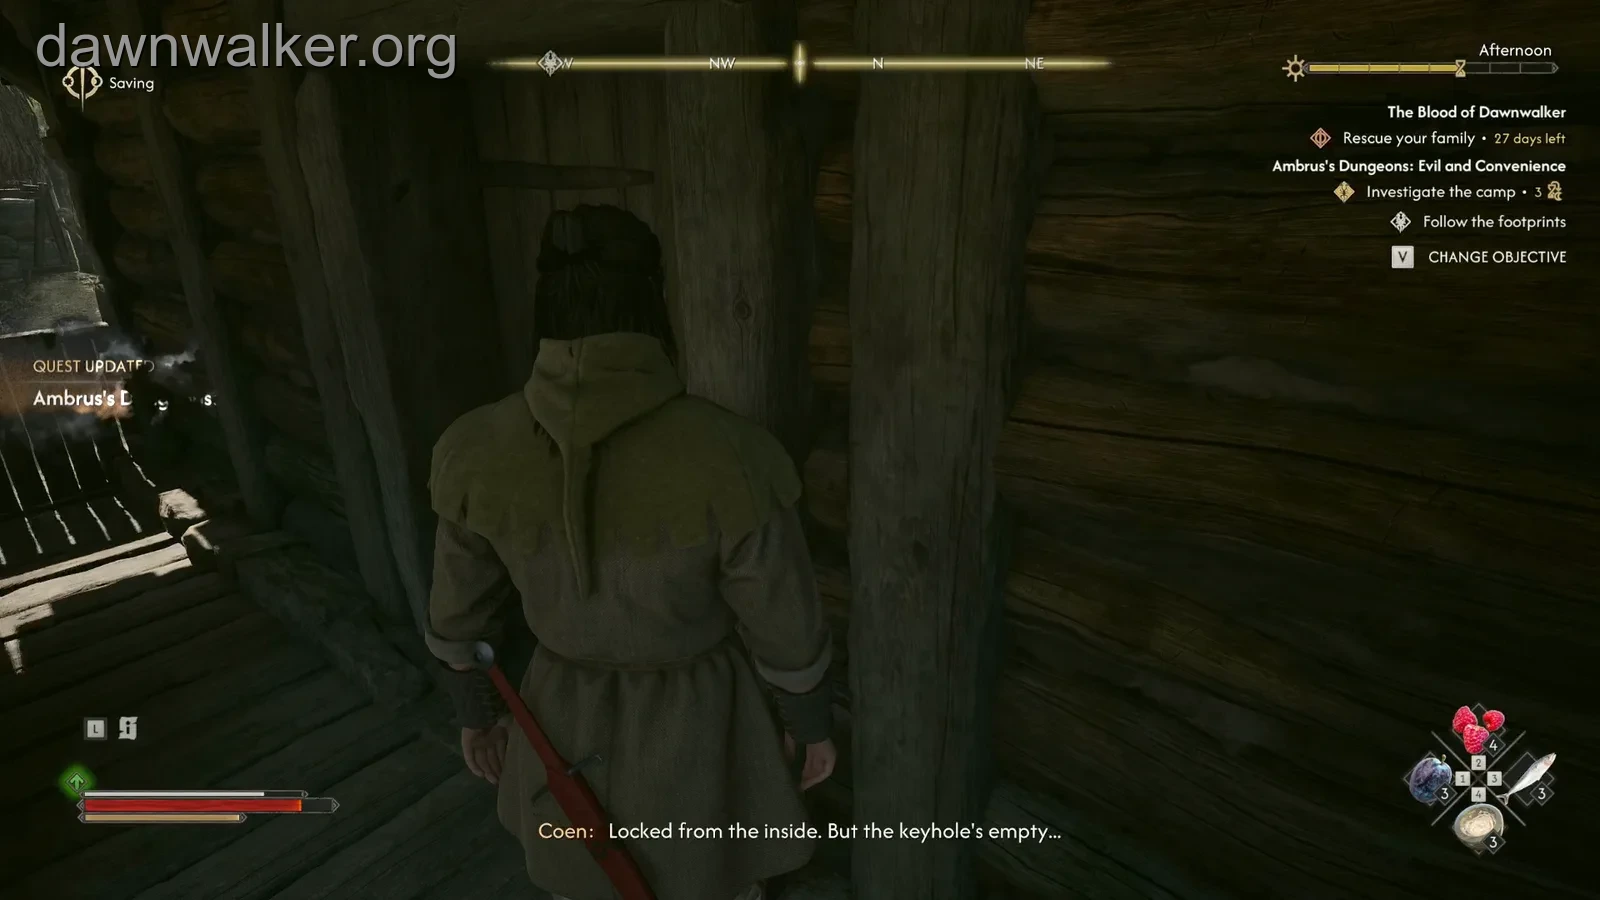
Find the wooden house with the covered frontage. Inspect its locked door: Coen observes that it is locked from inside but the keyhole is empty, and the objective becomes “Follow the footprints.”
Follow the highlighted trail across the camp toward the barn. If the footprints are hard to pick out, use the barn’s position opposite the locked house as your next landmark and check its interior.
Take the Brass Key from the southern barn
Enter the barn on the south side of the outpost. Inside, hanging bodies face a work surface holding the key and a note. Approach the table closely enough to identify Brass Key. A readable document beside it is a separate interaction, so reading the paper alone does not collect the key.
Take the key and watch for “Go back to the door.” That objective confirms that the footprint investigation has reached its return step.
Leave the barn and cross back to the covered house. Use the key at the same doorway you inspected earlier. Speak to the chief jailer inside to hear his explanation and decide what to do with him.
Choose whether to spare or kill the chief jailer
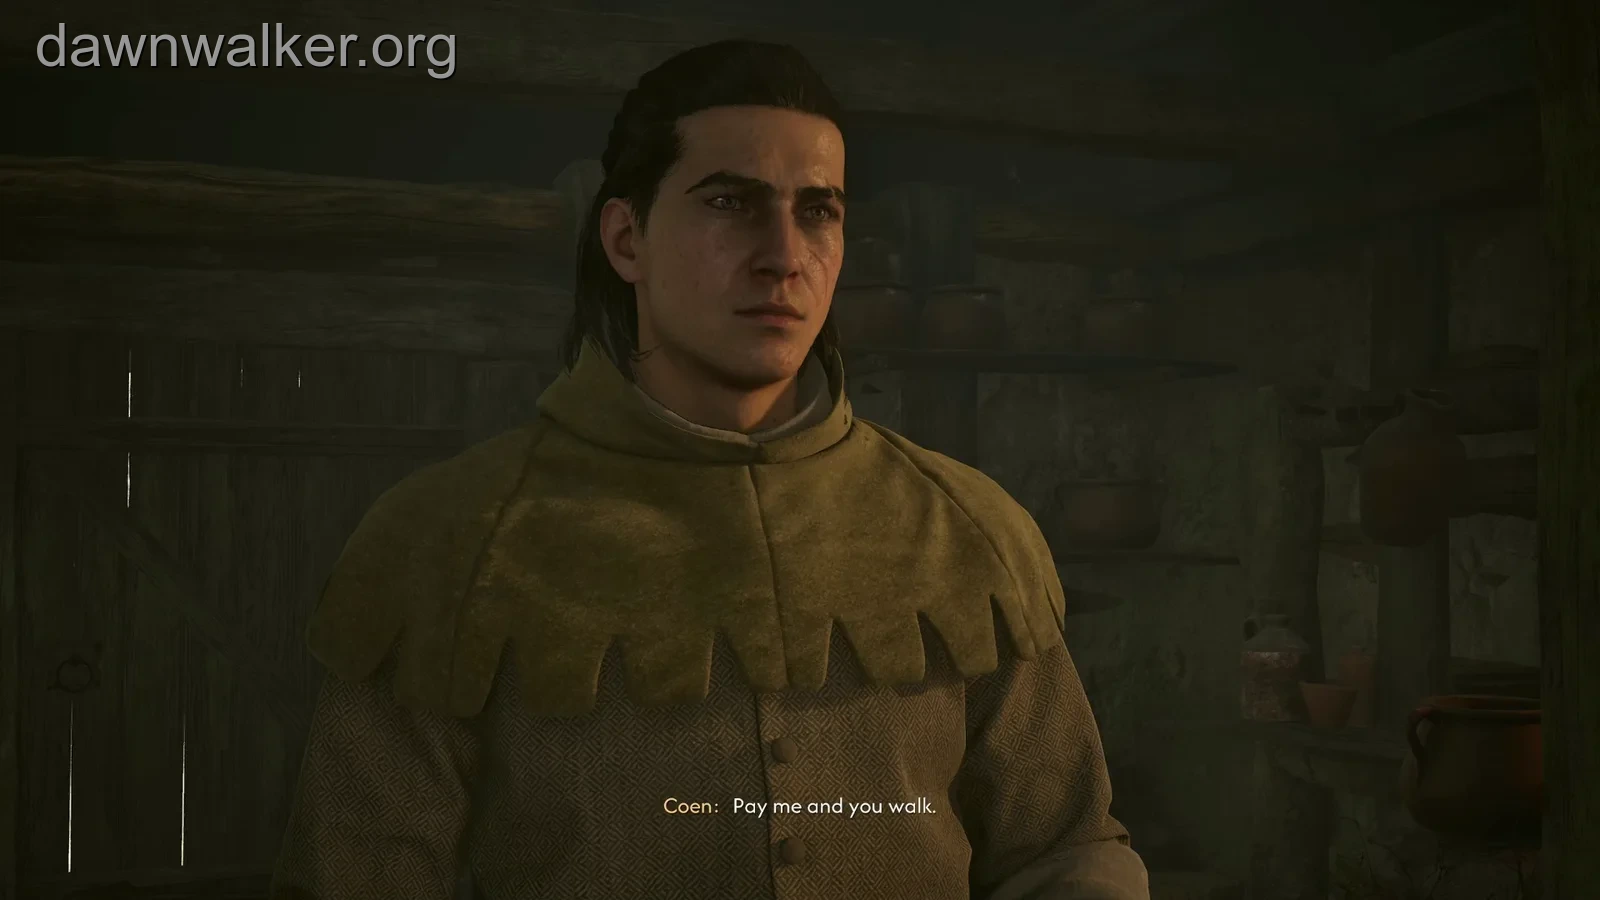
The chief jailer tries to talk his way out of the confrontation. “Pay me and you walk” asks for compensation. He tells Coen about supplies hidden by a fallen tree; the payment is that stash lead, rather than coins handed over in the dialogue. Follow with “Out. Now!” to let him leave.
“You’re not going anywhere” provokes combat. Defeating him lets you search his body for Treasure Map: Hidden Stash. Be ready for projectiles if you keep your distance during the fight. When the hunger response is offered, Coen can instead feed on him, killing him without that combat and gaining Corruption. His body can still be looted for the map.
Choose between those responses for the jailer’s fate, combat experience and Corruption cost; all can preserve access to the treasure. If you obtain the map as loot, open and read it before searching for the tree. Merely carrying the unread map does not activate its treasure clue.
Read the ledger and follow the ending you opened
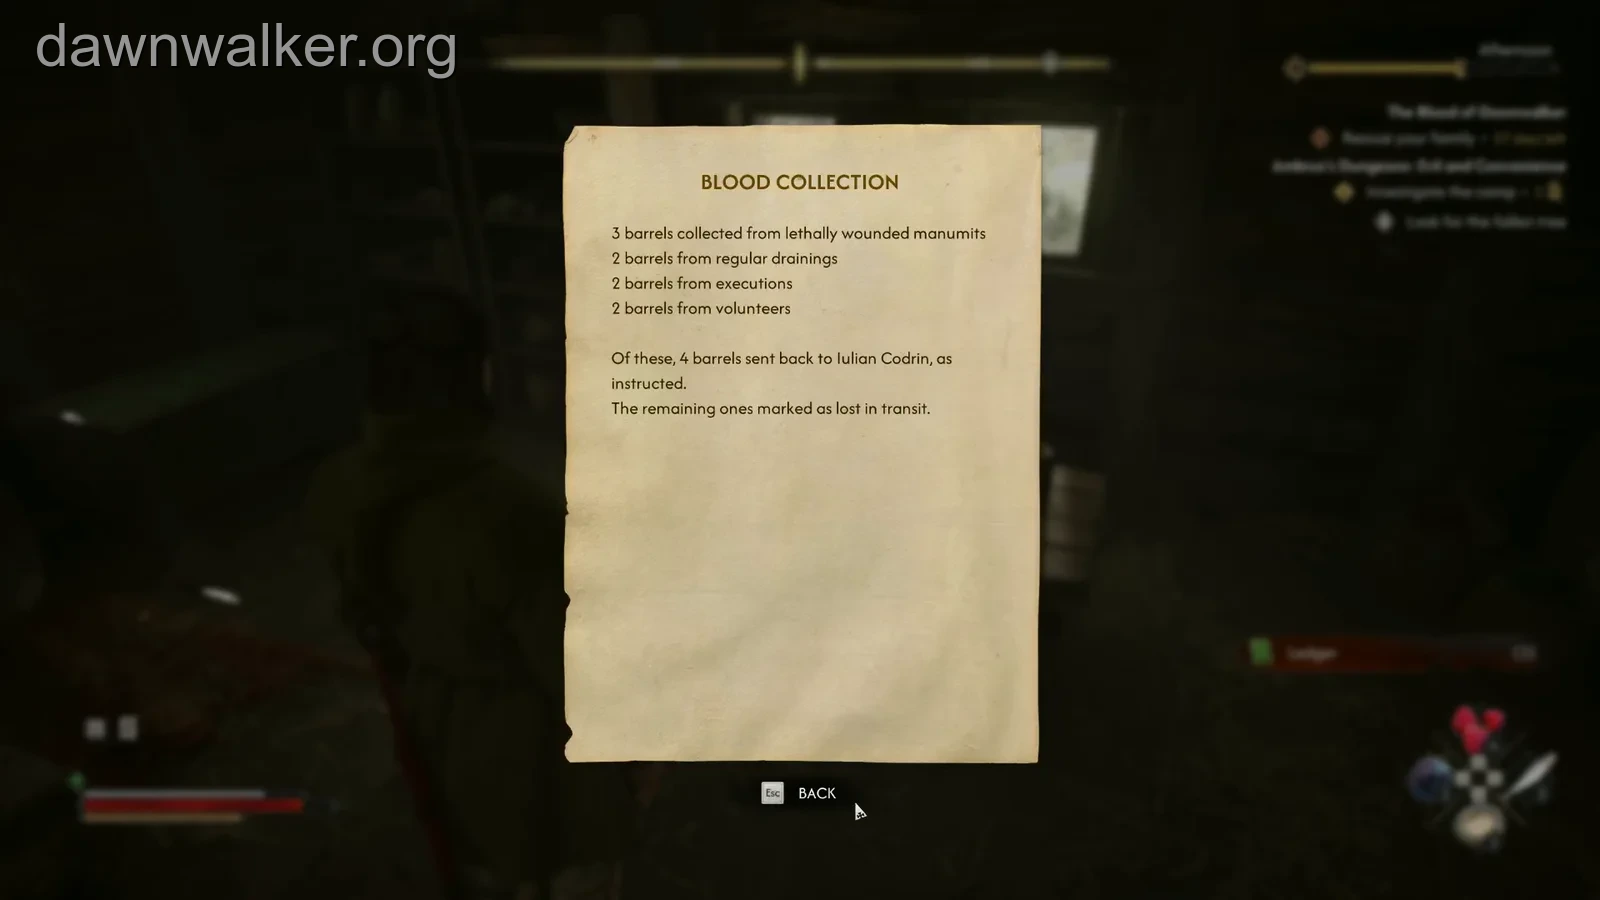
Look at the desk in the jailer’s room for the Ledger. Its opened page is titled “Blood Collection.” The entries account for collected blood, a portion sent elsewhere and the remainder marked as lost in transit. This is evidence about the operation, distinct from the note beside the Brass Key.
The ending depends on which lead you pursued. If you have not learned about the hidden treasure, reading the ledger can close the investigation. If you accepted the jailer’s stash information or read his map, follow “Look for the fallen tree” to resolve that route.
Find the stash outside the palisade
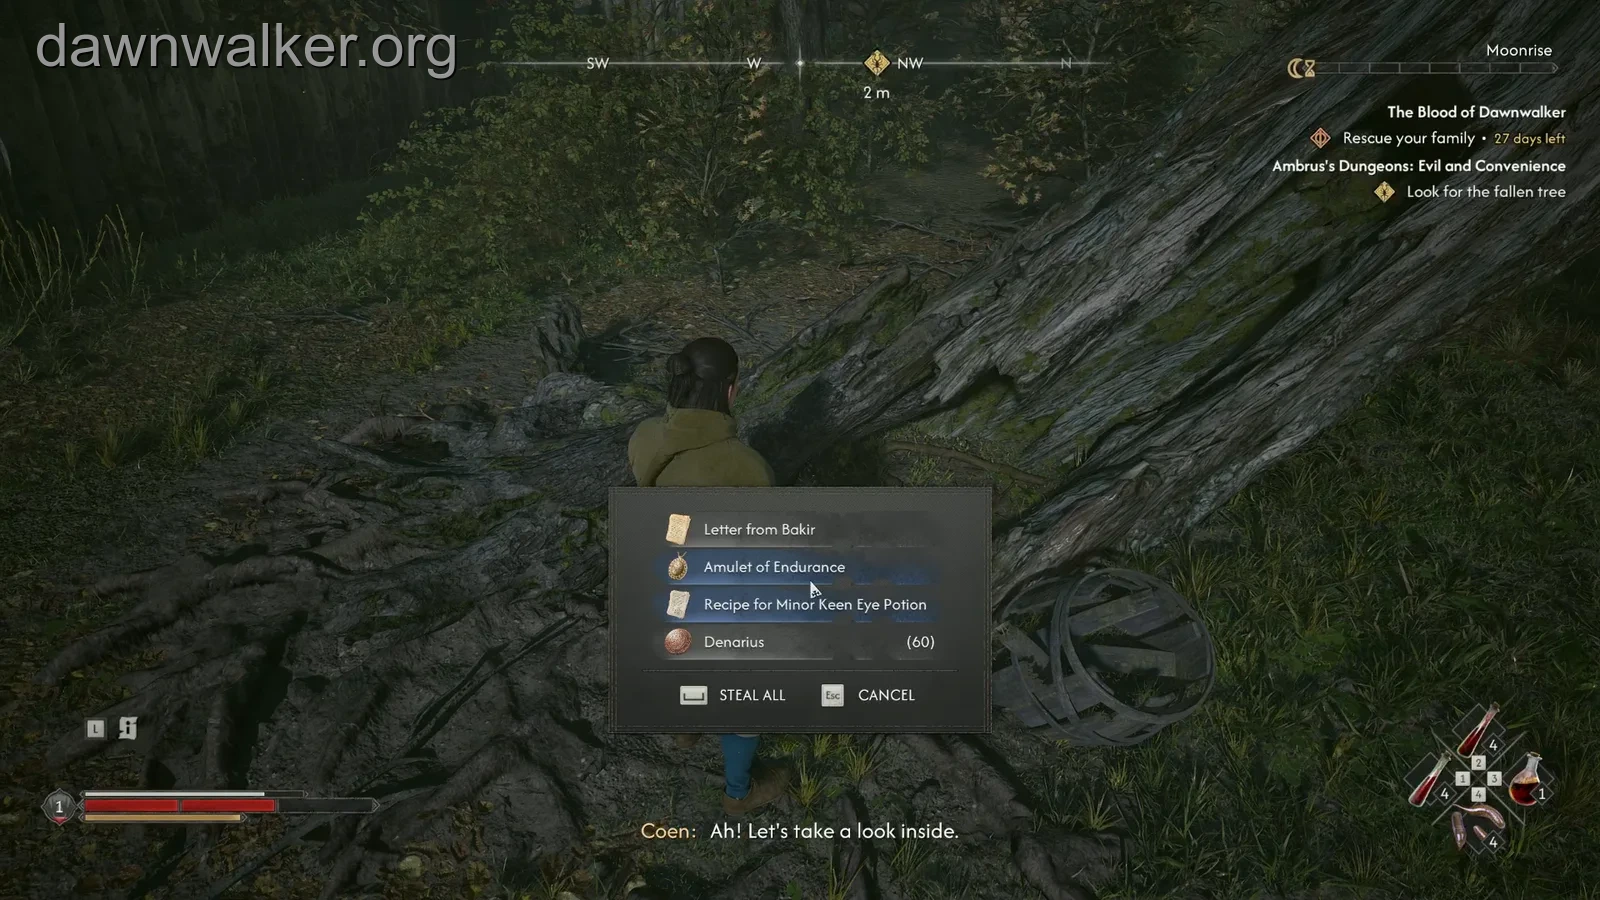
Leave by the camp gate, turn left and follow the outside of the palisade toward the fallen tree north of the compound. Look at the ground beside the horizontal trunk for the stash. The screenshot shows its loot window against the fallen wood.
Open the stash and take the contents you want. Our loot list included Letter from Bakir, Amulet of Endurance, Recipe for Minor Keen Eye Potion and 60 denarii. The letter supplies the explanation for the missing blood: Bakir has been receiving shipments diverted from Ambrus’s operation.
Read Letter from Bakir and let the concluding sequence finish. This route awards 250 XP and increases Infamy. If the XP also pushes you to the next character level, you will see the level-up and skill-point display alongside the quest result.
Leave once the investigation has concluded
Before leaving for good, you can return to the jailer’s room and search its chest for additional denarii and consumables. This is separate camp loot available after the quest’s conclusion. Keep the amulet or potion recipe from the tree if useful to your build, then choose your next objective from Journal.
If your next goal is Ambrus’s other prisons, Twists and Turns has a different key, a mountain cellar and a prisoner-release decision. Use its own route instead of applying this house-and-stash sequence to every dungeon. For the broader Court objective, compare your current Infamy rank with the requirement you are trying to meet.