THE FIELD GUIDE
Twists and Turns Walkthrough
Enter the northern Maragir Wealds outpost, clear the yard and take the mountain-side cellar entrance. Turn right below, defeat the chief jailer and collect Jailer’s Keys. The prisoner conversation resolves Twists and Turns; encouraging resistance also sets up a later encounter.
Find the fixed outpost in northern Maragir Wealds
Twists and Turns is one of Ambrus’s Dungeons, located in northern Maragir Wealds, east of Stoneward Post. Select its “Investigate the outpost” objective if it is already in Journal. The fixed compound is built against the mountain, with the prison below the rock face behind its yard.
Upper Maragir Wealds Shrine lies west of the activity area. If you have unlocked it, it provides a convenient starting landmark; from there, head east and slightly north toward the outpost. The map marks those two locations, while the actual approach must follow the terrain and roads between them.
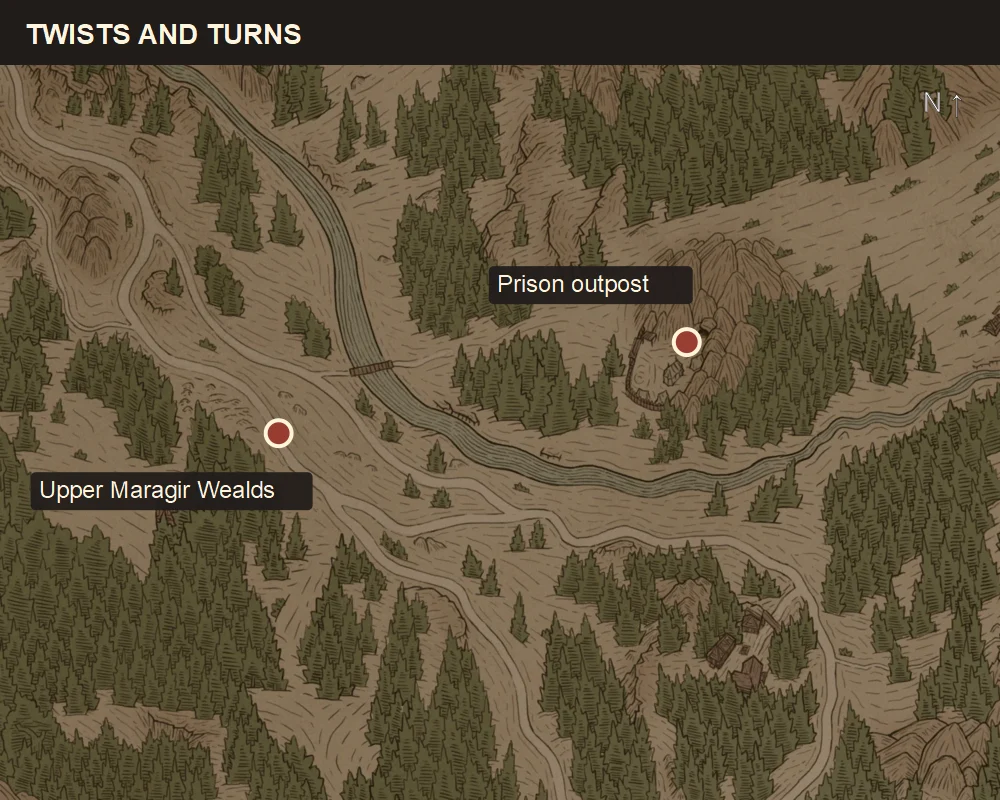
Clear the yard and identify the next stage
Enter through the wooden doorway in the front palisade and deal with the small group of outside guards. Search their bodies for the camp’s orders. Directives from Ambrus describes the operation; other papers can reveal further activities, which you can leave for after this prison.
The change to “Investigate the cellar” is your cue to move beyond the yard. The sparse outside defence is only the first encounter. Tents, crates and camp loot can draw you sideways, but the captives and the key-bearing jailer are below the mountain entrance.
Before descending, finish any equipment or recovery adjustments you need for a larger group. A fight in the underground chamber follows the outdoor one, and the passage between them is a useful place to prepare rather than discovering an empty recovery slot while surrounded.
Use the entrance cut into the mountain
From the cleared yard, walk northeast toward the mountain wall. Look for the torchlit doorway or gate set into the rock. This is the cellar entrance; the tent doors and wooden outer gate do not lead down to the prisoners.
Go through the entrance, descend the stairs and take the right branch at the intersection. Continue down the next stairs and through the gate into the larger chamber. Voices from below help confirm that you are approaching the occupied dungeon rather than an ordinary camp store.
Keep the direction of your entry in mind when the room opens up. The cell you need is on the southwest side, to the right of the entrance as you arrive. You can use that doorway as an orientation point after the fight instead of searching the entire chamber from an arbitrary camera direction.
Defeat the chief jailer and take Jailer’s Keys
Fight the hostile soldiers in the chamber. The approach from the stairs is narrower than the floor beyond it, so avoid rushing past enemies and leaving some behind you. Let the group approach from a direction you can see, deal with the immediate attacks and only then move deeper into the room.
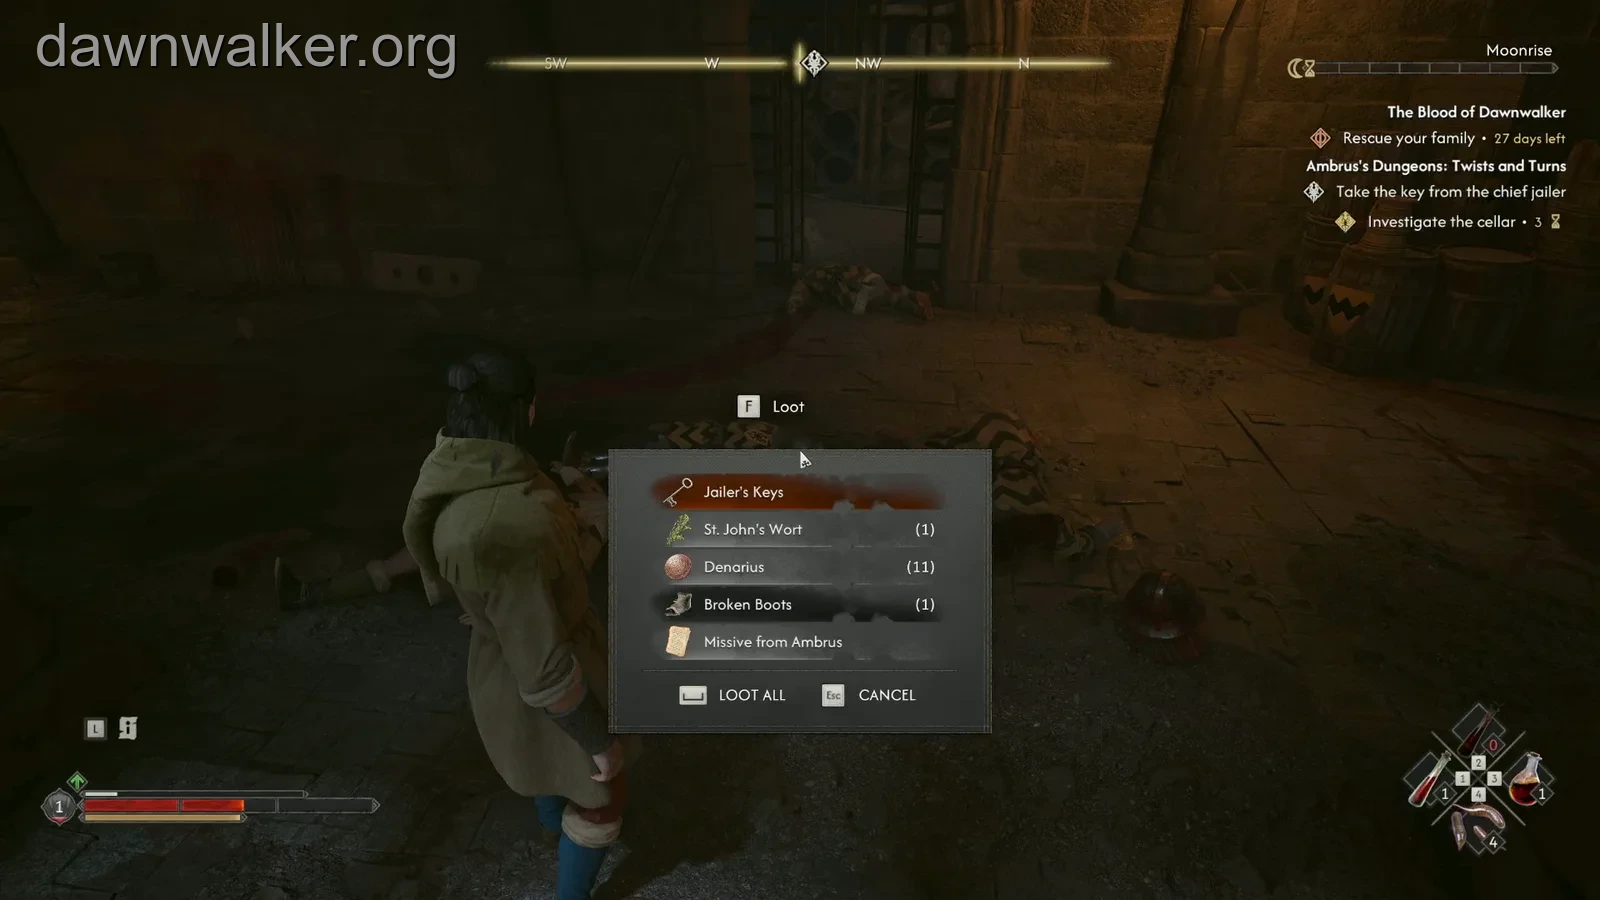
When “Take the key from the chief jailer” appears, search the fallen guards for the named key. The chief jailer carries Jailer’s Keys alongside Missive from Ambrus and ordinary items. The note is useful context, but the key is what opens the cells.
After taking it, the objective becomes “Open the cells.” This confirms the next action without requiring you to inspect every other locked door in the dungeon. Keeper’s Keys belong to the separate Judge and Executioner prison; a key from that activity does not replace the one named here.
Open the southwest cell and hear the prisoners
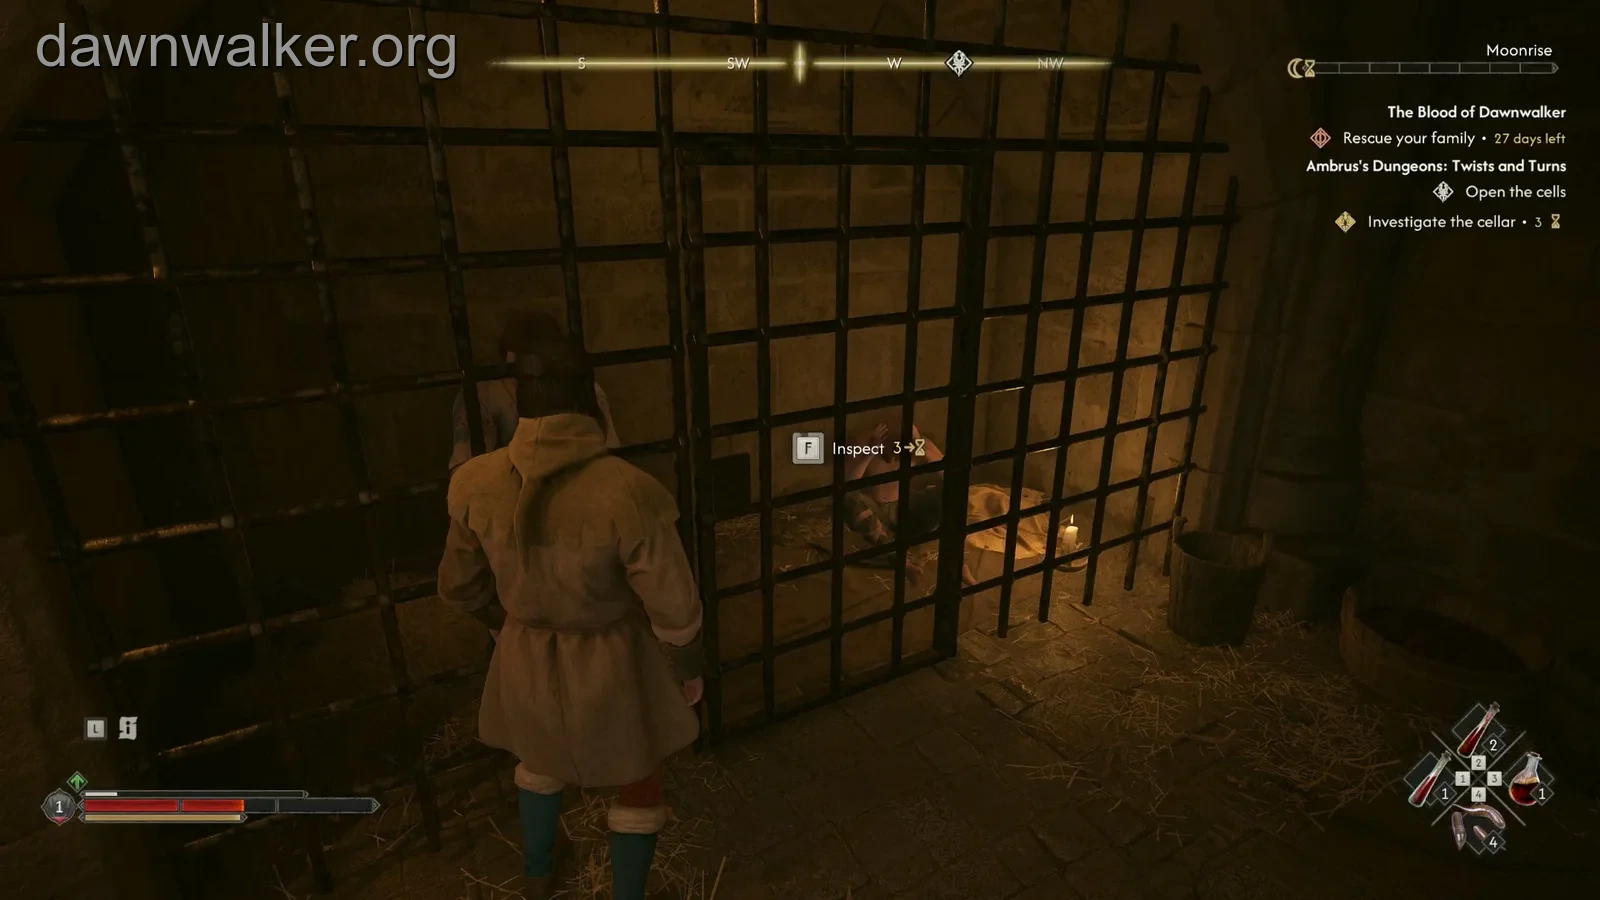
Return to the barred cell on the southwest side of the room and interact with its gate. The “Inspect” prompt starts the prisoners’ conversation. Check the hourglass beside the prompt before committing if you are managing a tight schedule; it marks an interaction that advances time.
You can ask who you are releasing before deciding their fate. They are former soldiers who served Brencis. Hearing why they were imprisoned gives you the background for choosing whether to release them.
Releasing them continues into a question about what they owe you. Staying through that second exchange matters: opening the gate starts the resolution, while the follow-up response determines what you ask the freed men to do next.
Choose what the freed prisoners should do
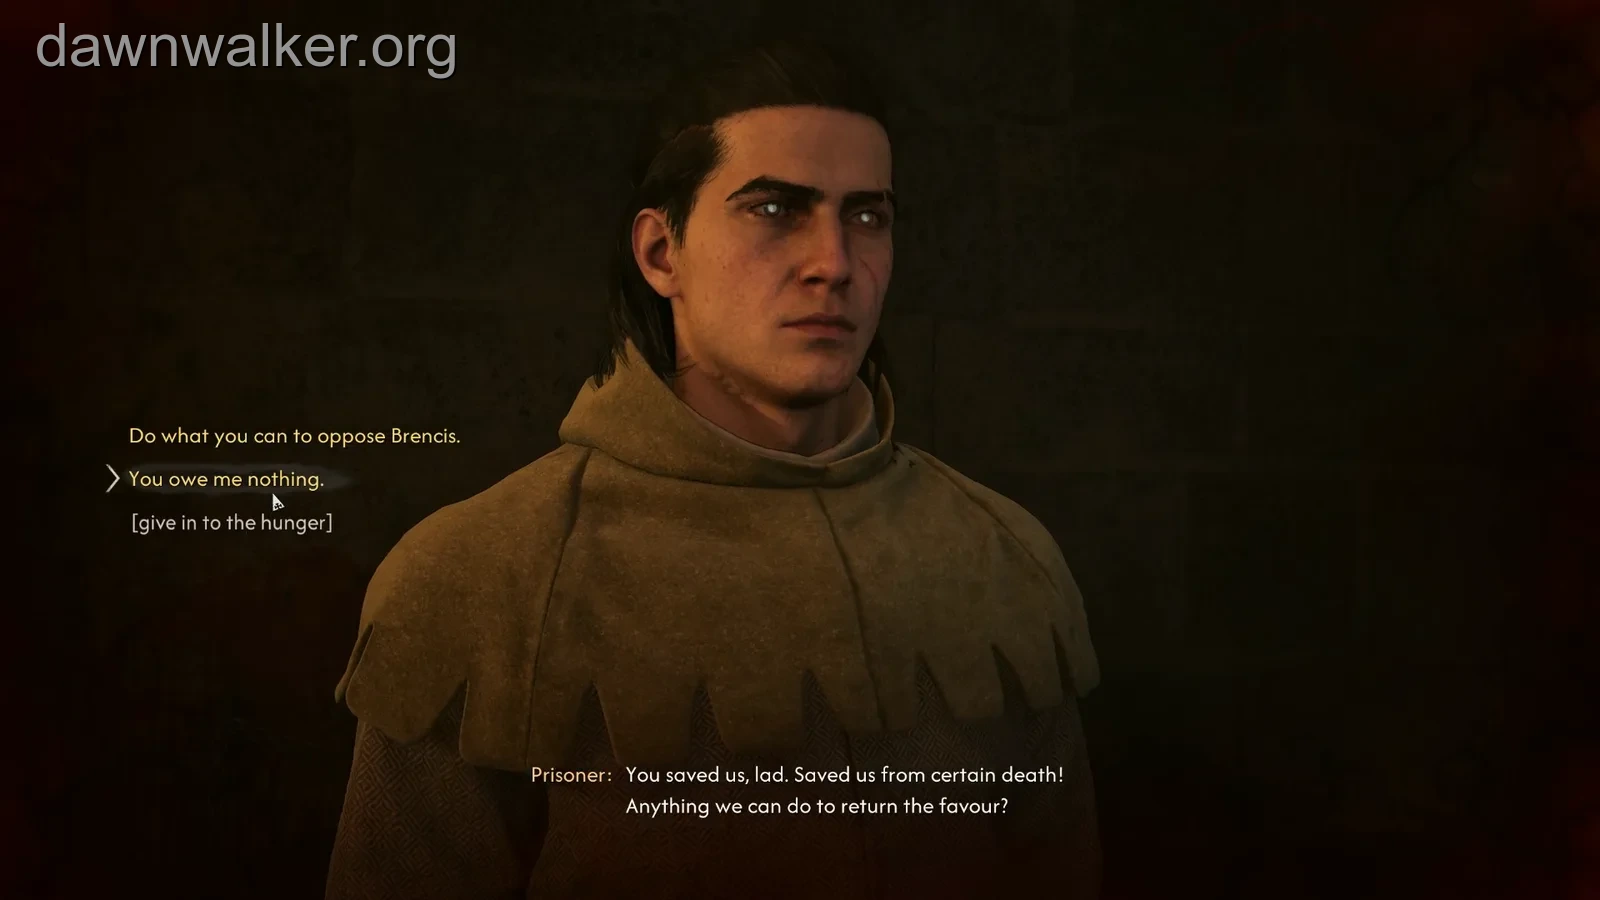
After freeing them, “You owe me nothing” releases them without asking for repayment. “Do what you can to oppose Brencis” encourages them to act against his rule.
That resistance response sets up Further Twists and Turns, a later encounter in which the former prisoners attack merchants. If your goal is to free them without directing them into that retaliation, choose the no-debt response. The difference concerns their subsequent behaviour, not which key you need or which camp you have cleared.
You can also refuse to release them after learning their background. That response keeps the former soldiers confined. If you intend to free them, continue through both the release and repayment exchanges.
Confirm the prison is finished before following new leads
The completed release route awarded 250 XP and one skill point, followed by an Infamy increase. Wait for the Twists and Turns quest-ended entry, then leave by the passage you came down. A locked door still visible nearby is not evidence that the completed prisoner task needs another key.
Further Twists and Turns takes place later and at another location. The map link below identifies that follow-up site if you chose resistance. You can leave this completed prison and pursue another objective before looking for those men again.
If you are completing Court activities for Where Loyalty Lies, check your actual rank against its Notorious requirement. Infamy can rise without crossing a rank threshold. Choose the next activity from the requirement still showing in Journal, rather than assuming that this single prison guarantees enough progress from every starting rank.