THE FIELD GUIDE
Distant Shadows Walkthrough
Observe Ascar in Tantari during the day, then report to Marat at the manumit hideout to finish Distant Shadows. Being noticed can end the observation early without preventing the report.
Accept Crake’s request after What Moves the Dead
Distant Shadows is an optional part of Crake’s personal story. You can receive it by accompanying him to the hideout at the end of What Moves the Dead, staying for the treatment conversation and agreeing to observe Ascar.
Track Distant Shadows in your journal and travel to Tantari by day. The separate Aurelius’s Tower objective belongs to Who Pulls the Strings.
Find Ascar’s beehive hut in southern Tantari
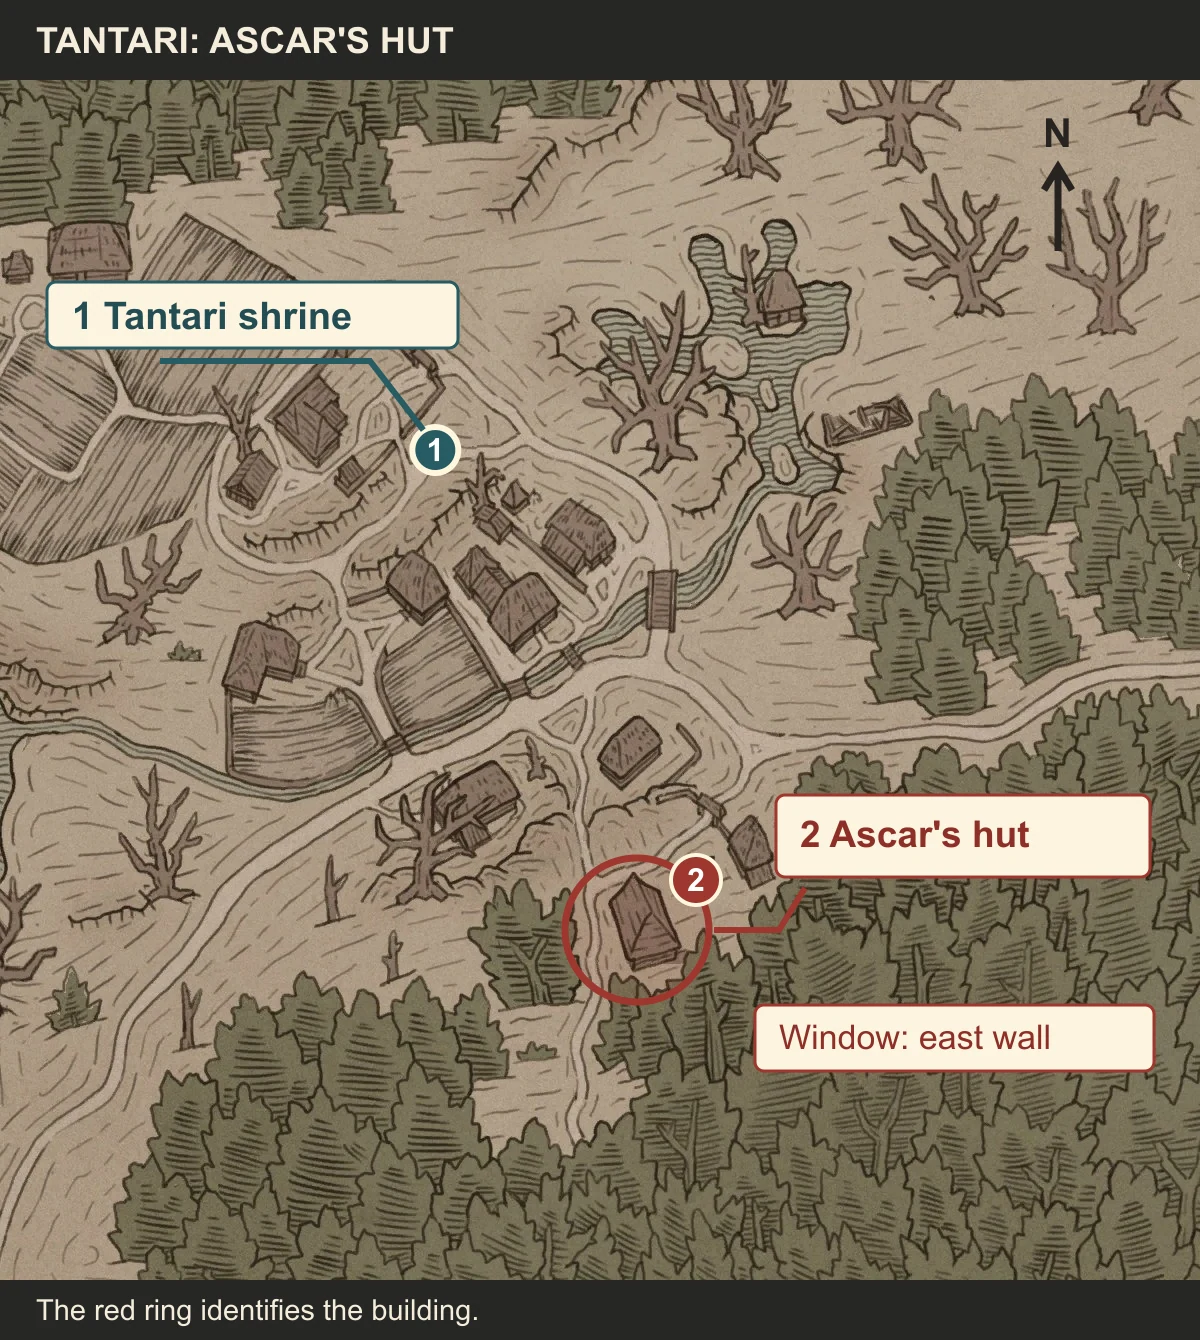
Tantari lies southeast of Svartrau. From the village shrine, continue south toward the isolated timber house shown on the map. Pass the house immediately beside the shrine and look for the cottage with a small yard and several beehives.
Use Focus to spot the sound cues from the bees around the hives. Approaching the correct house changes the objective to “Check if Ascar is at home.”
Leave the locked door and use the east window
The front door gives “Locked.” Choose “[leave]” and step off the porch.
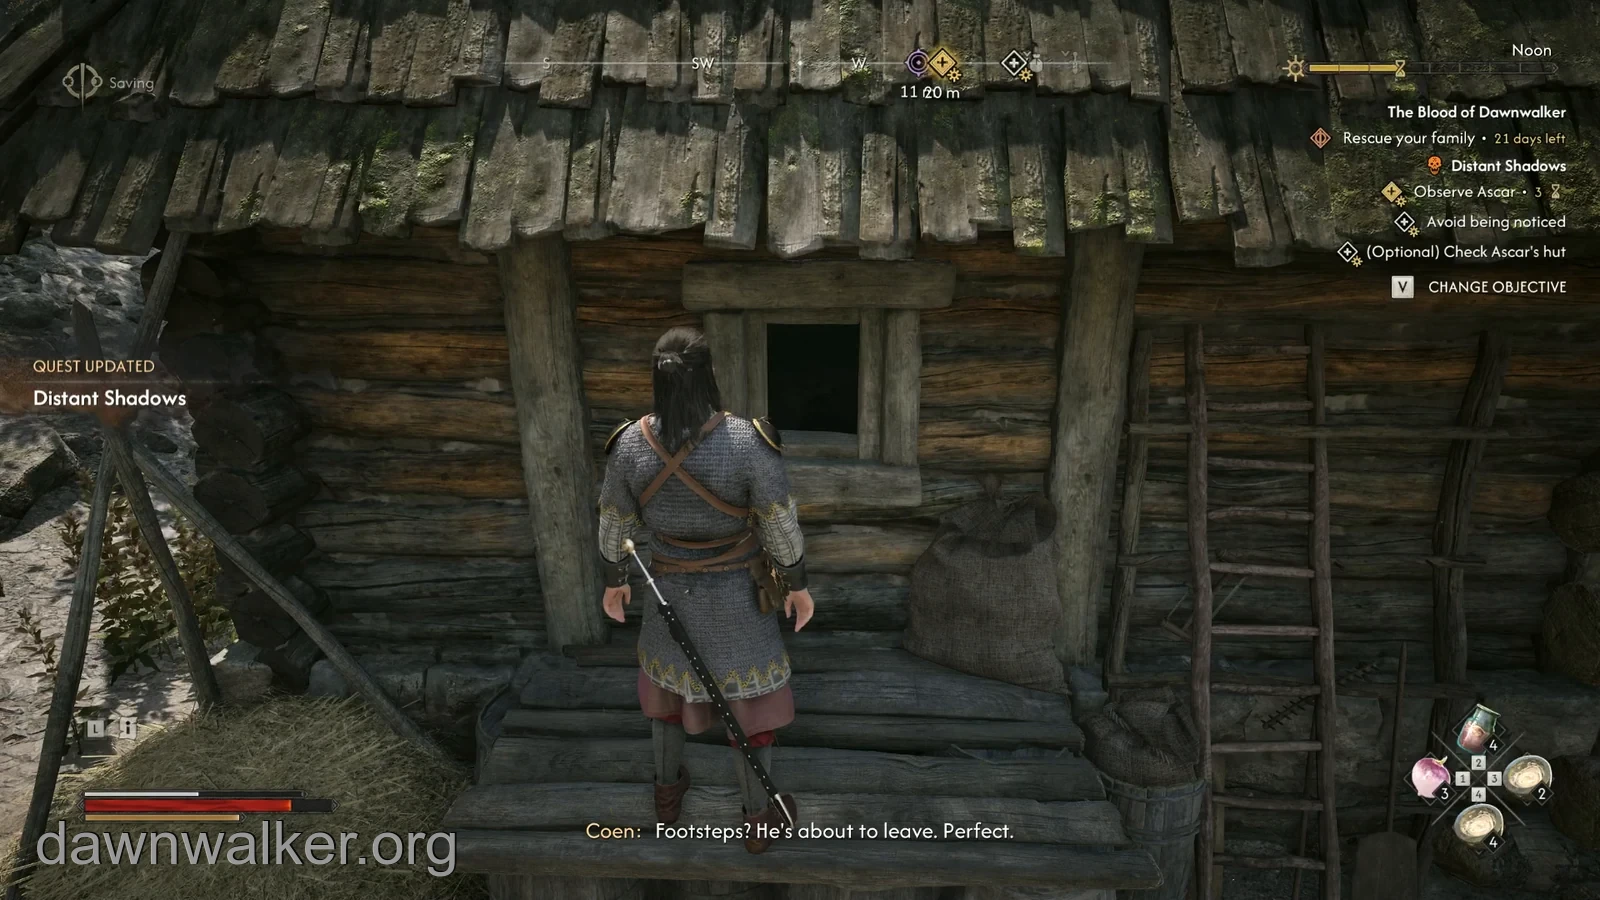
Circle to the east side of the cottage. Look for a small open window above a low wooden platform, with a ladder leaning against the wall to its right. Loose boards lean against the wall nearer the corner. If you reach the large wooden cart and a closed shutter, continue around to the other side.
Approach the open window, aim at it until the inspection prompt appears, and interact to look into the room.
Inspect Ascar, the dog and the wooden horse
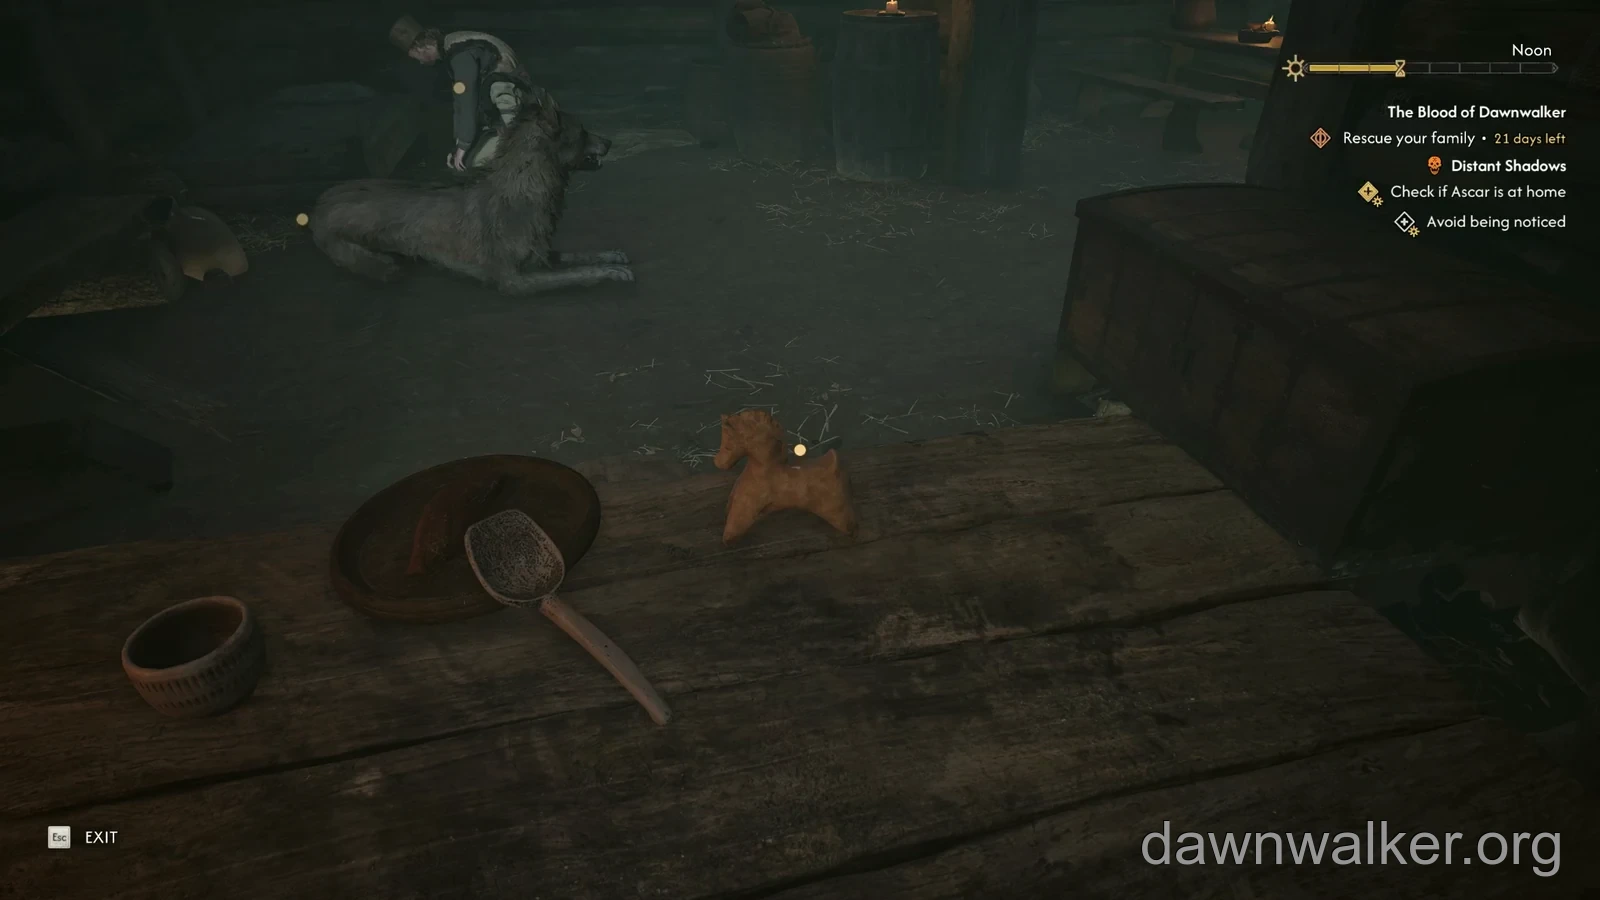
In the viewing scene, inspect Ascar and the dog beside him. Lower your view to examine the small wooden horse on the table, beside the bowl and ladle.
Coen then hears footsteps and the objective changes to “Observe Ascar.” Return to the yard as Ascar leaves the house.
Choose whether to search the hut
When Ascar steps outside, an optional house search becomes available. The dog remains inside and can expose you. To see the whole tailing sequence, staying outside and following Ascar is the simpler choice.
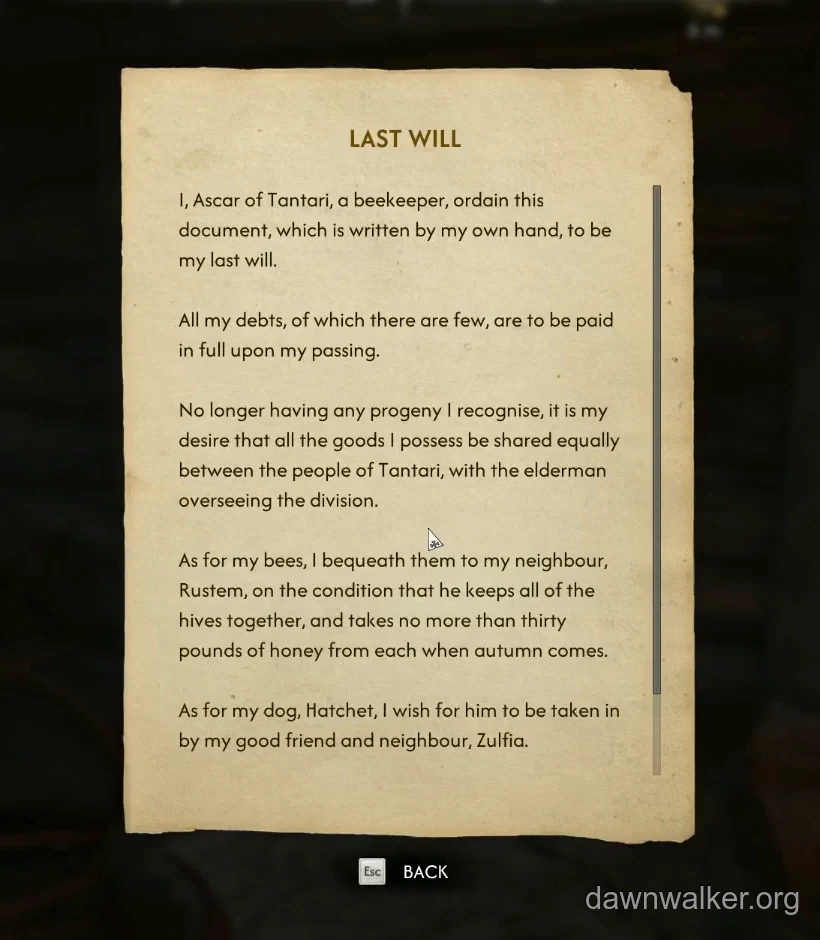
For the search, use Focus to find and read the parchment titled “Last Will.” It describes Ascar’s wishes for his bees and dog. Return outside afterward to resume the observation.
Use the Bee Smoker for the optional hive search
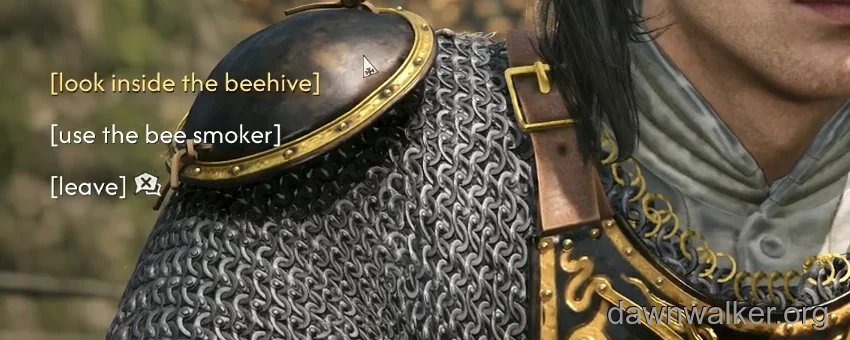
After Ascar checks a hive, you can inspect it yourself. First pick up the Bee Smoker beside the hives, then choose “[use the bee smoker]” to calm the bees. The menu also offers looking directly into the hive or leaving.
This optional search yields 25 Denarri. Skip it to keep Ascar in sight, or resume following him as soon as you finish.
Follow Ascar using the carts and barrels
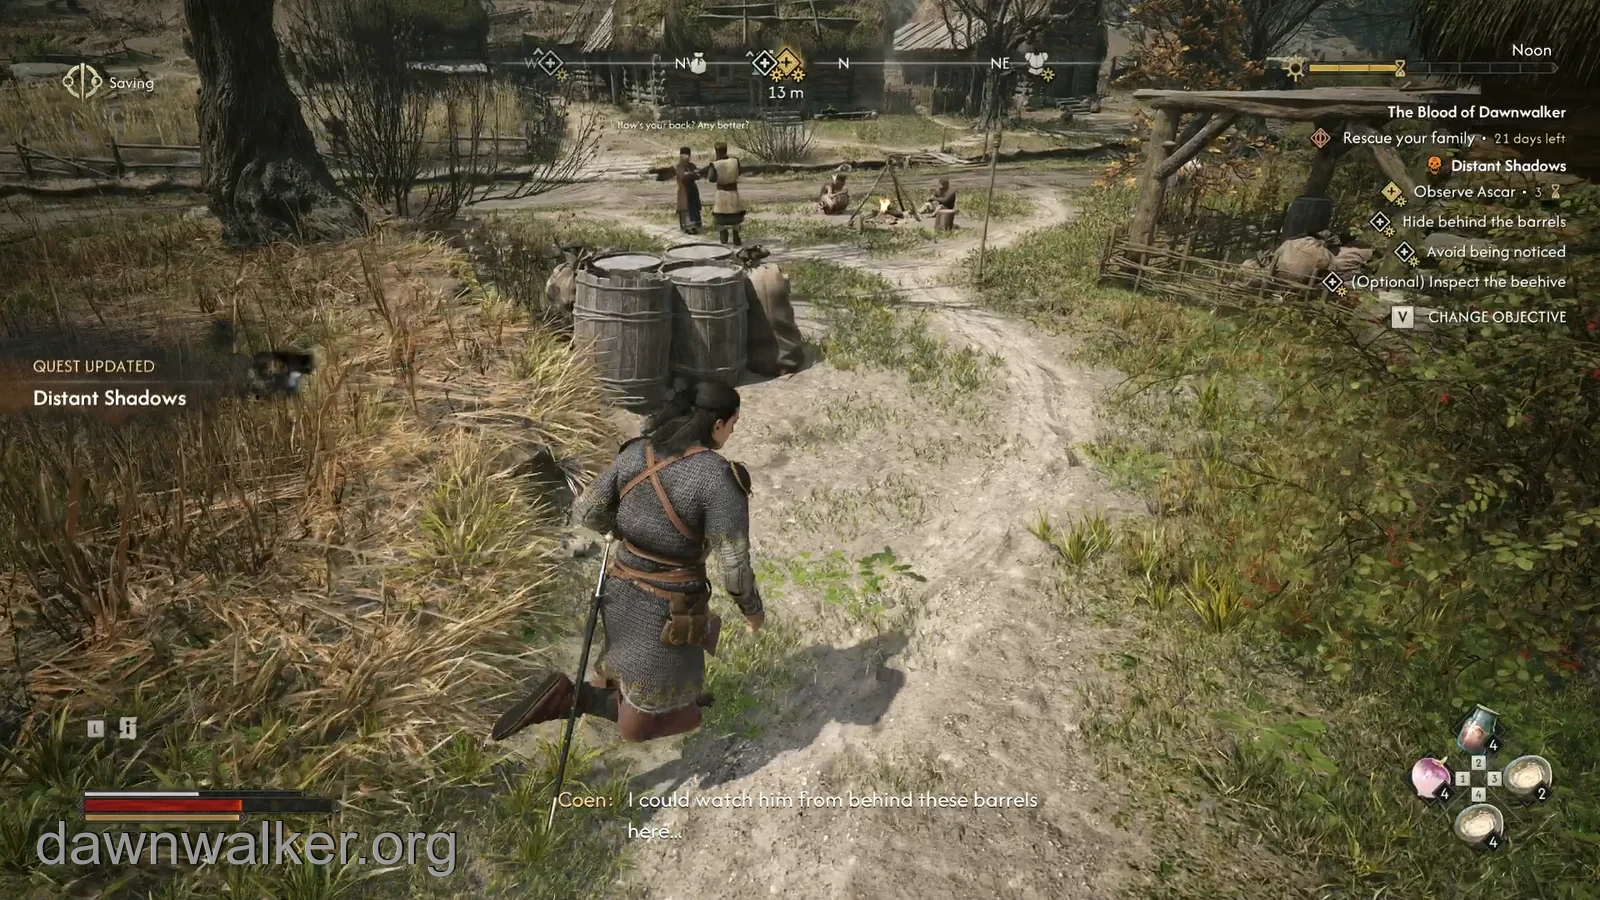
Crouch and let Ascar move ahead. While he is beside the beehives, use the cart at the north/front side of the yard as cover.
- Follow him down the lane. When he stops to talk to a woman, hide behind the cluster of barrels.
- When that conversation ends, follow him toward the shrine and use the next cart for cover. Speaking to the woman is optional.
- Follow him into the woods as he checks his snares. Examining the traps is optional.
- Near the end of the trail, use Focus to find the tree that serves as a hiding place. Soldiers approach Ascar there. If you intervene, defeat the two soldiers and finish speaking to him before returning to Marat.
If Ascar notices you, follow the changed objective
If the objective changes to “Return to Marat” after Ascar notices you, you can finish without reloading. In our completed route, speaking directly to him by the village barrels led to this objective and still allowed us to accept A Closer Look afterward.
Reload an earlier save only if you want to see the skipped tailing and woodland encounters. Otherwise, return to the hideout.
Report to Marat, then answer Drogos
Return to the manumit hideout in Svartrau. Marat and Crake are the same person: the journal can say “Return to Marat” while the interaction prompt says “Talk with Crake.”
Choose “I’ve been to Tantari.” Crake reacts angrily and, if you spoke to Ascar, objects to that directly. The following sequence completed our route:
- When Crake demands an explanation, choose “Enough. Who is he for you?” and let the conversation continue until he leaves.
- When Drogos asks what happened, choose “Wish I knew.” Continue until he explains where Crake goes to cool off.
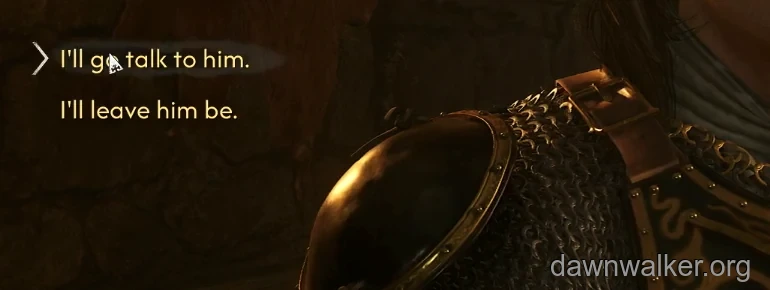
- Choose “I’ll go talk to him.” This accepts the follow-up. Choosing “I’ll leave him be.” does not give you A Closer Look.
Confirm completion and find Marat in A Closer Look
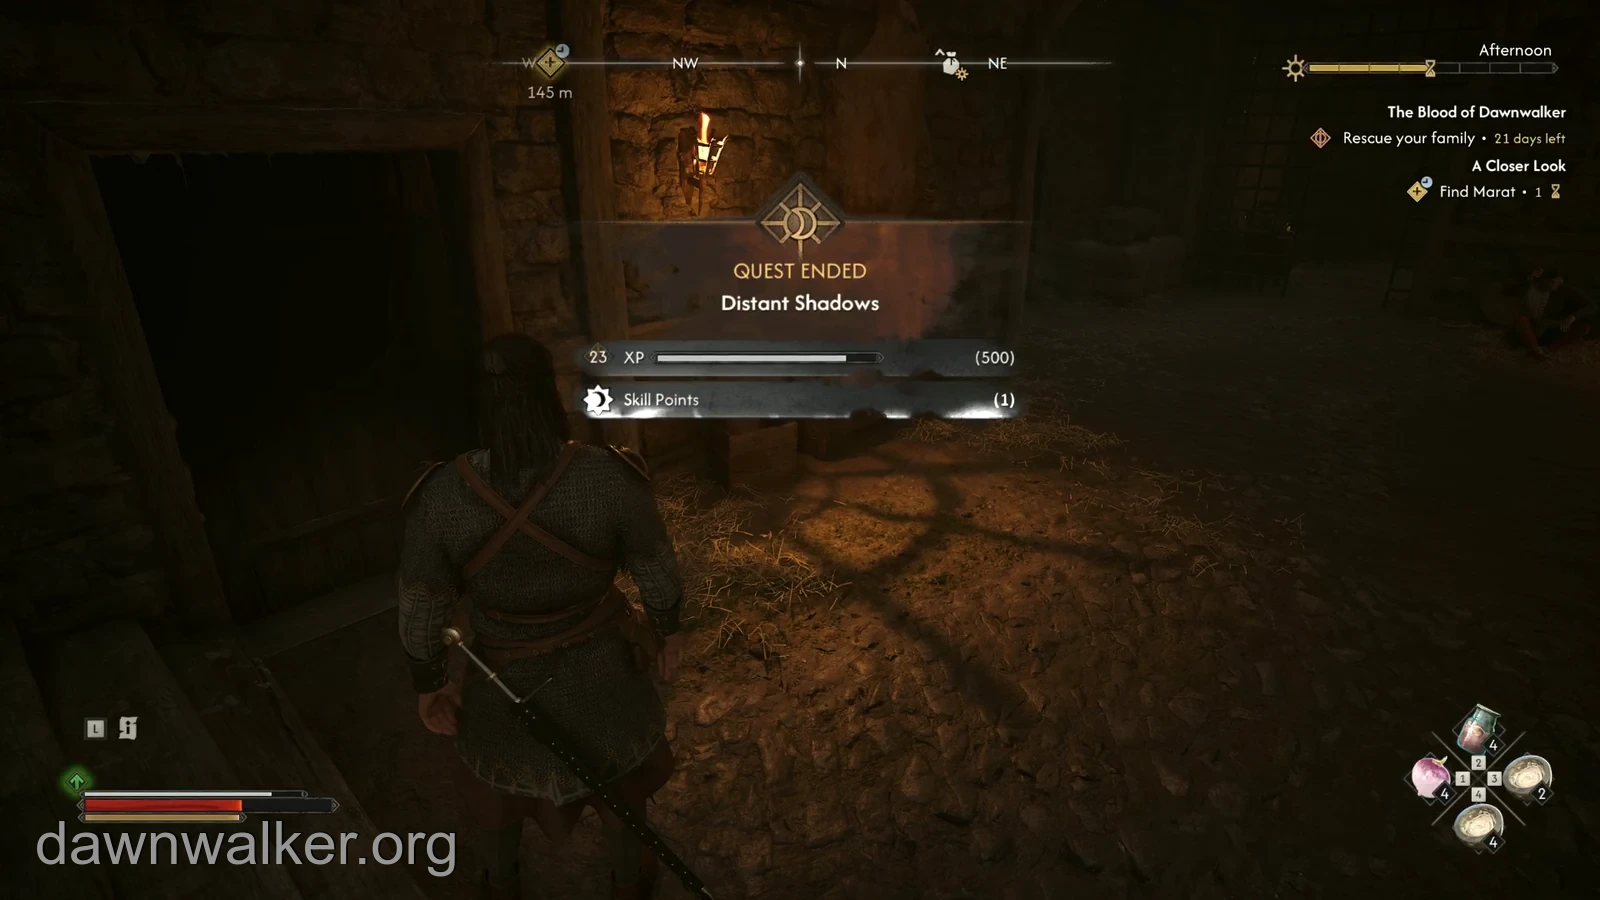
Distant Shadows awards 500 XP and one skill point. If you accepted Drogos’s suggestion, A Closer Look starts with the objective “Find Marat.”
Reach Marat within one in-game day, or 16 time segments, of the follow-up starting. This deadline is separate from the remaining days on the family-rescue objective. Follow the new marker before committing to unrelated activities that advance time; the romance guide covers the meeting and its choices.