THE FIELD GUIDE
A Monk and a Saint: Find Mihai’s Crypt
To enter Mihai’s crypt, first learn his symbol from the treasury chalice or the cathedral fresco. Then inspect the matching memorial stone in the courtyard, explore the crypt and confront Mihai. Finishing A Monk and a Saint gives you the Broken Sword of St. Mihai; restoring it continues in Forge It Anew.
Follow the lead that brought you to the cathedral
A Monk and a Saint can begin through a letter that directs you to Albertus in the Middens, or through the crypt clue found during Night Terrors. These approaches feed into the same cathedral investigation. Follow the lead already present in your Journal.
If you have the Albertus lead, begin with his conversation below. If you have already investigated the well, your immediate problem is identifying Saint Mihai’s symbol. You can move to the clue routes once your current access permits it. The crypt encounter does not require completing both entry paths.
Help Albertus finish the writing on his walls
Look for Albertus in the Middens west of Svartrau. Use Focus to notice the writing that leads toward his house. Inside, he is preoccupied with the text on the walls; participate in the writing instead of expecting a normal question-and-answer interview.
Ask what he is doing and pick up a piece of charcoal. Choose the following answers in order. The phrases complete the passage he is working on and move the conversation toward the cathedral lead.
- Abelard the Sorrowful
- Svartrau plaza
- …his penance, the place of his redemption.
- …never once set foot inside it.
- St. Mihai, a great warrior, arrived at Vale Sangora…
Speak with the Deacon and the Acolyte
Go to Svartrau Cathedral after Albertus directs you there. Father Florin intercepts you on entering; continue through the conversation, then question the people inside. The Deacon is toward the front of the main room, while the Acolyte is near the entrance.
The Deacon offers library access in exchange for finding Radu. Accepting that request starts A Dubious Gift. If you want that separate quest, take the offer before independently discovering the crypt. Follow the caretaker guide for Stefan, the abandoned wing and the return conversation.
The Acolyte offers a different opportunity. Agree to help him so that you can enter the back room, then inspect the book and turn it over to examine its back. That interaction supplies the Treasury Key. This is the access item for the chalice route, so keep it distinct from the Library Key earned through the Deacon.
Choose a route that actually reveals Mihai’s symbol
Learning that the crypt exists is only part of the puzzle. Coen must recognize the symbol on Mihai’s memorial stone before opening it. The treasury chalice and the scaffold fresco both supply that identification; you do not have to inspect both.
Use the chalice if you have the Treasury Key and access to the treasury. Use the fresco if your approach is through the cathedral roof and nighttime movement abilities. The library chronicle is another investigation lead, but finding the book does not by itself replace looking at the identifying symbol.
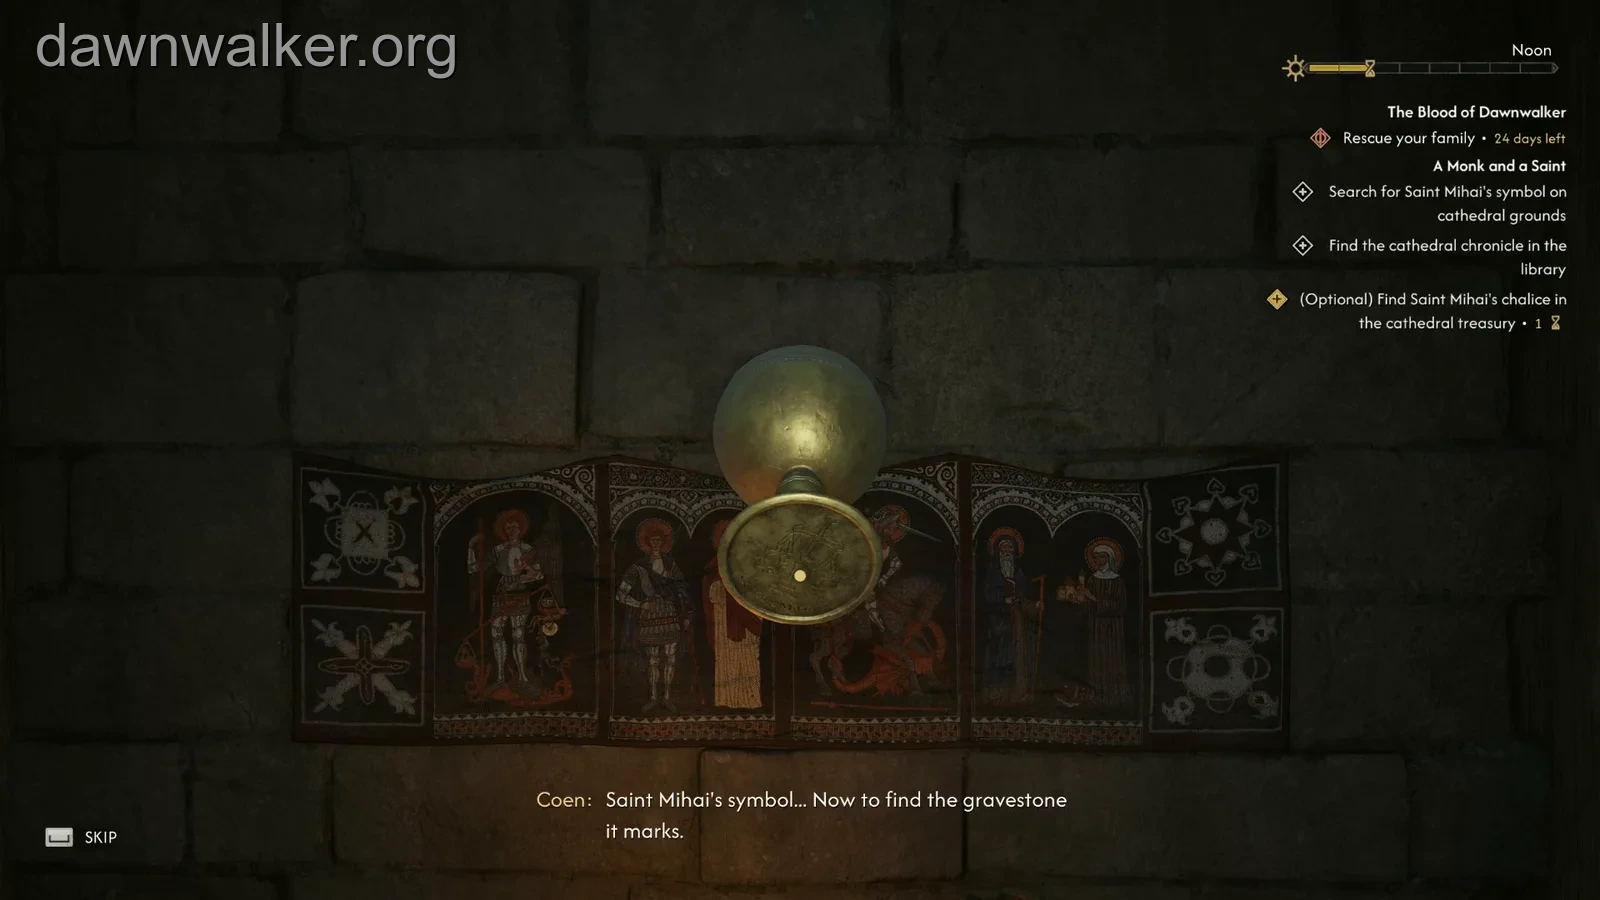
The completed route shown here used the chalice while the library-chronicle objective was still listed. It then opened the grave and finished the quest. If your objective has already advanced to “Enter the crypt,” follow that progress instead of treating every older or optional investigation line as an additional mandatory step.
Turn the treasury chalice over to see the symbol
Enter the cathedral treasury with the Treasury Key. On the ground floor, inspect the bookcase and push it aside to reach the concealed room. Look for the gold chalice on the table inside.
Examine the chalice and rotate it so that its underside faces you. The important mark is on the bottom, not on the decorated outer bowl. Inspect that mark until Coen recognizes Saint Mihai’s symbol and says he needs to find the gravestone it marks.
That recognition is the useful checkpoint. Leave the treasury and return to the courtyard memorial stones when the crypt objective appears. The chalice route and the grave-opening steps can be completed during the day.
Use the library and scaffold clues when they match your access
For the library investigation, enter the eastern building of the cathedral complex after gaining access. On its upper floor, find the bookshelf with moths and collect The Annals of Svartrau Cathedral. Use the nearby pulpit to browse the book and inspect all four marked areas. This develops the historical lead toward the courtyard.
The fresco provides the symbol itself. At night, the open tower on the cathedral roof offers an entry route using Shadowstep and Clawride. Inside the cathedral, use Shadowstep to reach the scaffolding on the left. Go to the last scaffold on that side and inspect the book there to obtain the view of the relevant fresco.
Look at the mark on Mihai’s armor in the fresco. Once Coen has identified it, this route joins the chalice route at the memorial stones.
Open the second memorial stone from the right
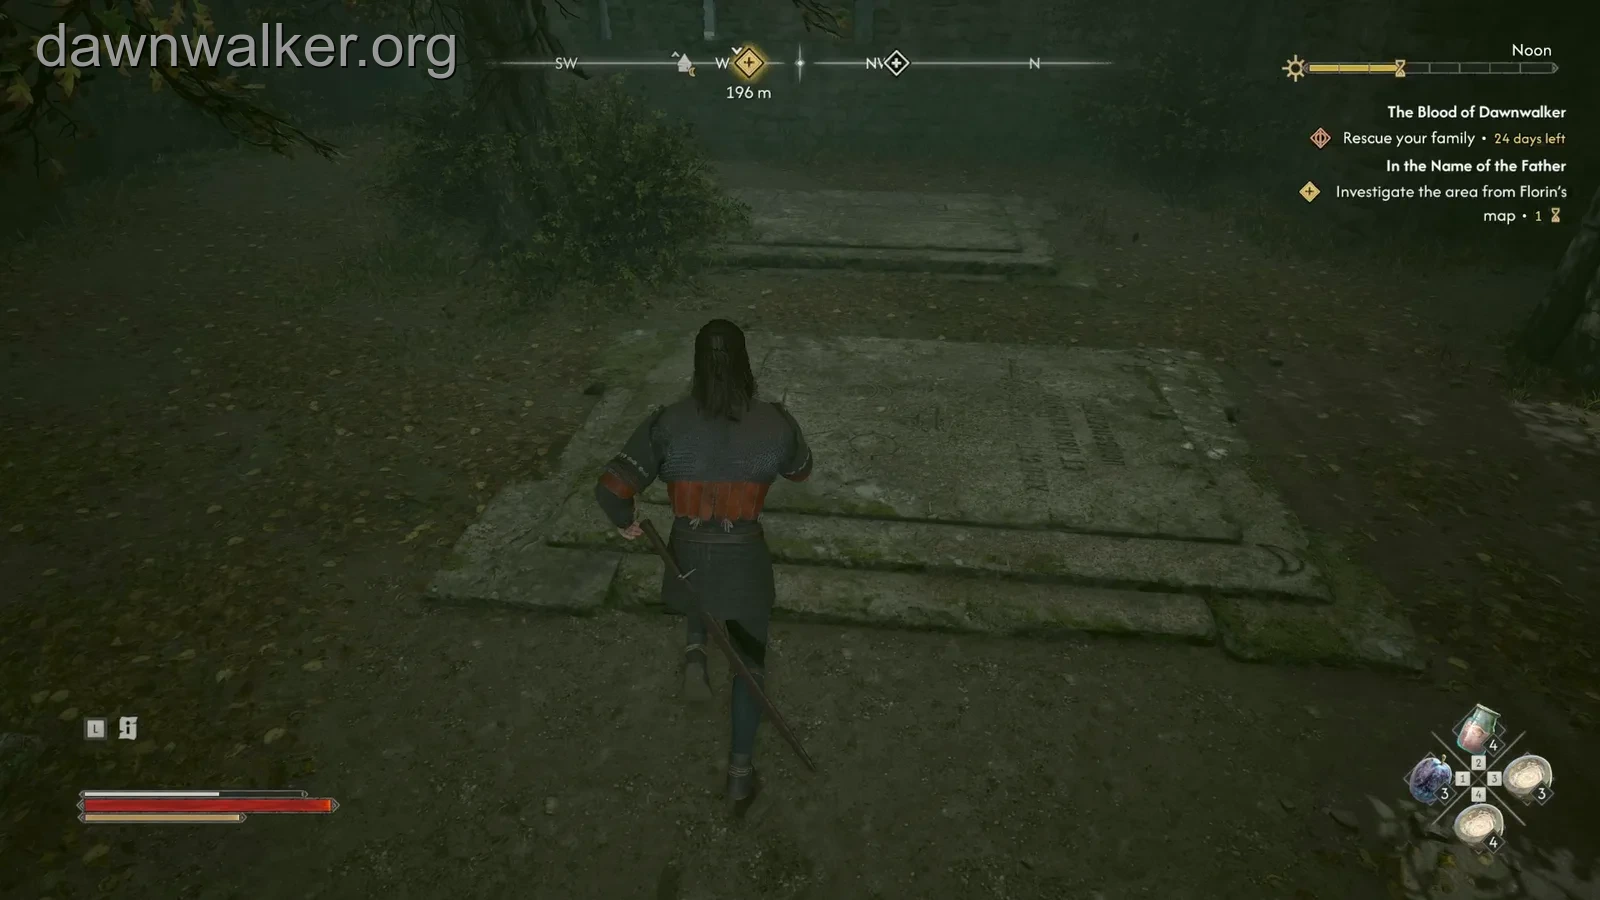
Go to the five memorial stones in the courtyard north of the cathedral. Face toward the cathedral when counting them: Mihai’s is the second from the right. Use Focus to examine the stones and inspect the matching symbol on the correct one.
If Coen cannot open it, verify that you completed the symbol inspection on the chalice or fresco. The note from the well and the knowledge that a crypt exists do not supply that recognition. Once he knows the mark, the interaction opens the memorial and reveals the descent.
Descend through the opening beneath the memorial stone.
Inspect the noisy wall inside the crypt
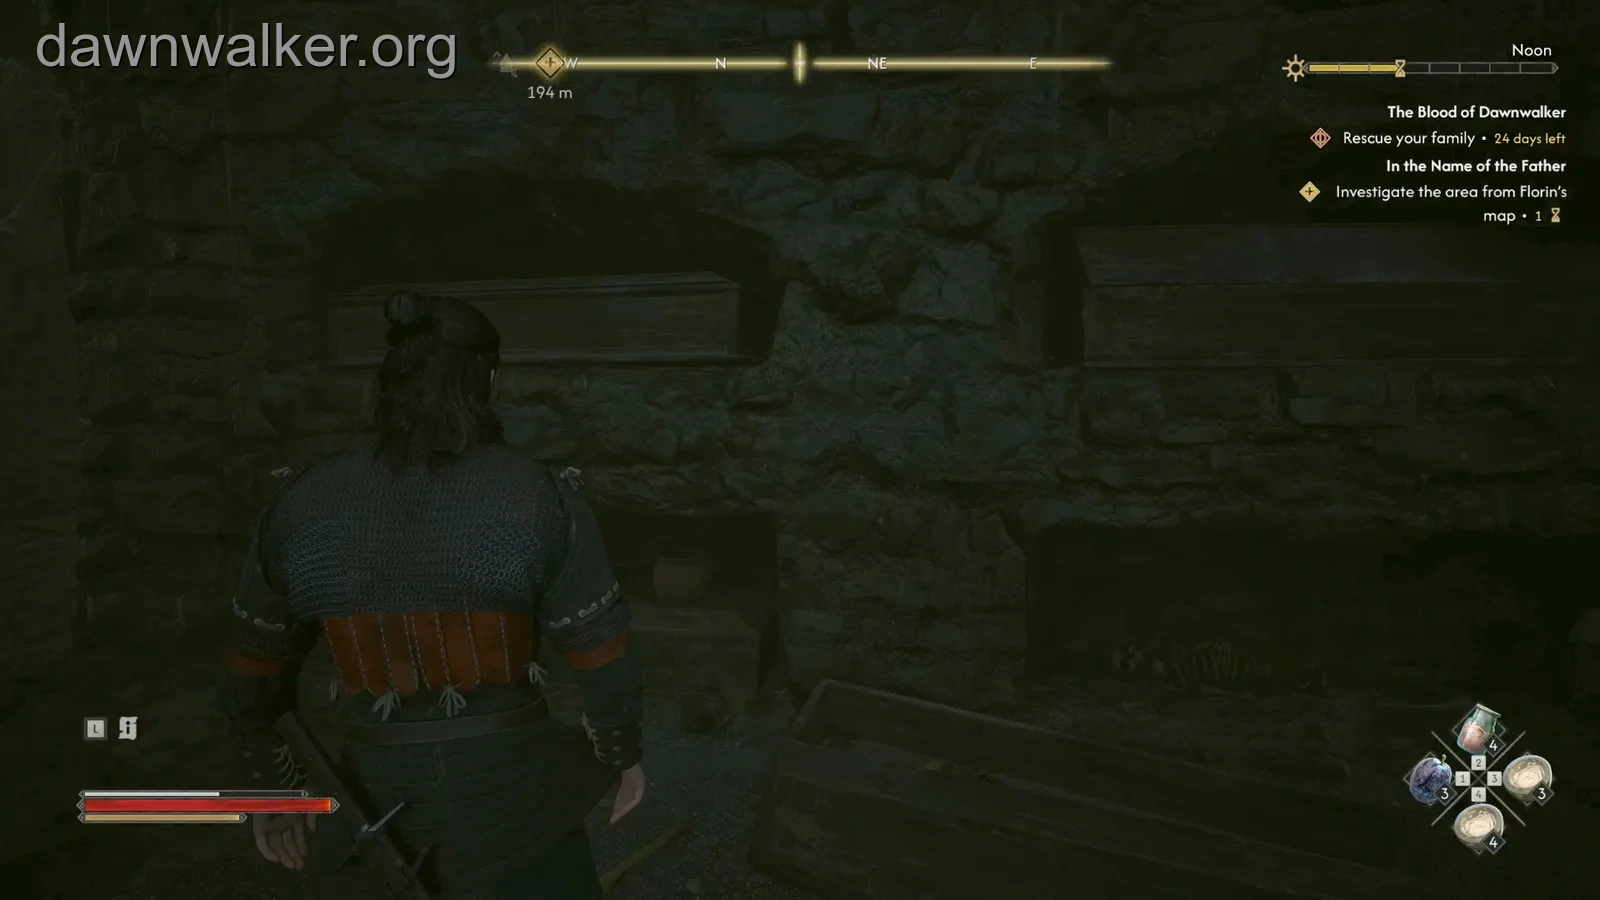
Descend into the crypt and enter the first doorway on the left. Listen for the noise and use Focus on the left-hand wall. The highlighted section is the investigation point that continues the route toward Mihai.
Inspect it and let Coen open the blocked section. Prepare your recovery and combat quickslots before proceeding far enough to start the encounter beyond it.
Defeat Mihai, Patron Saint of the Cathedral
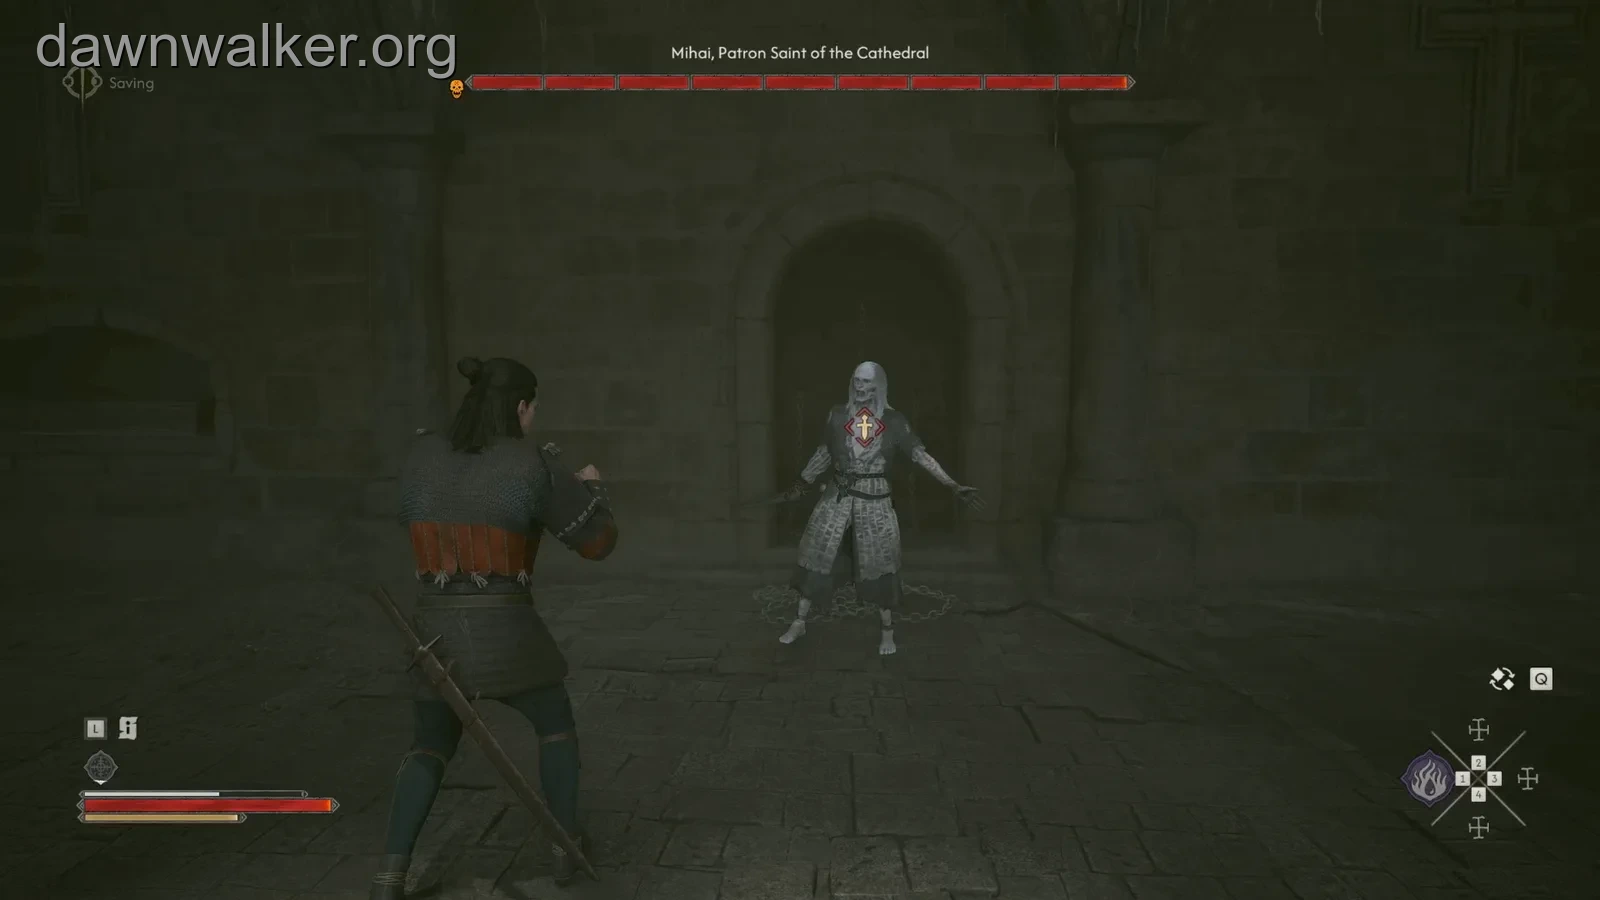
The encounter is identified by the boss bar “Mihai, Patron Saint of the Cathedral.” He fights with a sword and can close distance abruptly. Watch his approach and the unblockable leap or sliding attack, then punish the recovery with a short sequence before preparing for the next response.
Be cautious when fog makes his position harder to read. Keep enough space to see an approach rather than chasing blindly into another swing.
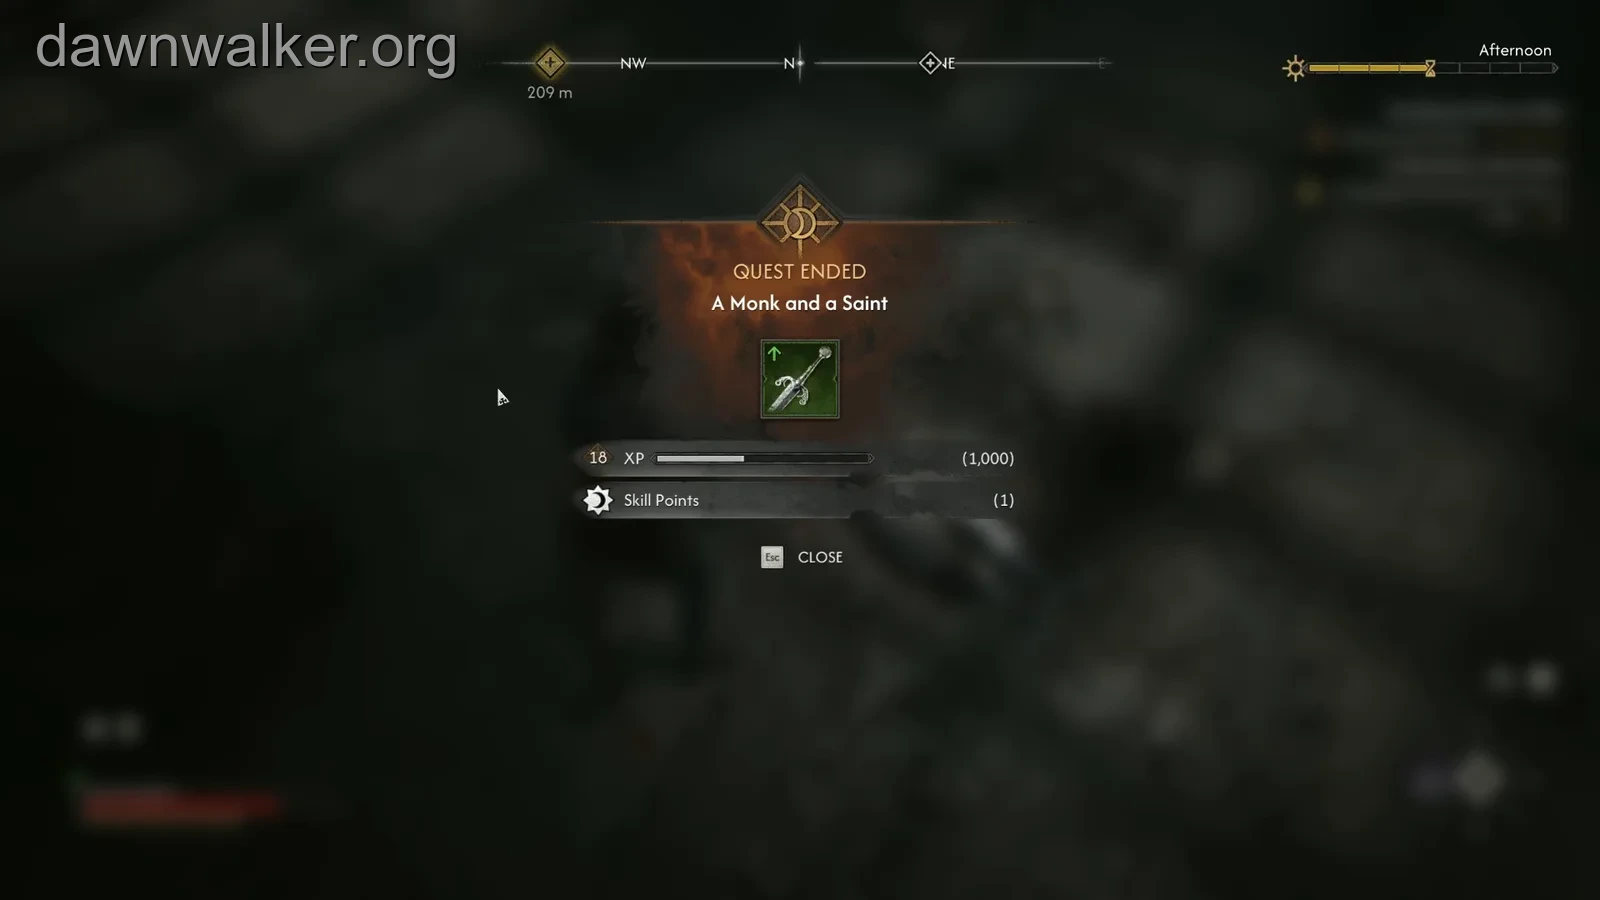
After his health is depleted, continue the conversation and respond to the timed dialogue choices. The Broken Sword of St. Mihai is received during this conclusion. Stay through the exchange so you see the item receipt and the quest-ended result instead of leaving after the last combat hit.
Collect the notes and continue with Forge It Anew
The completed A Monk and a Saint result shown here awards 1,000 XP and one skill point. The sword you have received is broken; it has not been restored into its final usable form by finishing this conversation.
Search the remains and collect Mihai’s Journal. When opened, the document is headed “Mihai’s Notes.” Read it to learn about the uriashi craftsman and advance the information for Forge It Anew. The inventory name and the page heading refer to the same document.
Inspect the other highlighted remnants in the chamber if you want the optional Compel Soul investigation. Broken Chains and Worn Sheath are associated with that room. Once you have the broken sword and have read the journal, use the Forge It Anew guide for the fragments, craftsman and restoration choices.