THE FIELD GUIDE
Ambrus’s Cellars: Trouble Brewing
Trouble Brewing takes place in a guarded house in Svartrau City, west of the cathedral. Defeat the guards, enter the house and deal with its blood barrels, then search upstairs for the alchemist. Destroying the stock advances the quest; the conversation afterward is needed to finish this route.
Find the city house, not the woodland cellar
Track “Ambrus’s Cellars: Trouble Brewing” in Journal and open the map for its Svartrau City objective. The blood-store house is in the city area west of the cathedral. Its map point identifies the search area, so finish the approach by matching the guarded premises on the street rather than expecting the marker to identify a particular door handle.
Several activities begin with “Ambrus’s Cellars,” but they use different locations. Seeing Red is the woodland cellar in Maragir Wealds, while Uninvited has its own underground encounter. Completing either does not clear the house or alchemist described here. Check the full subtitle before travelling if your journal contains several blood-stock objectives.
The opening guard and stock stages can be tackled at night. There is no need to leave this city activity merely because a separate cathedral conversation requires daylight. Prepare supplies for your current form before entering the guarded area; the outside fight is followed by more resistance inside.
Defeat the guards outside, then enter from the street
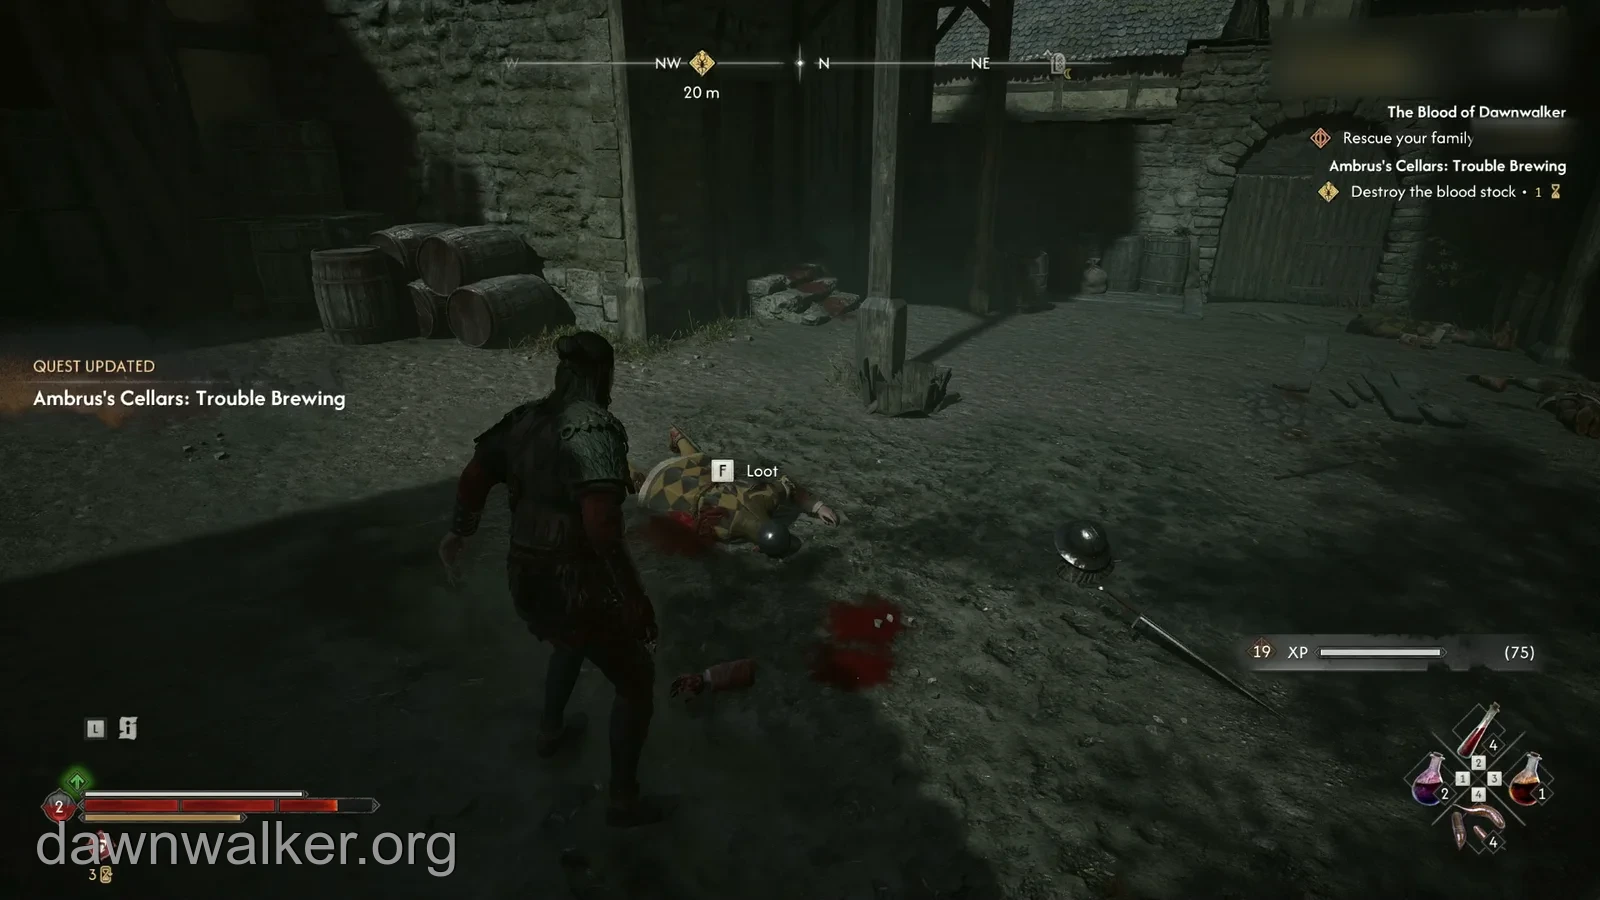
Deal with the guards at the quest premises. The useful checkpoint is the change from “Defeat the guards” to “Destroy the blood stock.” Winning an unrelated street fight nearby is not a substitute for clearing this objective.
Go through the street-level doorway into the wooden-floored interior. Further guards defend the room, so the outside objective change should not be read as a promise that the building is empty. Finish the interior encounter before searching the barrels.
Keep the door and the room’s open floor in view while fighting. If you need to recover, use that space rather than pushing into the row of containers. A level-up notification during these encounters belongs to character progression; it is not the quest’s final reward panel.
Interact with the highlighted row of blood barrels
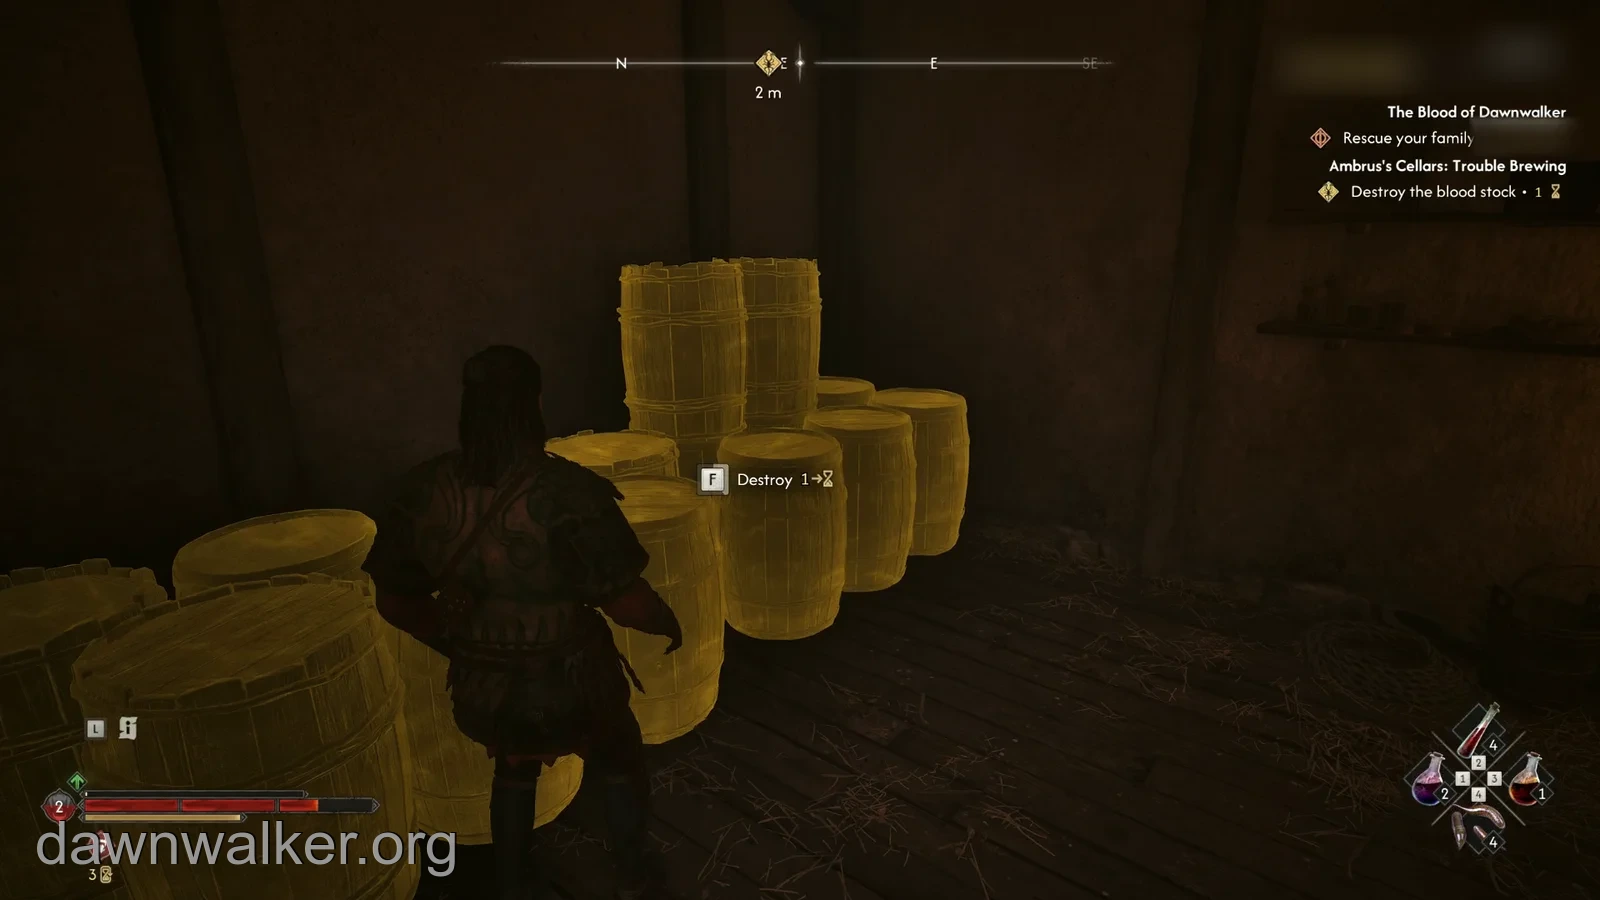
Inside the house, look for the row of large barrels that highlights as a quest object. Approach until the “Destroy” interaction is available. This interaction opens a choice; it is more useful than repeatedly swinging at ordinary scenery and hoping one container is the objective.
The options are “destroy the barrels” and “collect the blood.” Read the selected line before confirming. The opening prompt’s wording does not mean you have already committed to destroying the stock without taking any blood.
Choose collection when your aim is to obtain usable blood as part of disrupting a store; choose destruction when you want to dispose of it. The comparable Seeing Red collection route visibly awarded a Vial of Human Blood. The Trouble Brewing route shown here chose destruction, so its screenshots do not establish a collection quantity for this house.
The broken barrels at the end are a poor way to distinguish the choices: removing the stock is the objective in either case. The selected response and any item notification tell you more than the final appearance of the containers. Human blood can be used for vampiric recovery or crafting, so decide whether you want that supply before confirming the choice.
Stay in the building after the stock is dealt with
After the barrel scene, Coen notices that someone is still present. This is the lead to the house’s remaining encounter. Go upstairs and investigate the workshop area instead of leaving for another Court activity.
A QUEST UPDATED notification at this point is only a stage change. In the recorded route, another quest became the active HUD tracker even though Trouble Brewing still had its alchemist encounter ahead. Re-select this quest in Journal if the compass has moved to a different task.
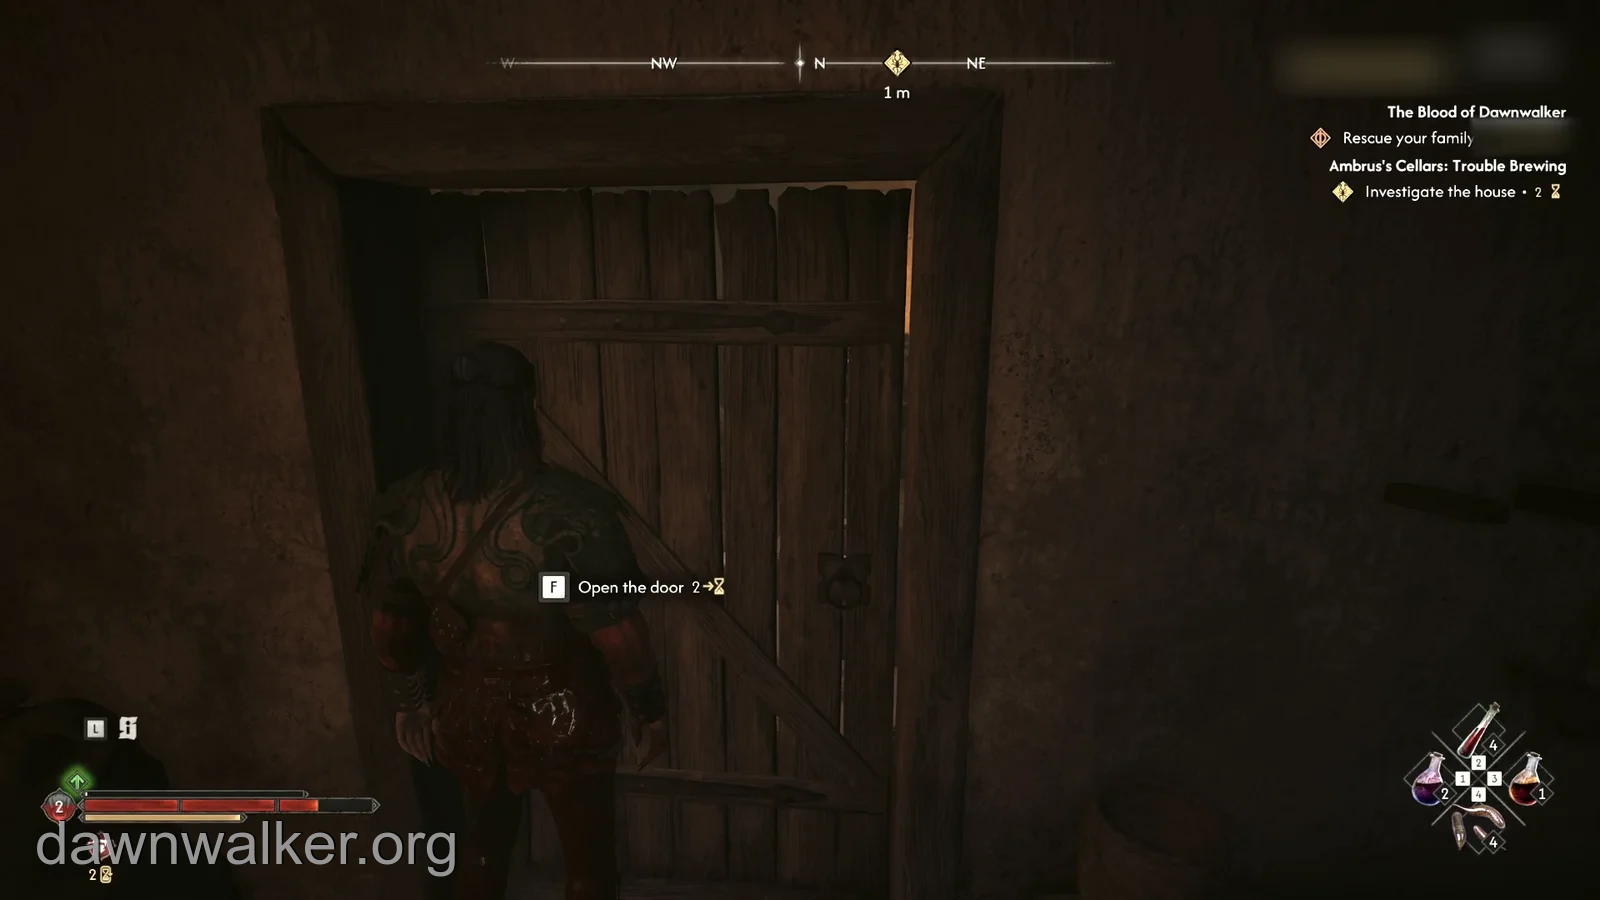
Use the workshop equipment and Coen’s observations to identify the part of the house you are searching. Check the room doors there until you get “Open the door.” One locked door does not mean the entire upper floor is inaccessible: the completed route passed other locked interactions before reaching the door that starts the conversation.
Hear the alchemist’s explanation before deciding
The person inside describes research into a replacement for leech saliva and says that the work was forced on him. This gives the blood-store investigation a final personal choice, rather than another row of barrels to destroy.
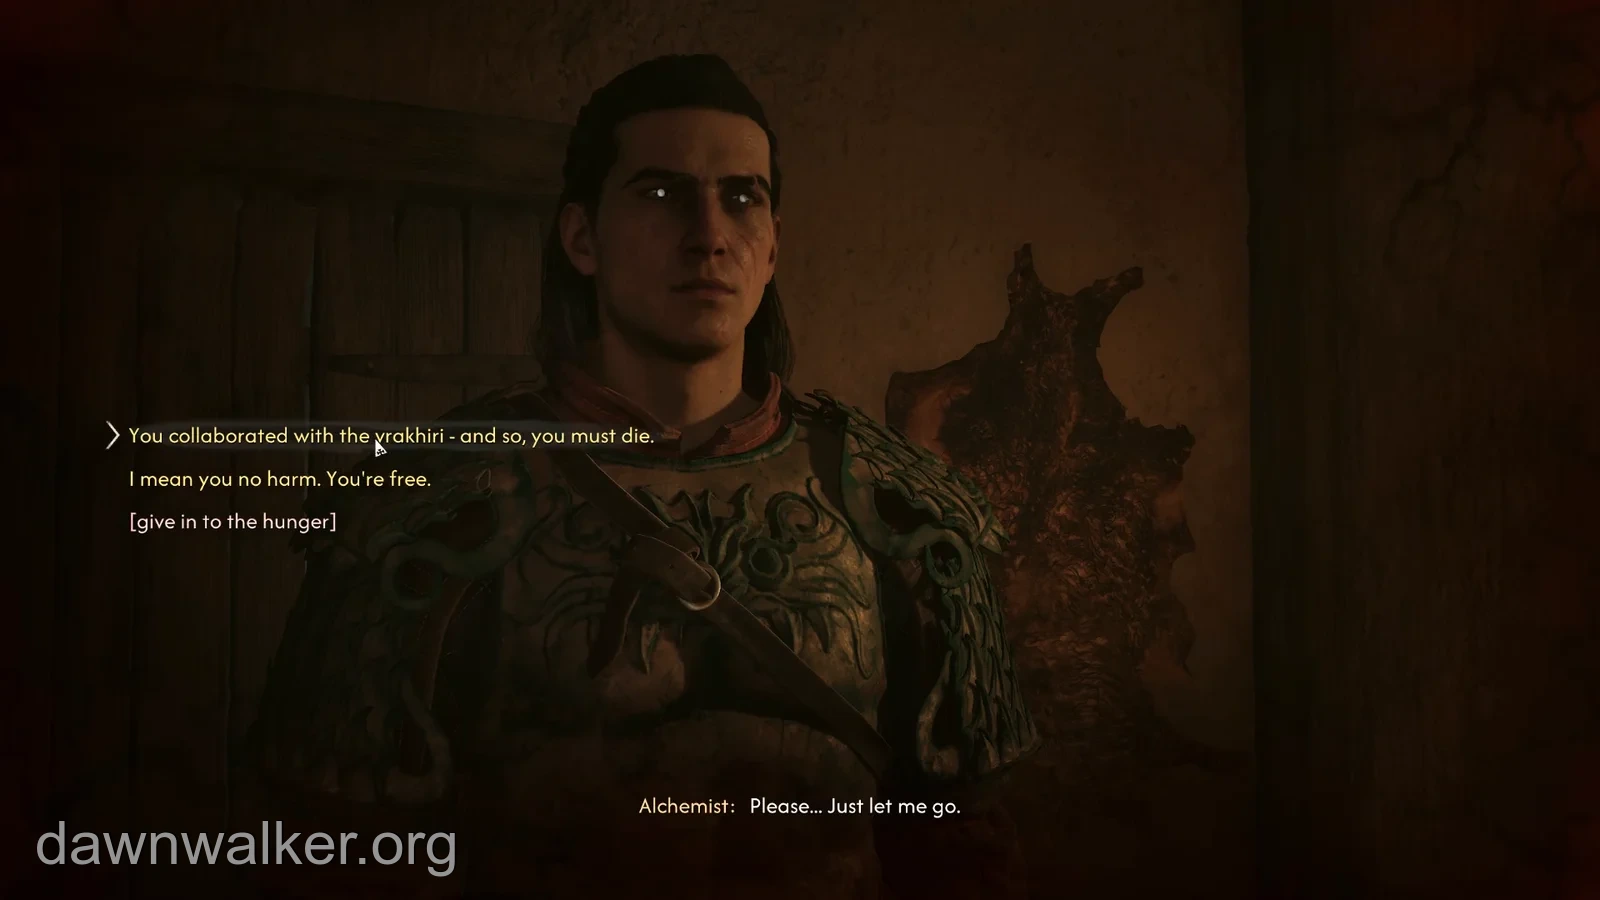
The dialogue offers release, a condemnation for collaborating with the vrakhiri, and a hunger response. Take time to read the line you intend to select. Moving the highlight through an answer is not the same as confirming it, which is particularly easy to miss when advancing dialogue quickly.
The completed route documented here selected “You collaborated with the vrakhiri—and so, you must die.” Coen repeated that judgement, the alchemist died, and a loot interaction followed. “I mean you no harm. You’re free” was visible but was not the confirmed outcome in these images. Use that distinction when comparing a screenshot with your own role-playing choice.
If you choose the execution route, search the body before leaving. Its recorded loot list included Lasting Malediction Manual, Potent Razor Claw Vial and Alchemist’s Band, alongside an ingredient. Treat that as the observed body loot, not a promise that releasing him provides the same items. A manual grants access to its associated learning requirements; picking one up is not the same as already learning a perk.
Finish the encounter and check the quest reward
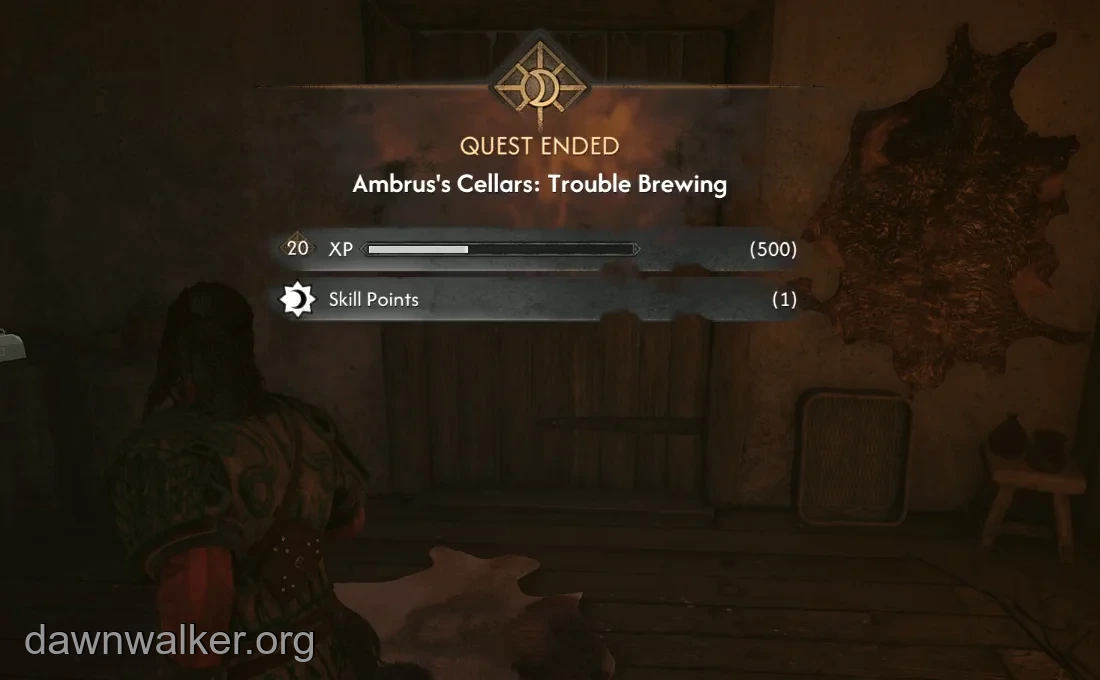
After the final encounter, Trouble Brewing displays QUEST ENDED with 500 XP and one skill point. That is the completion checkpoint for the route, distinct from the earlier guard update, barrel update and any character level gained along the way.
If you have only dealt with the stock, return to the workshop encounter rather than looking for another blood delivery outside. If the quest has ended and the body has been searched, the tracked Forge It Anew objective is a different activity; it does not ask you to find something else in this blood-store house.
Leave through the building once you have collected the items you want. Further interference with Ambrus’s operation contributes to the wider confrontation, but this cellar’s reward does not itself complete his duel. Use the Court and your journal to choose the next unfinished activity.