THE FIELD GUIDE
The Firebrand Walkthrough: From Vlad’s Hut to Mert
Inspect Vlad’s hut, examine the flour sack, then follow the lead to Mert’s Mill. Renna sends you to Stoneward Post, where Mert is held in the lower prison cells. Speak to him about the manumits to finish The Firebrand and obtain the Sara lead.
Start the investigation at Vlad’s hut
The Firebrand follows the lead toward the manumits, the rebels opposing Brencis. Approach Vlad’s hut and follow the investigation objective inside. You can discover this quest while exploring during Smoke and Ashes; the village-gate objective in that quest remains separate.
Select The Firebrand in Journal if a nearby activity has replaced your tracked objective. Inside the hut, use Focus to find the letters, clothing and other objects with inspection prompts.
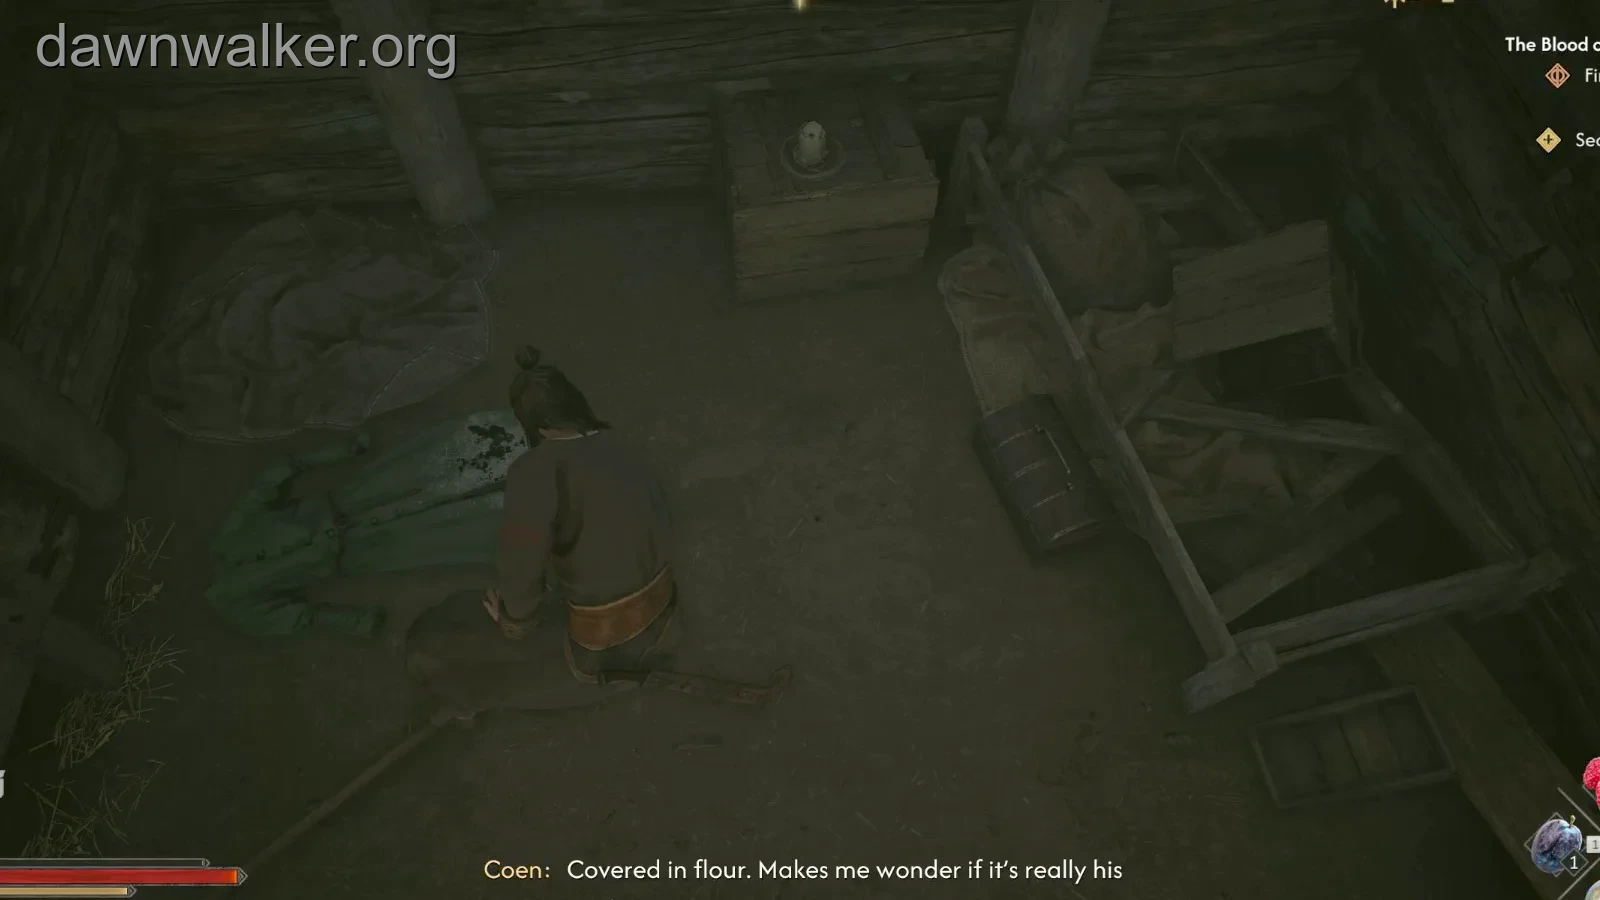
Read the letters and inspect the flour-covered coat
Inspect the letter from M, the coat carrying traces of flour, and the letter from C. Our search followed that order, but each is a separate interaction: reading the letters leaves the coat to examine.
The flour on the coat connects the hut to the mill. Continue to the flour sack to find the identifying detail that advances the investigation.
Turn the flour sack to reveal its mark
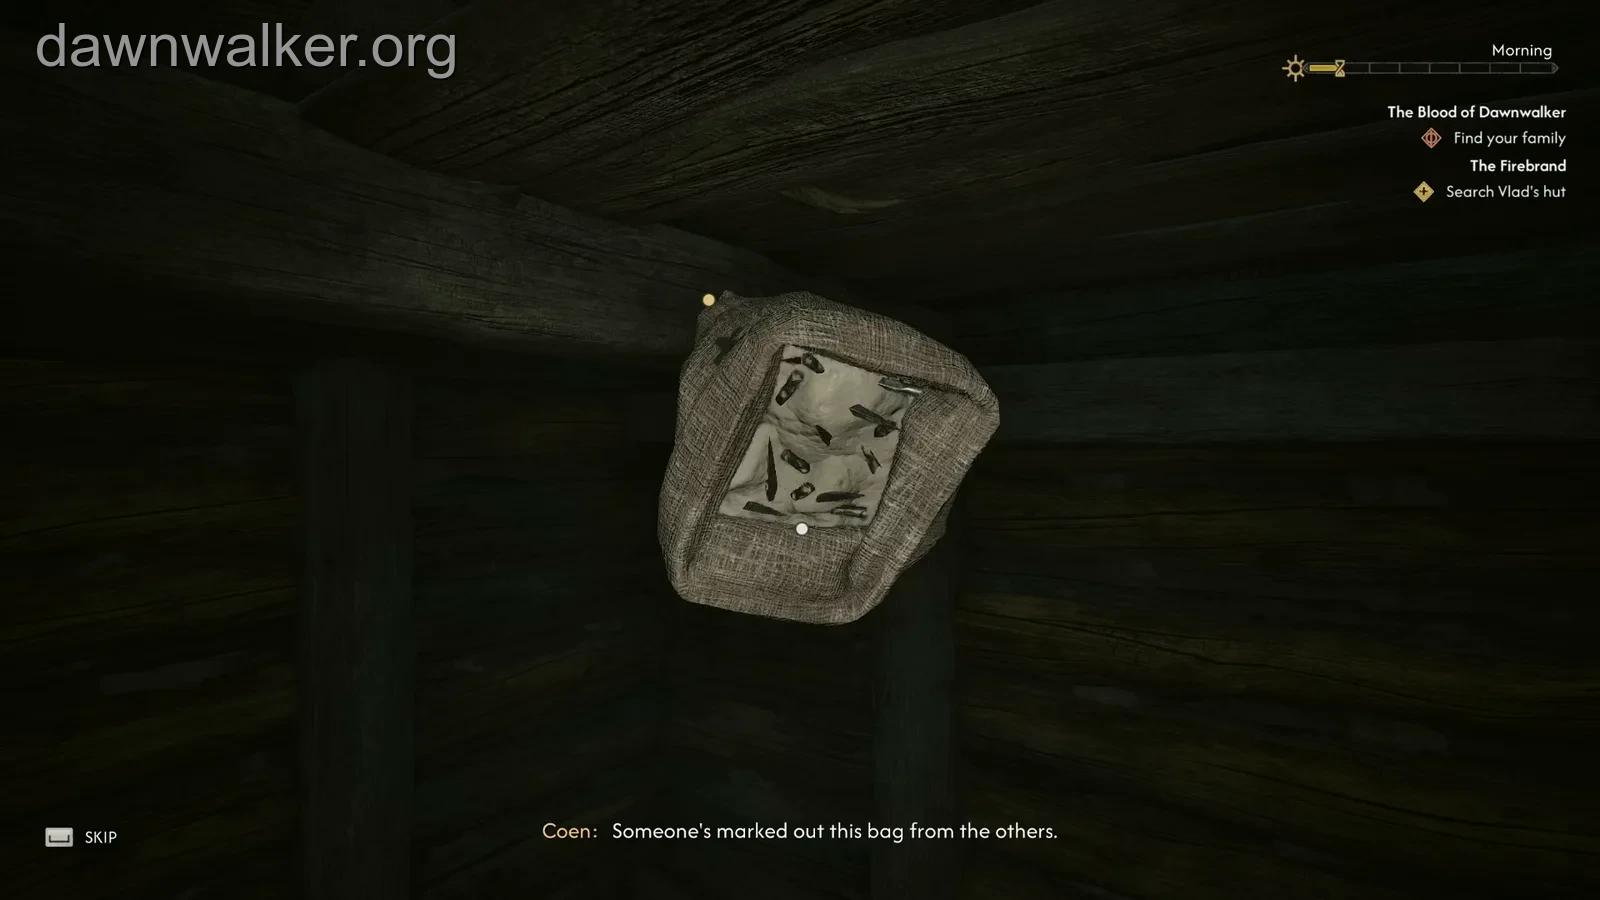
Examine the flour sack and rotate it until you can inspect the mark on its other face. Opening the inspection view and closing it at the initial angle can leave this clue unread. If you have already checked the letters and coat but lack the mill objective, this is the detail to revisit.
After checking the mark, tilt the open side of the sack toward you and inspect the silver arrowheads hidden in the flour. The inspection camera lets you examine more than one feature of the same object, so finish the contents as well as the outer mark. The Silver Spearheads pickup follows as a separate interaction; then track “Go to the mill.”
At Mert’s Mill, choose how to handle the soldiers
At night, soldiers at Mert’s Mill can block the conversation you need. The quest offers a daytime return or the optional “Kill the soldiers” objective. Fighting lets you continue immediately but can contribute to Infamy.
During the day, Renna talks as though you left a broken cart in her yard. Play along and agree to help with the cart. This is her way of speaking cautiously: soldiers are hiding in her shed. Challenging her story can bring them out and turn the visit into a fight, so returning by day alone does not guarantee a peaceful conversation.
On our night route, clearing the soldiers allowed us to speak with Renna. Ask about Mert and agree to try to help. She explains that he has been taken to Stoneward Post. Once “Go to Stoneward Post” appears, continue there.
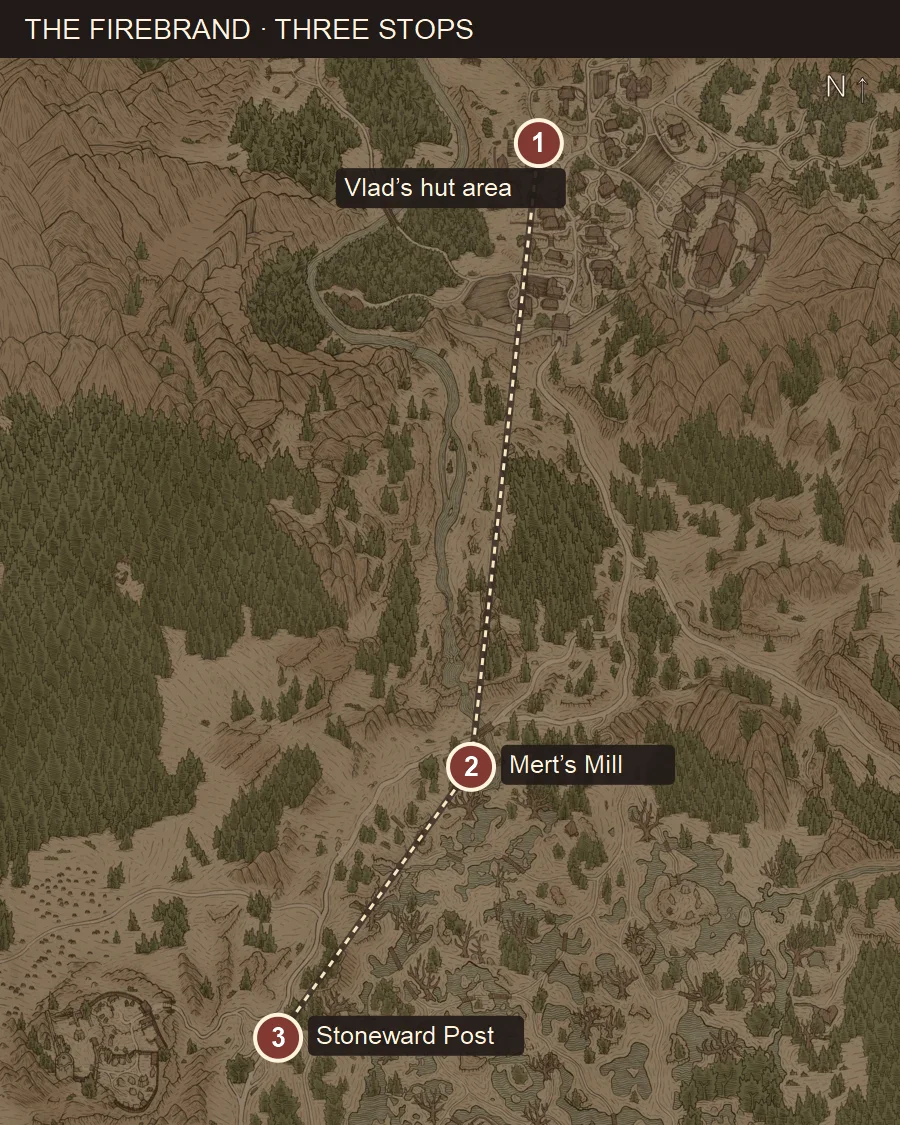
Enter Stoneward Post and reach the prisoner
During the day, telling the gate guard you want to visit a prisoner gets you inside after surrendering your weapons. Continue through the inner courtyards toward the overseer’s tower at the back of the post. If you use this approach, remember the weapon-retrieval objective when planning your later escape.
For the investigation route, speak to the angry woman near the tower. Her complaint about missing prisoners’ belongings points to Yenno, the merchant near the front gate. Return to him, ask about the stolen property and threaten to take the matter to the commander; he identifies Friedo and Cerbus as his suppliers.
Take that information to the commander outside the tent before the tower. With his permission to see Mert, return to the overseer, Friedo, and gain access to the cells. This gives you a route through the post without paying the overseer’s bribe.
If you prefer to pay and can speak to Friedo, a 100-denarii bribe is another way to obtain access. It avoids the investigation at the cost of the payment. Fighting through the post is also possible; on our night visit, an entrance conversation came before the combat. Once inside, follow “Speak with the miller.”
Look below the tower, then finish Mert’s conversation
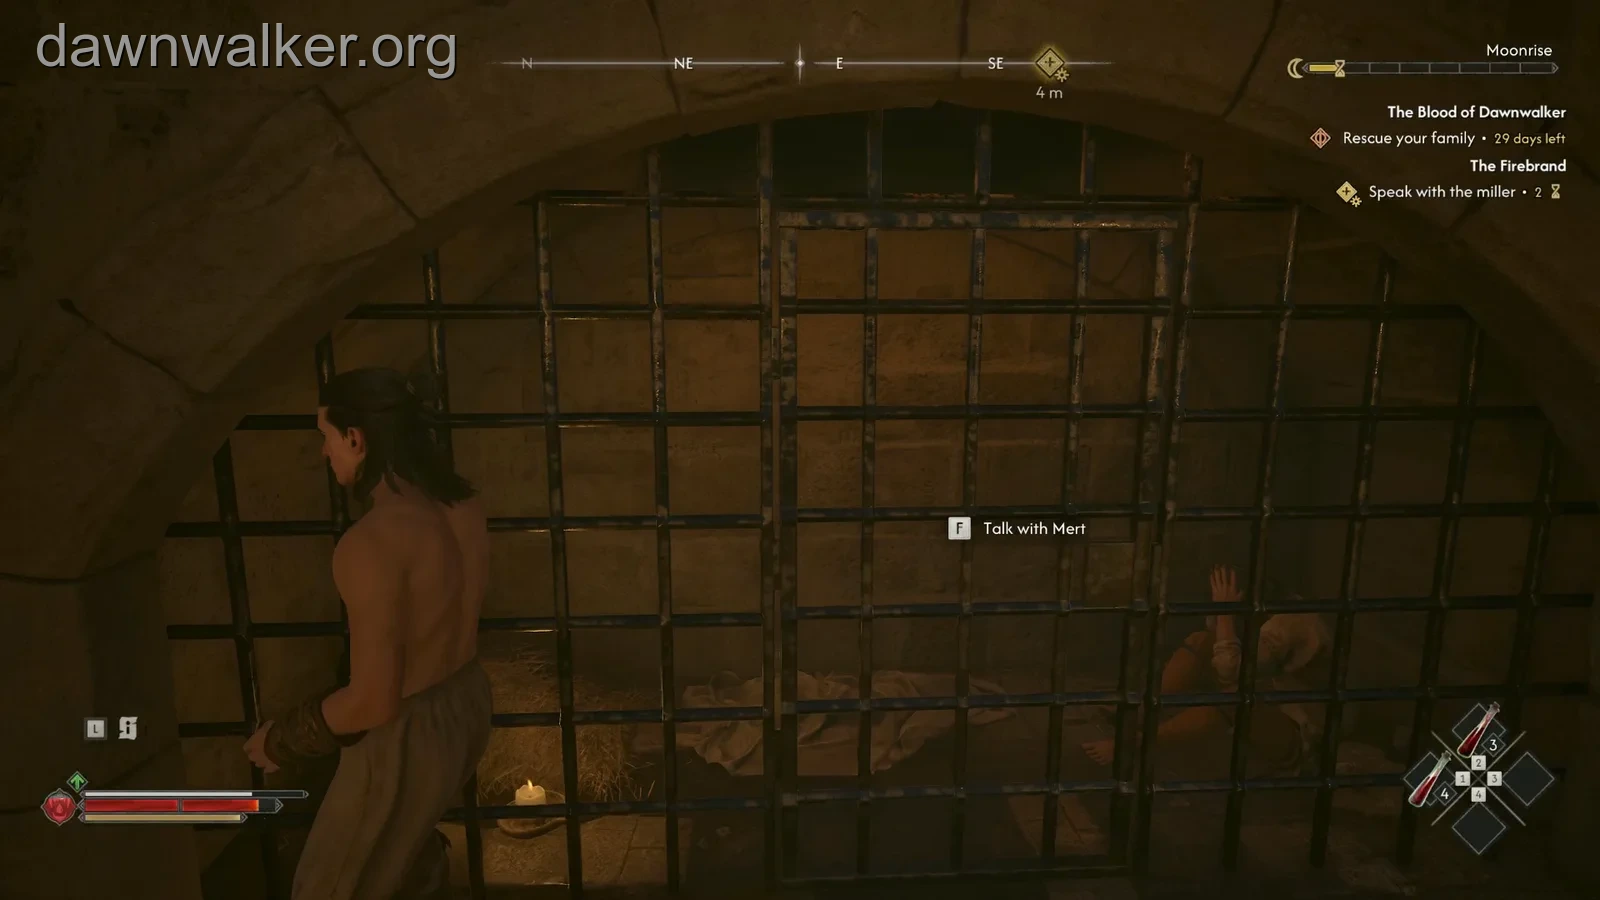
Mert is in the lower prison cells. If the marker is only a few metres away but you cannot see him, check downstairs: the distance does not distinguish floors. We stayed close to the marker while climbing the tower, but Journal directed us down to the cells.
Speak to the living Mert about the manumits and ask how to contact Sara. Our route obtained the Prison Keychain and released him during this sequence. The Firebrand then ended while Under Watchful Eyes still required his escort.
Shadows in the Woods can now appear with “Go to the bridge near Stoneward Post.” If you agreed to save Mert, finish his escape before following that new marker. The links below lead to the rescue summary and Sara’s guide.