THE FIELD GUIDE
Judge And Executioner Walkthrough
Read the prison ledger before deciding whether to release Branko. Your choice changes what you find on the later visit to the woodcutters’ camp.
Find the ruined outpost in St. Tyna’s Grove
Ambrus’s Dungeons: Judge and Executioner begins at a ruined fort in St. Tyna’s Grove. If it is already in Journal, track “Investigate the outpost” and approach the marked compound.
Guards occupy the approach and the inside of the fort. Deal with the road patrol and entrance defenders, then check beyond the ruined walls for the remaining soldiers. Enemies from inside can be drawn toward the approach during the fight.
Both daytime and nighttime approaches are possible. At night, Shadowstep can provide access through suitable openings in the side of the structure. Choose the time that suits your available combat tools.
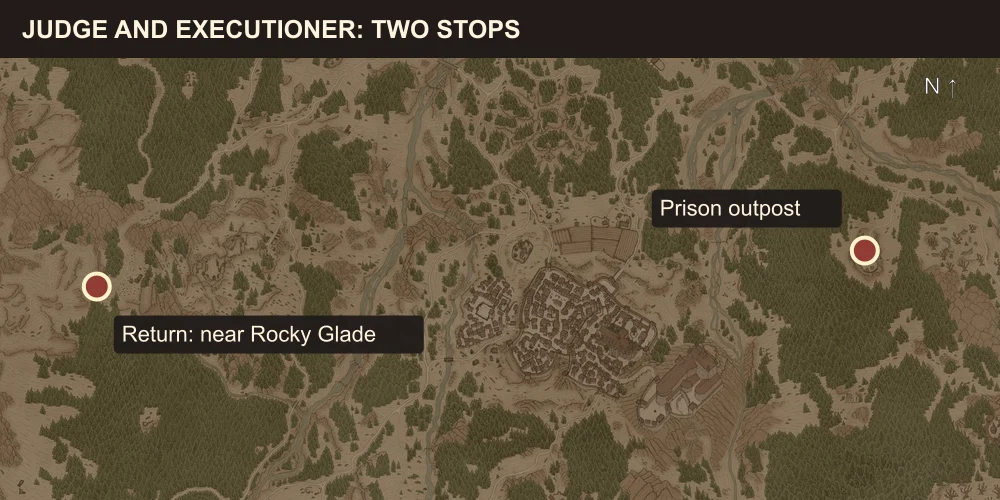
Search the defeated jailer for Keeper’s Keys
Search the defeated jailer’s loot for Keeper’s Keys. If you reach the cages without them, the prisoners direct you back to him.
These are different from the Jailer’s Keys used in Twists and Turns. The two prison activities have separate compounds and key items.
If the HUD starts tracking another task after the fight, open Journal, select Judge and Executioner, and choose “Open the cells and free the prisoners.”
Read the ledger before making the accusation
Before deciding the prisoners’ fate, go uphill to the tent opposite the compound’s entrance. Read the Ledger of Prisoners on the table inside.
The ledger orders Aldin and Gert to be tortured but exempts Branko.
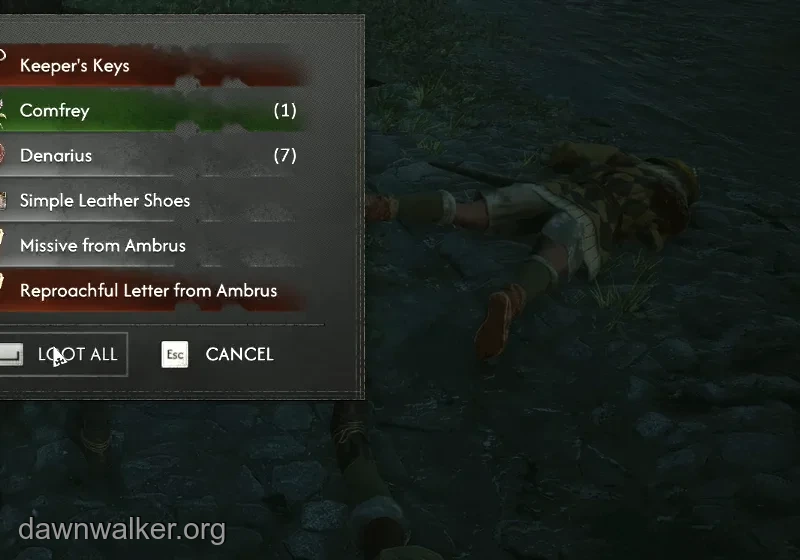
At the cage, one prisoner accuses Branko of informing on woodcutters who traded with the manumits. Branko argues that he would not be imprisoned if he worked for the enemy. You can ask for evidence or choose the response saying you need to look around. If you have not read the ledger, this lets you visit the tent before deciding.
Choose between releasing Branko and keeping him inside
The written record supports leaving Branko imprisoned. His exemption from torture undermines the argument that sharing a cell proves his innocence.
| Decision | Immediate result | Later result |
|---|---|---|
| “I’m setting both of you free.” | Both captives leave and you are invited to the woodcutters’ camp. | The woodcutters are killed; inspect their bodies during the return. |
| “Branko — you’re staying where you are.” | The other prisoner leaves and invites you to the camp. | The woodcutters escape. Their sack contains a Thank-You Note and Duelist’s Pendant. |
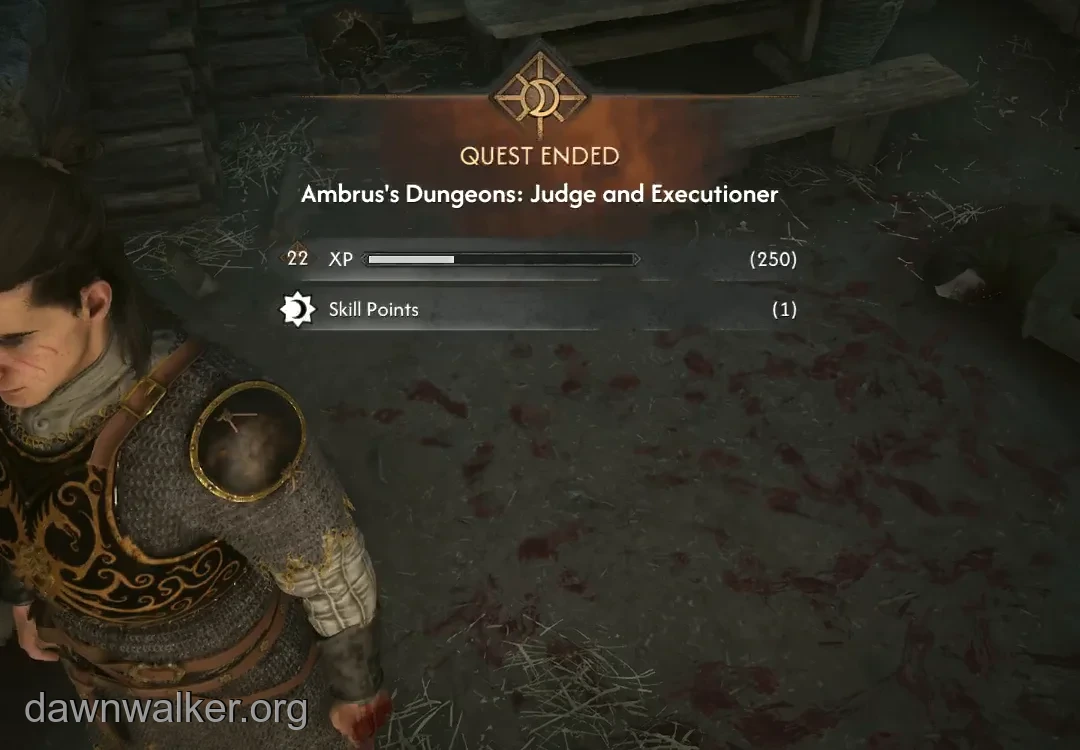
| “[give in to the hunger]”, when offered | Coen kills both prisoners and gains Corruption. | The quest ends immediately with 250 XP and 1 skill point; there is no living-prisoner return reward. |
Wait for the return objective to appear
Releasing one or both prisoners updates the task to “Wait a day.” A full in-game day is sixteen time segments, not sixteen minutes of ordinary travel. Use another quest, training or the normal waiting system to advance story time, then look for “Visit the woodcutters’ camp” in Journal.
Check the time cost on the choice or objective in your current version. Update 1.1 corrected missing time charges for Judge and Executioner, so an older route that appeared to spend nothing is not a reliable budget.
Court can register progress on the prison operation while the personal follow-up remains outstanding. Use the Journal objective to track the return visit.
Travel to the western return area and defeat its guards
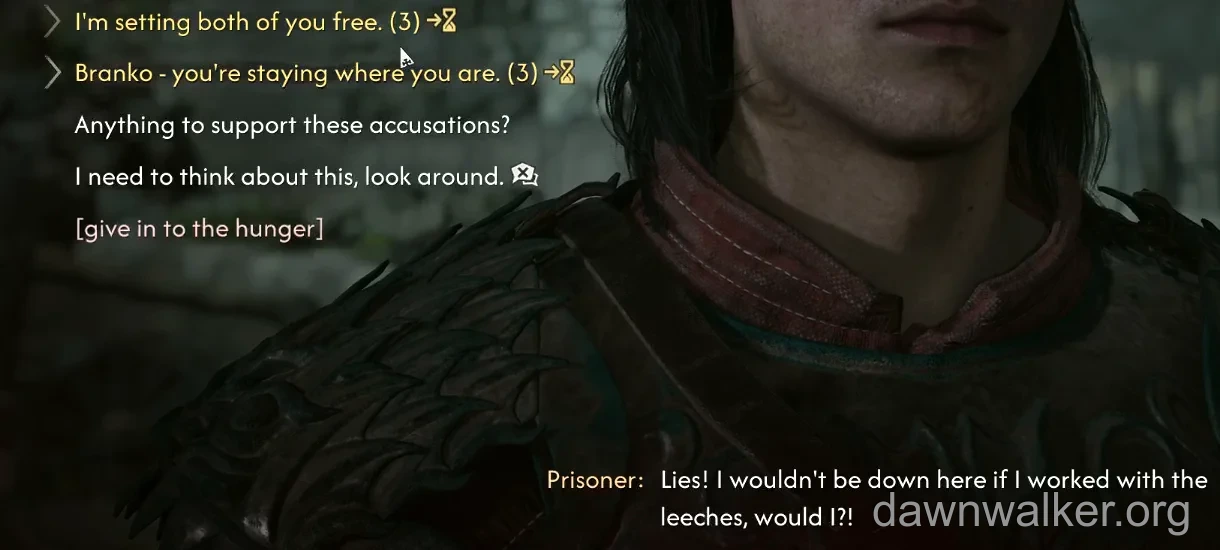
Once the return is available, use its new marker. The woodcutters’ camp for this follow-up is near Rocky Glade, in the Rockfalls area west of Svartrau. If Rocky Glade is already unlocked, it is a useful starting point; follow the marked destination northeast from that shrine. The original prison is much farther east.
Hostile soldiers guard the camp on either release route. They can be substantially stronger than the prison defenders; a red skull over an opponent warns of a difficult fight. Arrive prepared for combat.
After the fight, read the soldiers’ report about the prison escape; its wording varies with Branko’s fate. Enter the hut to finish “Find out what happened.”
Inspect the bodies or collect the sack in the hut
If you released both prisoners, inspect the dead woodcutters inside the hut. Coen identifies Branko as the informer, and the investigation ends the quest.
If you left Branko behind, look for the sack on the bed instead. Empty it to receive the survivors’ message and items, including Duelist’s Pendant, and finish the quest.
Both return outcomes award 250 XP and 1 skill point.