THE FIELD GUIDE
All Good Things Walkthrough
Follow Lunka’s objective marker into the forest, complete the two combat lessons, then use an aimed Shadowstep to cross the cave. Stay with her on the uphill path until the objective asks you to go inside the church.
Follow the opening route in four stages
All Good Things introduces Coen’s movement, directional combat and Shadowstep. This walkthrough ends at the church after the cave. The later family chores, Anca’s herbs and Pieter’s training have their own guides.
If you stopped during a tutorial, use the current objective and the sections below to pick up from that point. The route follows Lunka and the quest marker; the combat cards explain the action the game is teaching.
Check your bindings and difficulty cues
The examples use the PC mouse-and-keyboard prompts in the opening tutorial. If you have rebound a control or use a controller, follow the button shown in your game. On the default PC setup, holding L shows the contextual control guide.
The footage uses the earlier difficulty names. Under the recorded Story, Fair and Challenging settings, the guard indicator shows the incoming direction and changes colour for Perfect Block timing. You still choose the guard direction yourself. Duelist omits that tutorial cue, so watch the enemy’s movement.
The 1.1 preview announces Forgiving as the new name for the old Story setting and adds a separate Story option with combat assistance. If those labels appear in your menu, read their current descriptions; the older footage does not establish every assistance rule of the new Story mode.
| Action | Recorded PC input | What to do with it |
|---|---|---|
| Right-side attack example | Hold D + left mouse button | Match the direction requested by the tutorial. |
| Directional block | Hold Block + choose a movement direction | Meet the incoming direction with your guard. Use your current binding for Block. |
| Dodge | Space + W, A, S or D | Choose a direction; the lesson recommends sideways or backward for a regular dodge. |
| Target Lock | Middle mouse button | Toggle the selected enemy as your camera target. |
| Aimed Shadowstep | Hold E, aim with the mouse, release E | Choose the next point before travelling. |
| Forward Shadowstep | Tap E | Move forward without the aiming step. |
Find Lunka along the forest trail
When Lunka leaves the hillside conversation, follow the yellow objective marker into the trees. The distance beneath the marker helps you keep moving toward the objective while the path passes between roots and rocks.
The route turns into a red-lit clearing before the combat lesson begins. Keep following the marked trail through the movement prompts; the change of scenery leads into the next part of the quest.
- Leave the conversation area in the direction of Lunka’s marker.
- Follow the narrowing trail and use the movement, sprint and crouch prompts as they appear.
- Continue into the red-lit clearing and read the first attack instruction when combat begins.
First fight: match the attack and block directions
The first fight introduces an attack from a specified direction, followed by defence. For the recorded right-side attack example, hold D and click the left mouse button. Read the current prompt before your next attempt so that you practise the requested direction.
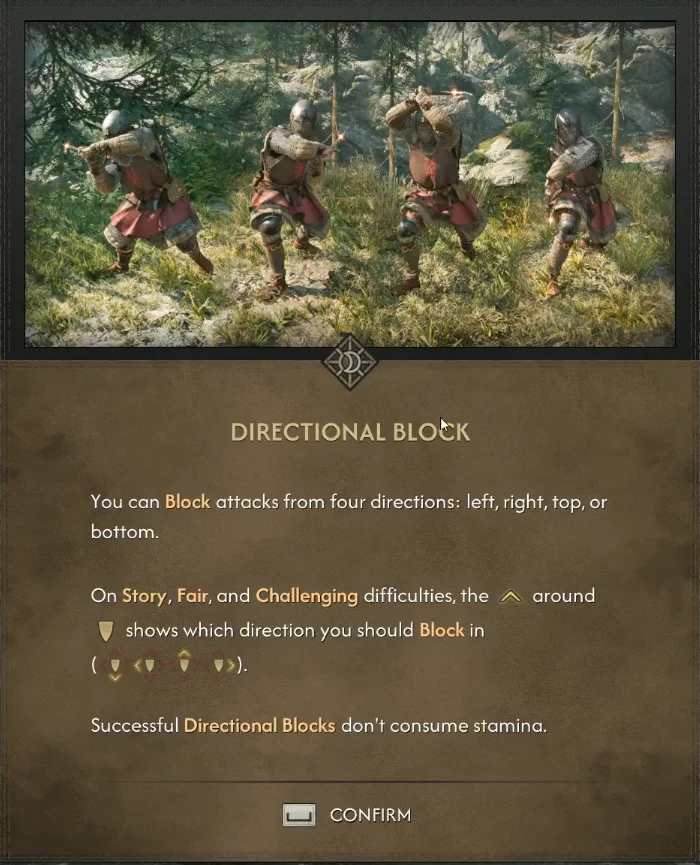
Hold the Block control and choose a movement direction to meet the incoming attack from the left, right, above or below. With the older Story, Fair and Challenging cues, the mark around the shield tells you which direction is required. A successful directional block costs no stamina.
Attacking and using Omniblock consume stamina. If Coen becomes Fatigued, his attacks slow down and become less effective. Check the stamina bar during the lesson before spending more of it on another swing or Omniblock.
Use Perfect Block to recover stamina
Choose the correct block direction immediately before the incoming hit lands. That timing produces a Perfect Block, restores some stamina and leaves a chance to attack the enemy.
The older Story, Fair and Challenging shield marker changes colour at this window. Use the cue alongside the enemy’s motion. The tutorial’s four directions and timing requirement are separate things: selecting the right direction early is different from meeting the Perfect Block window.
Second fight: manage charges and practise dodging
The next tutorial phase adds Activation Charges. Active Abilities need them, and spent charges refill over time. Successful attacks and blocks speed up the refill, so an unavailable ability may simply be waiting for a charge.
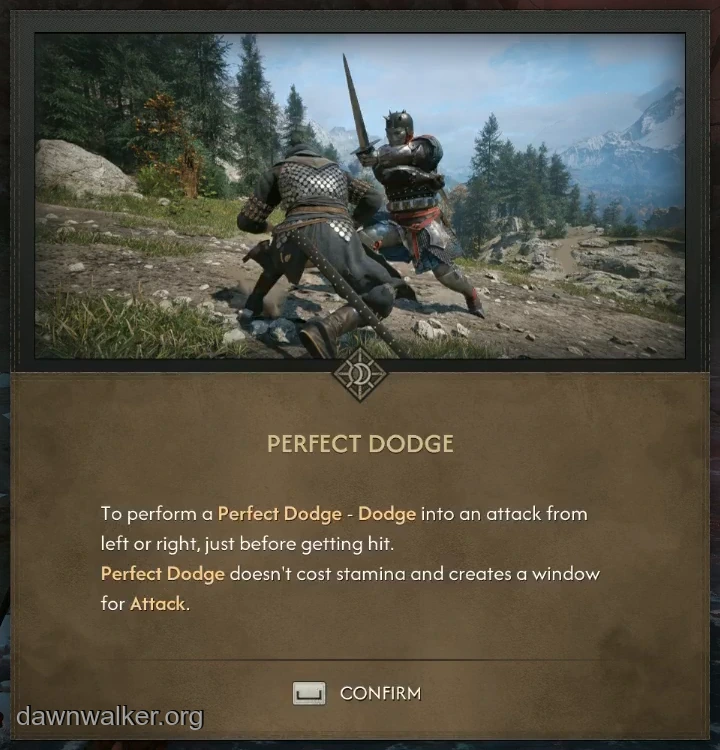
Use Space with a movement direction for a regular dodge. The lesson advises a sideways or backward dodge and warns that moving straight toward the enemy can still get Coen hit. For a Perfect Dodge, time a left or right dodge into the incoming attack just before it hits. A successful Perfect Dodge spends no stamina and gives you a window to counterattack.
Press the middle mouse button to toggle Target Lock when the lesson asks for it. The red target marker identifies the selected enemy. This helps keep the camera oriented during the group fight; it does not choose a block direction for you.
Aim Shadowstep across the broken cave route
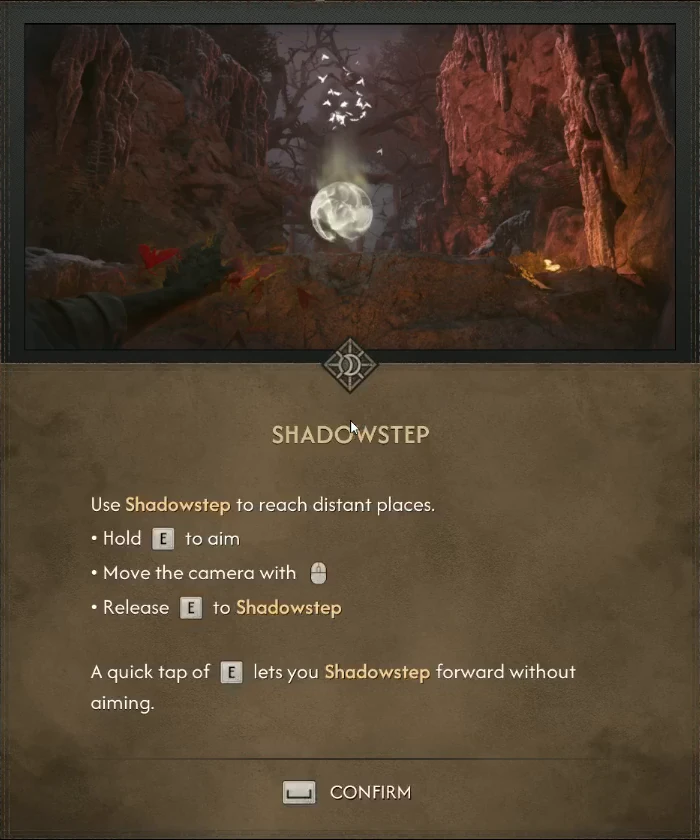
After the fighting, follow Lunka into the cave. When the route breaks at a ledge, use the aimed version of Shadowstep to choose your landing point.
A quick tap of E sends Coen forward without aiming. If that is what you are doing when you need to choose the next ledge, hold the key through the aiming step and release it once the destination is selected. Continue following Lunka after the crossing.
- Hold E to bring up the Shadowstep aiming control.
- Move the camera with the mouse to point at the next reachable ledge on the route.
- Release E to move to the selected point.
Follow Lunka uphill to the church
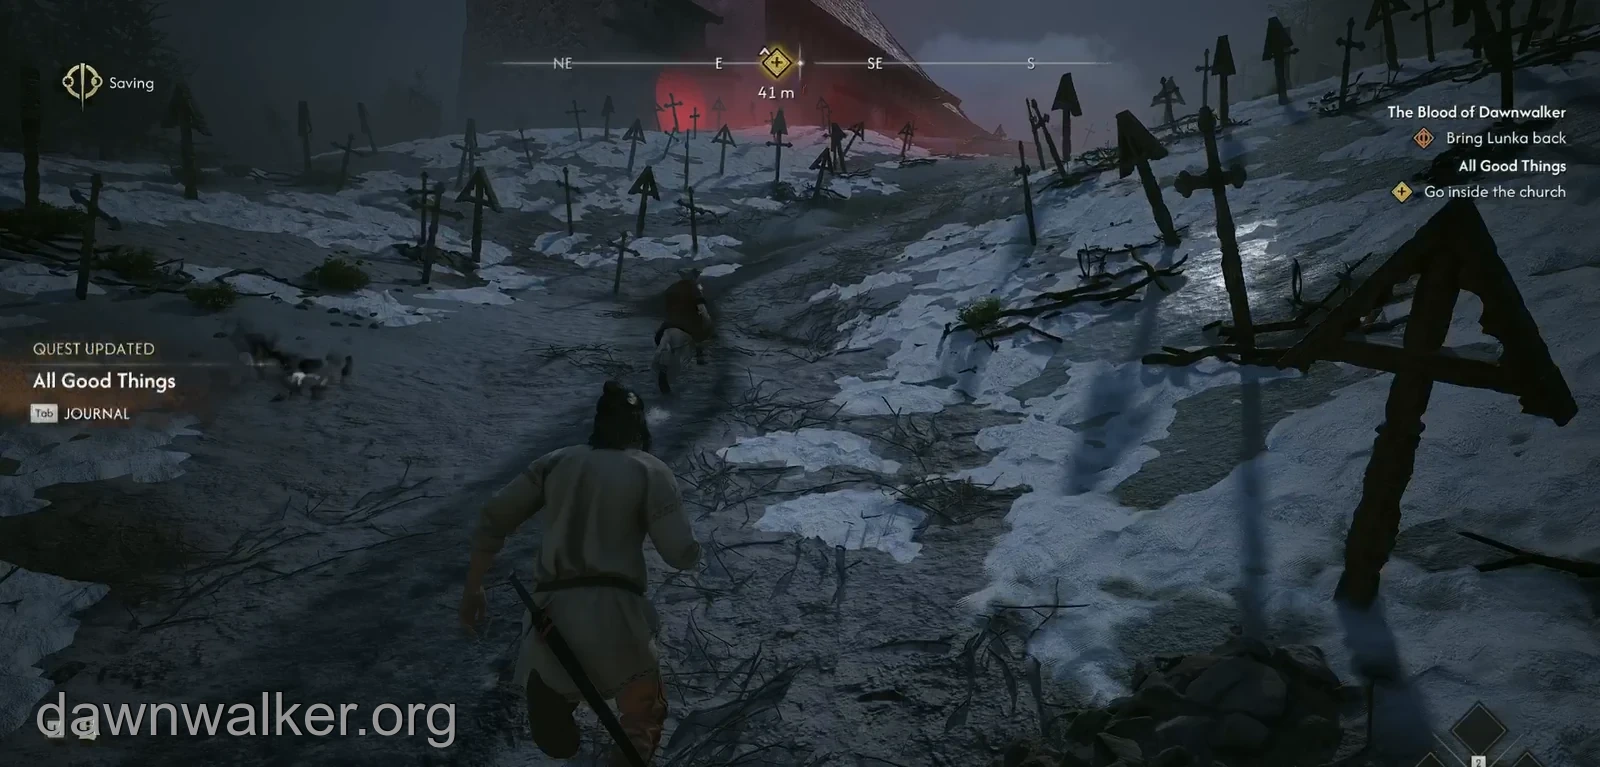
Stay with Lunka as the path leaves the cave and climbs through the wooden grave markers. The church ahead glows red, and the quest objective updates to “Go inside the church”. Follow the uphill marker to its entrance.
Go inside to continue the scene. That entrance is the endpoint of this walkthrough. The family chores and medicine route are covered in Withering Away; Pieter’s separate sparring quest is Like Father, Like Son.