THE FIELD GUIDE
Bad Blood Mine Escape: Find a Way Back Up
From the lower shaft, squeeze through the southwest gap and use Shadowstep along the ledges. After the cavern encounter, climb to the white-marked wall, use Planeshift to reach its top and turn the corner. Cross the later gap via the ceiling, then follow the passage out until the objective changes to returning to Laslea.
Leave the lower shaft after the Kostel encounter
This route begins when Bad Blood says “Find a way back up”. If your objective still asks you to search for your father, follow the mine’s clues and the encounter with Kostel first. The lower-shaft escape is a later stage of the same quest.
In the lower chamber, turn towards southwest on the compass and look for the narrow gap between the rocks. Approach until the squeeze-through interaction appears. Follow that passage and crouch where the hanging obstacles make the tunnel too low to walk through upright.
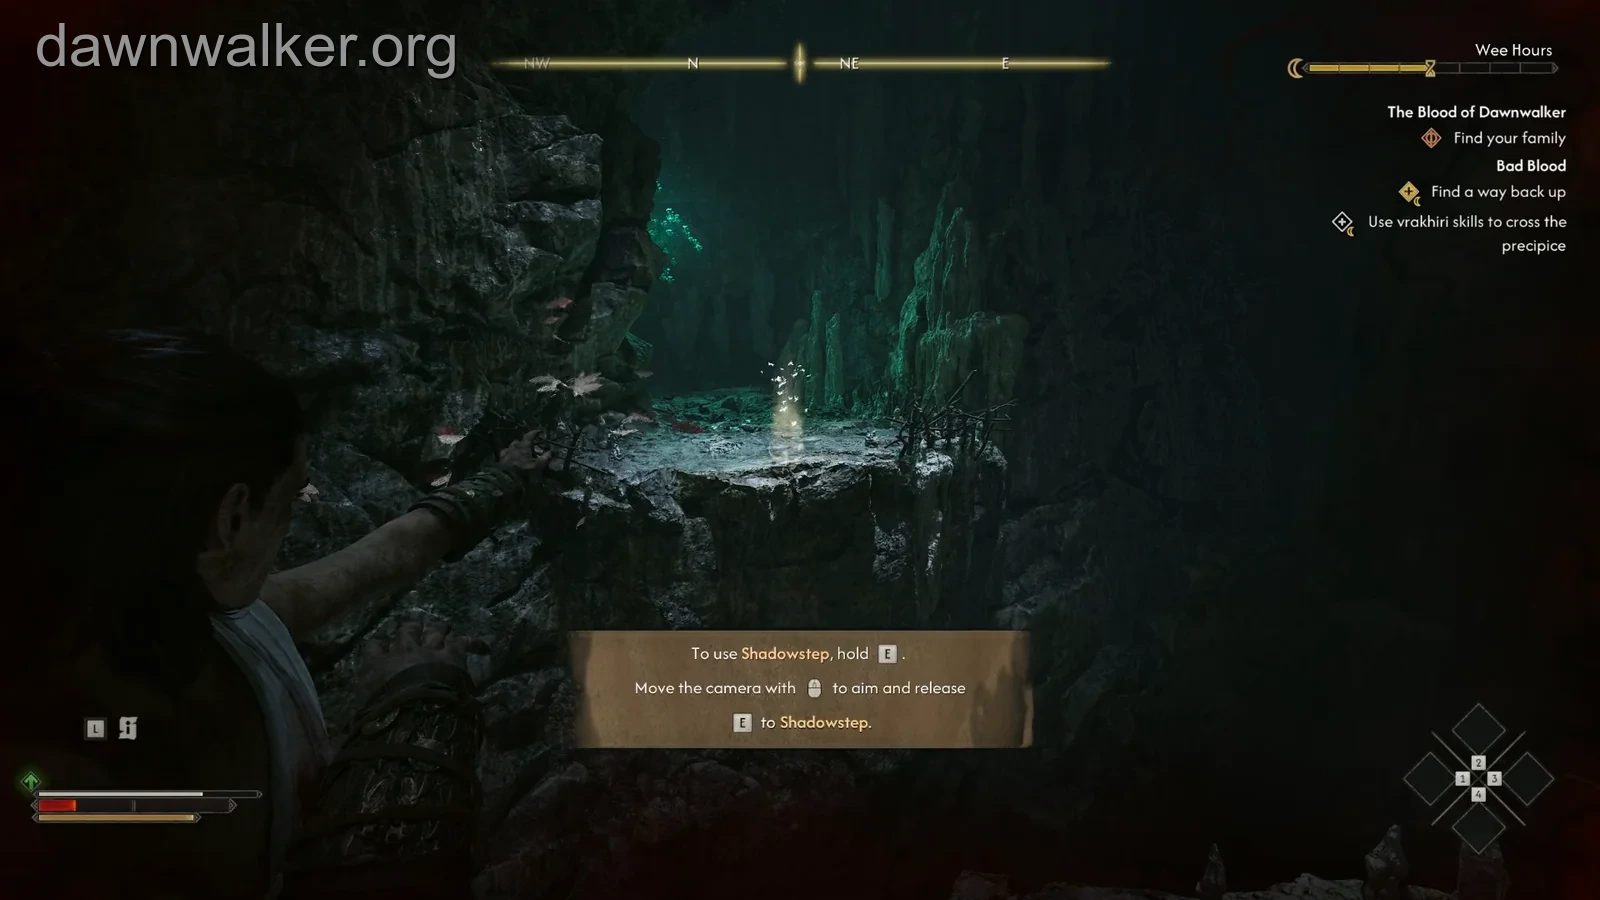
Continue northeast along the ledge. The first large break in the path introduces “Use vrakhiri skills to cross the precipice”: use Shadowstep here.
Hold E, aim at the ledge and release
With the default PC bindings, hold E to aim Shadowstep, move the mouse to select a destination and release E to travel there. Start by targeting the flat top of the opposite ledge. A white, glowing destination appeared before the successful crossing in our recording.
If the marker stays red, cancel the aim and adjust your position or destination from safe ground. “Out of range” means the target is too far away. Without that message, a red ring alone does not distinguish distance from an obstruction or an unsuitable surface.
After landing, continue into the passage beyond the ledge. The crossing sub-objective disappears, but “Find a way back up” remains active until the later escape.
Follow the ledges through the cavern
Follow the solid ledges and use Shadowstep at the breaks in the path. Continue through the connected passages until the blood-drinking tutorial appears.
The tutorial introduces feeding on rats outside combat. With the default PC controls, hold the right mouse button for Focus, target a rat and hold F for Voracious Bite.
Farther on, the route drops into a broader chamber with kobolds. Defeat them before searching the upper ledges. Coen can use his claws with the sword sheathed.
After the fight, work up the platforms on the northwest side and cross towards the nest. Continue past the cave paintings. The route doubles back and reaches a short ramp ending opposite a wall with a conspicuous white streak. The Planeshift tutorial identifies this next traversal stage.
Climb the white-marked wall and turn the corner
Planeshift lets Coen walk on a flat wall or ceiling after Shadowstepping onto it. You still start with E: hold, aim at the white-marked wall and release when a valid destination appears. Place the destination as high as you can reliably reach, then let the camera finish rotating to the new surface.
Turn the camera along the white streak towards the top and use W to walk up the wall. Planeshift consumes stamina: recover on safe ground first, then take a direct line up the wall.
At the top edge, press Space when “Turn the corner” appears. This moves you over the edge onto the next surface. Do not confuse it with “L Ctrl — Jump down”: while attached to the wall, that command leaves the surface. The same key can be Cancel while aiming, so read the current action label.
The clip below shows the ascent from the white-marked wall onto the upper path. Match the white streak and top edge to orient yourself.
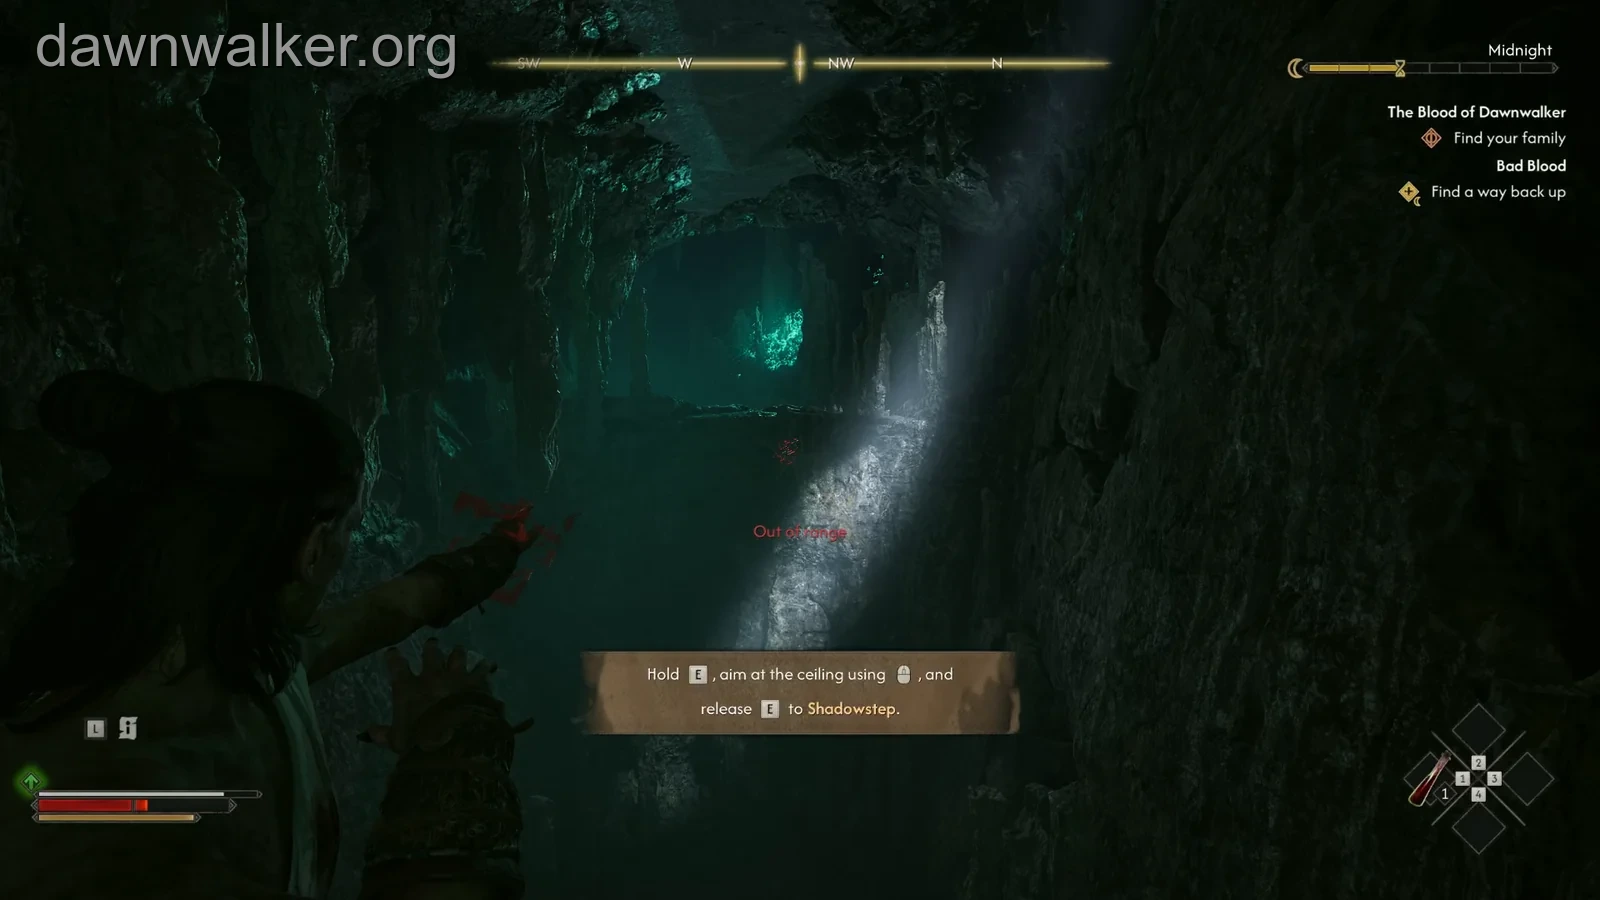
Use the ceiling at the next wide gap
At the next wide gap, follow the tutorial’s instruction to aim at the ceiling. Look for the flatter, pale-marked strip above the opening.
Hold E, target a reachable part of that overhead surface and release when the destination is valid. Walk along the ceiling towards the passage on the far side.
Use Jump down only when you are above a safe landing across the gap. If you land on a lower ledge, find the marked overhead surface again and cross towards the opposite passage.
Take the exit passage and confirm the new objective
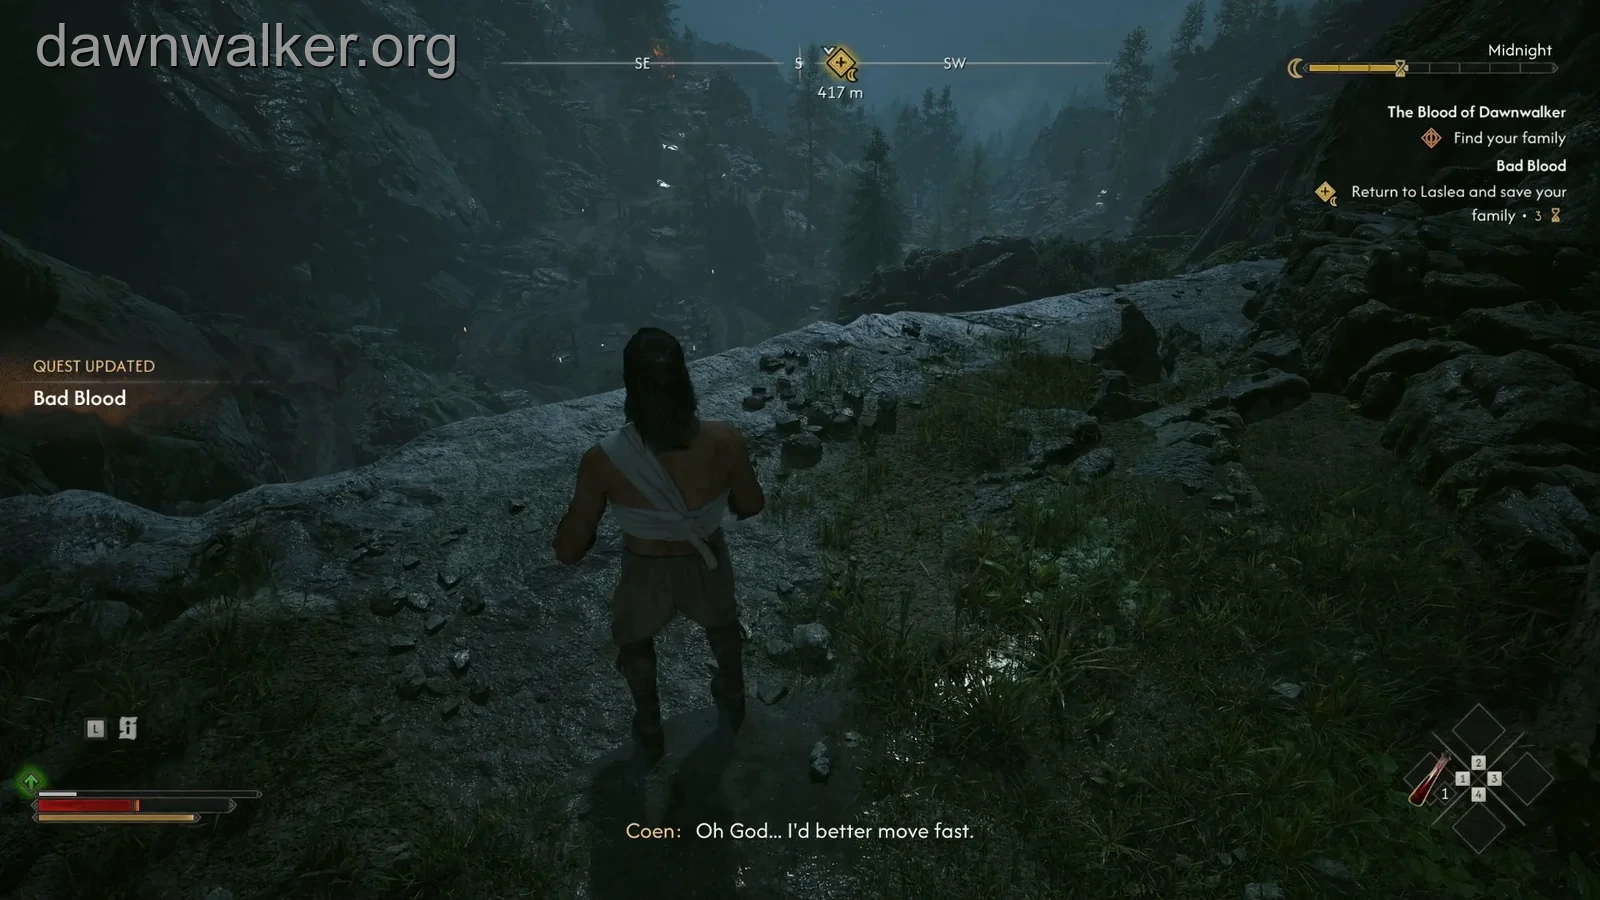
From the far side, follow the passage to the right and use the narrow gap leading out. “Leave the mine” appears near the final exit. Continue through it until Coen reaches the outdoor rock path and the objective becomes “Return to Laslea and save your family”.
The outdoor return objective marks the end of the mine escape. Bad Blood continues with the return to Laslea, the optional Vladimir rescue and Brencis.
These images show the route with a time-control mod installed. Use your own journal for quest costs; the time bar in the footage is modified.